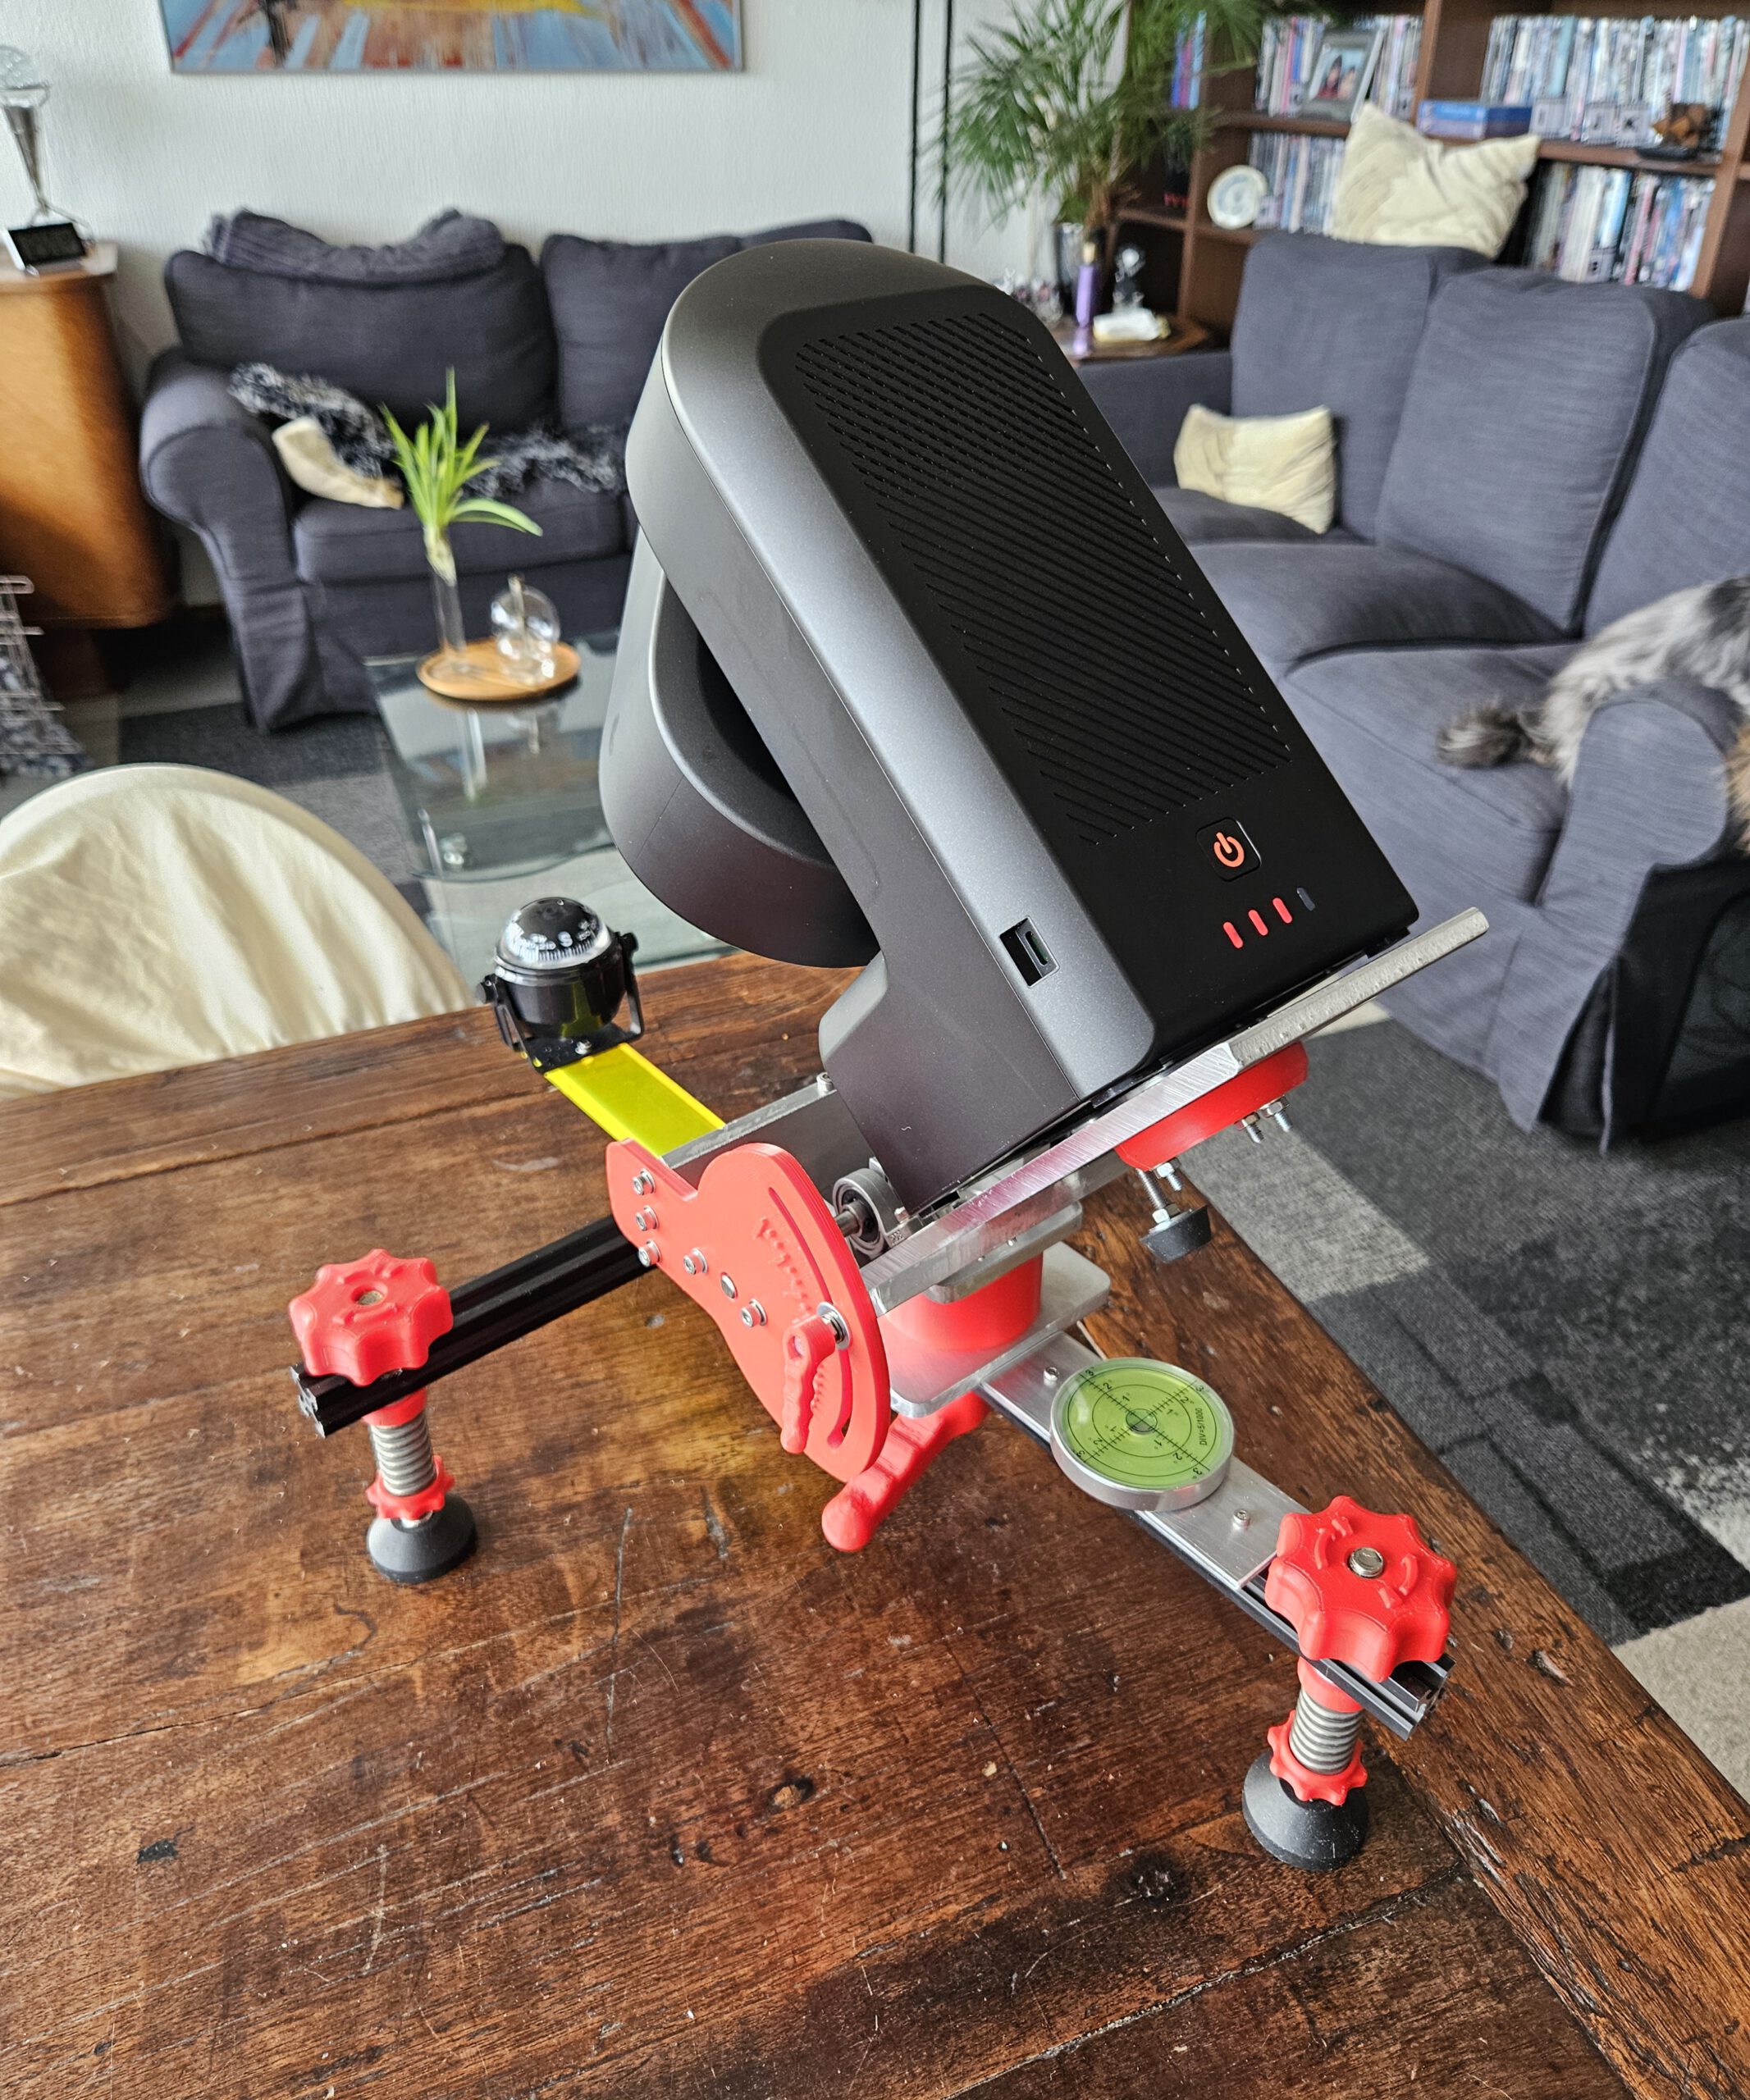
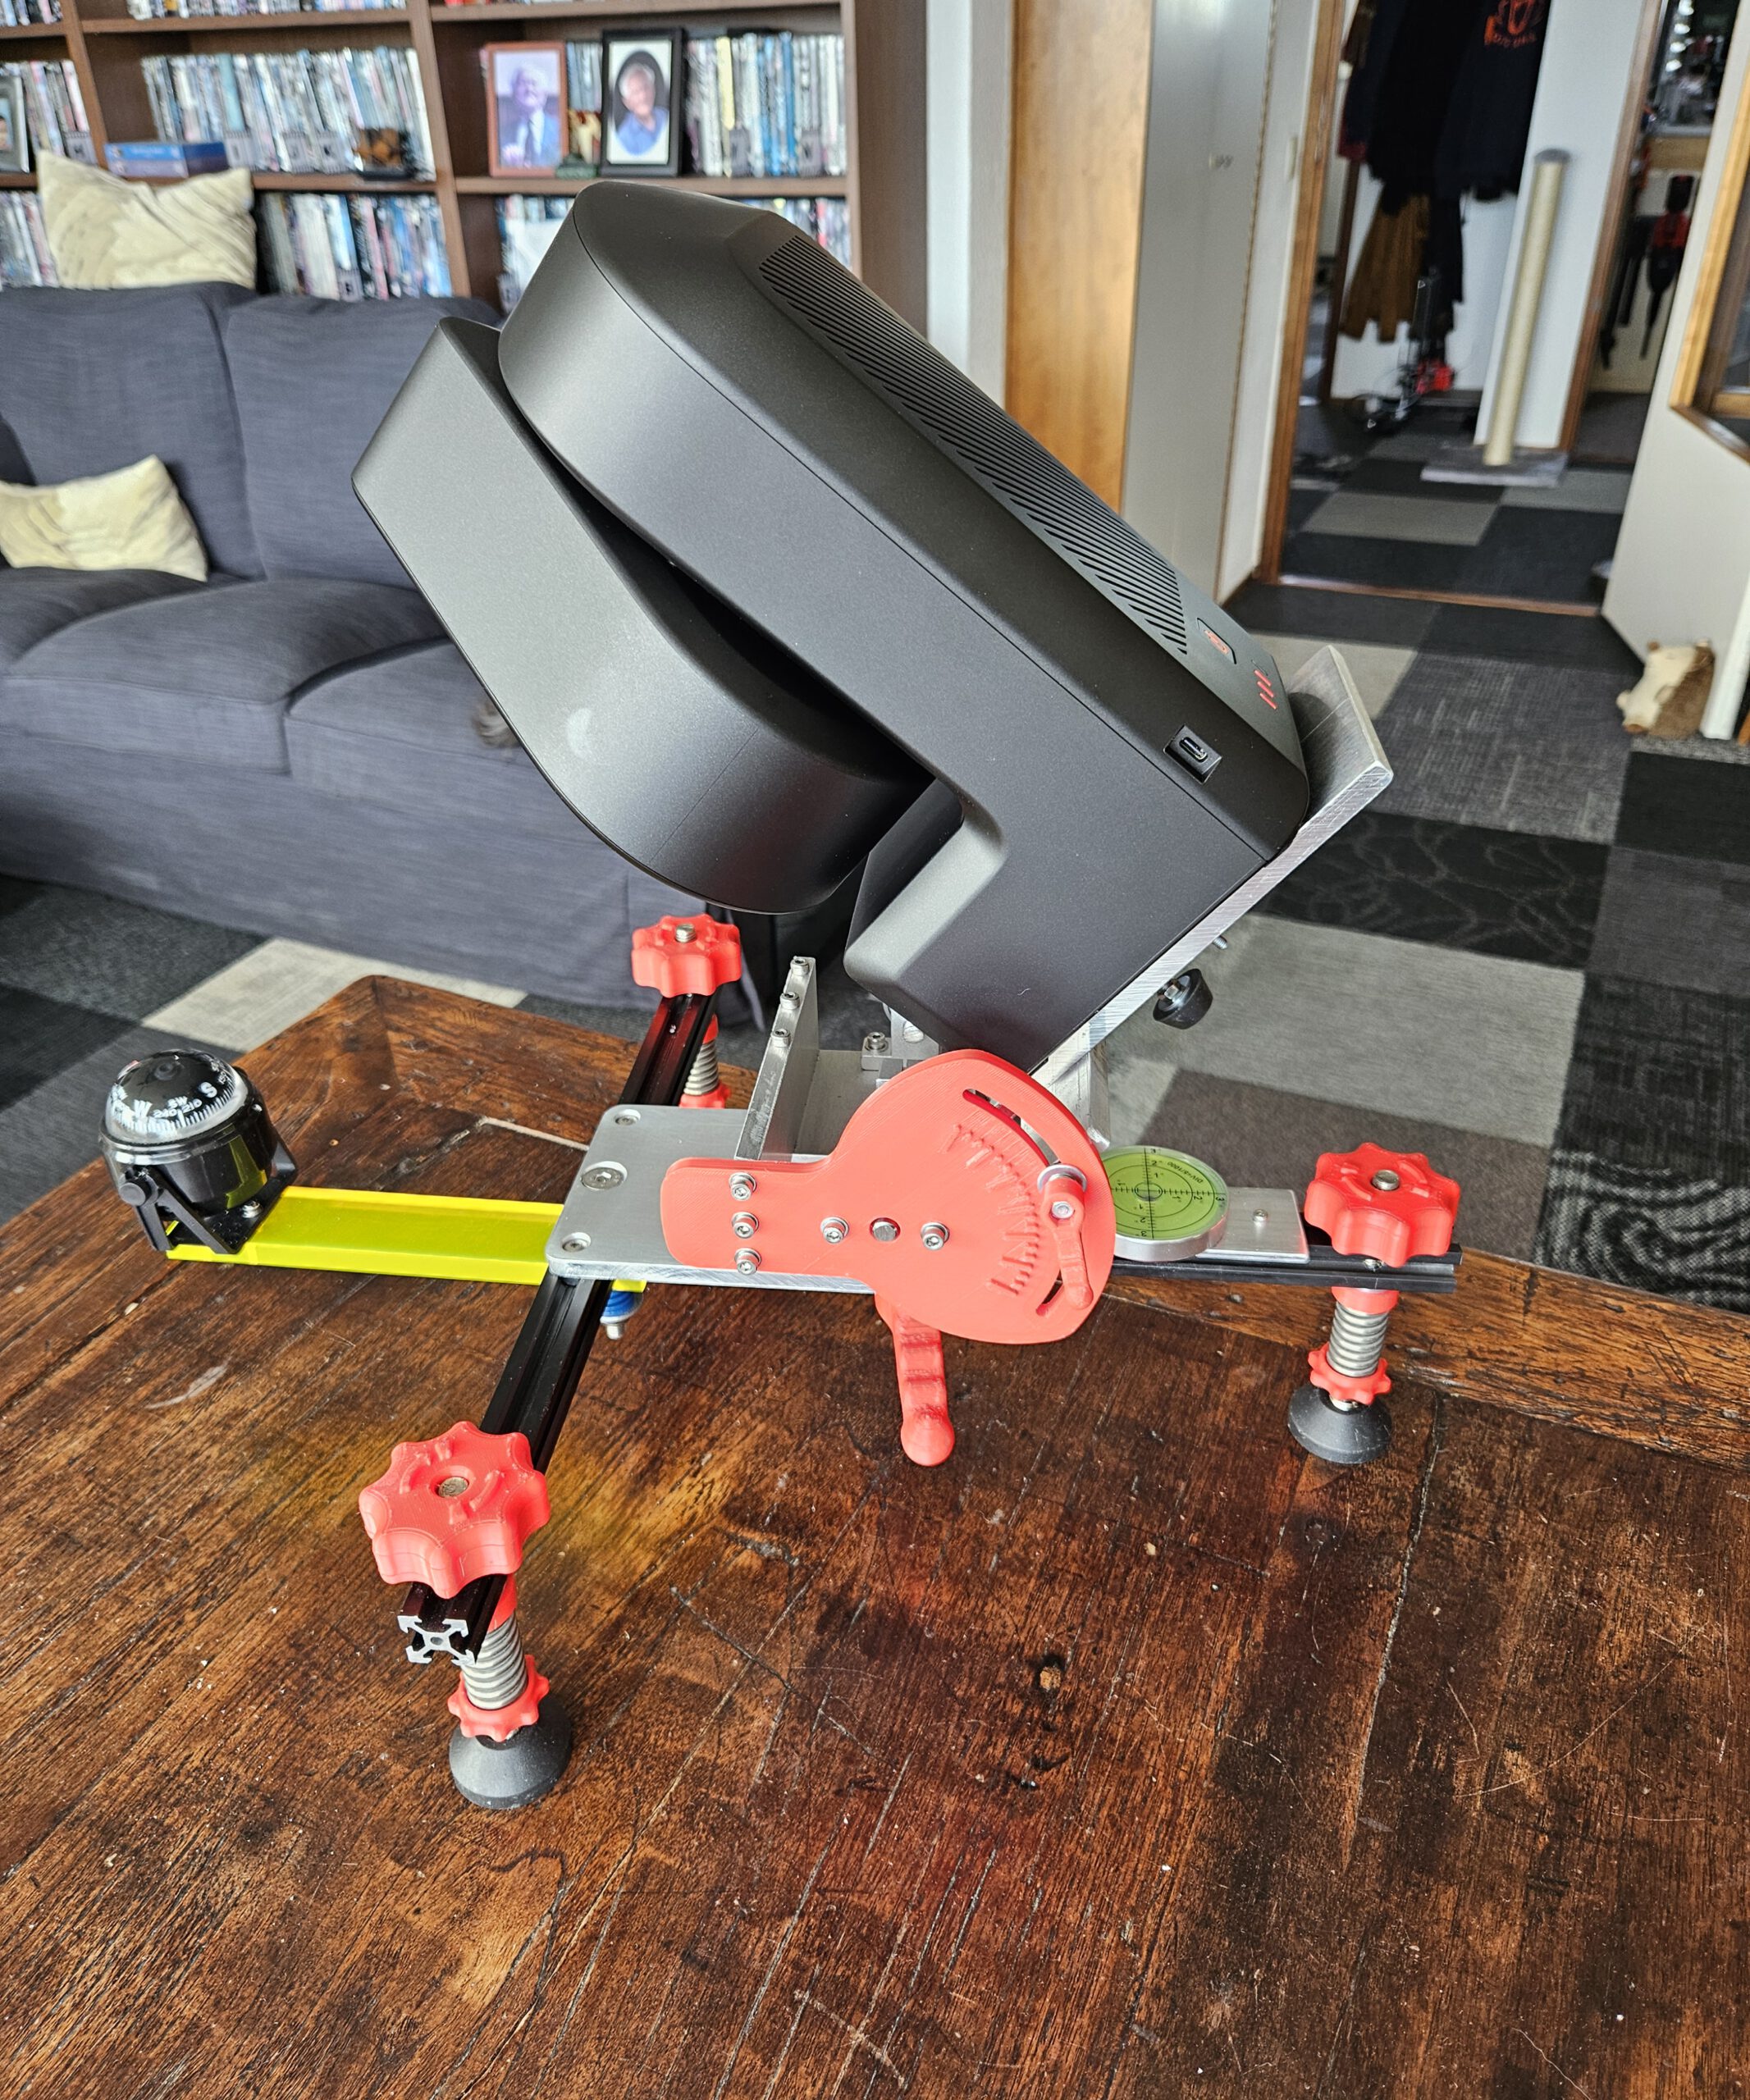
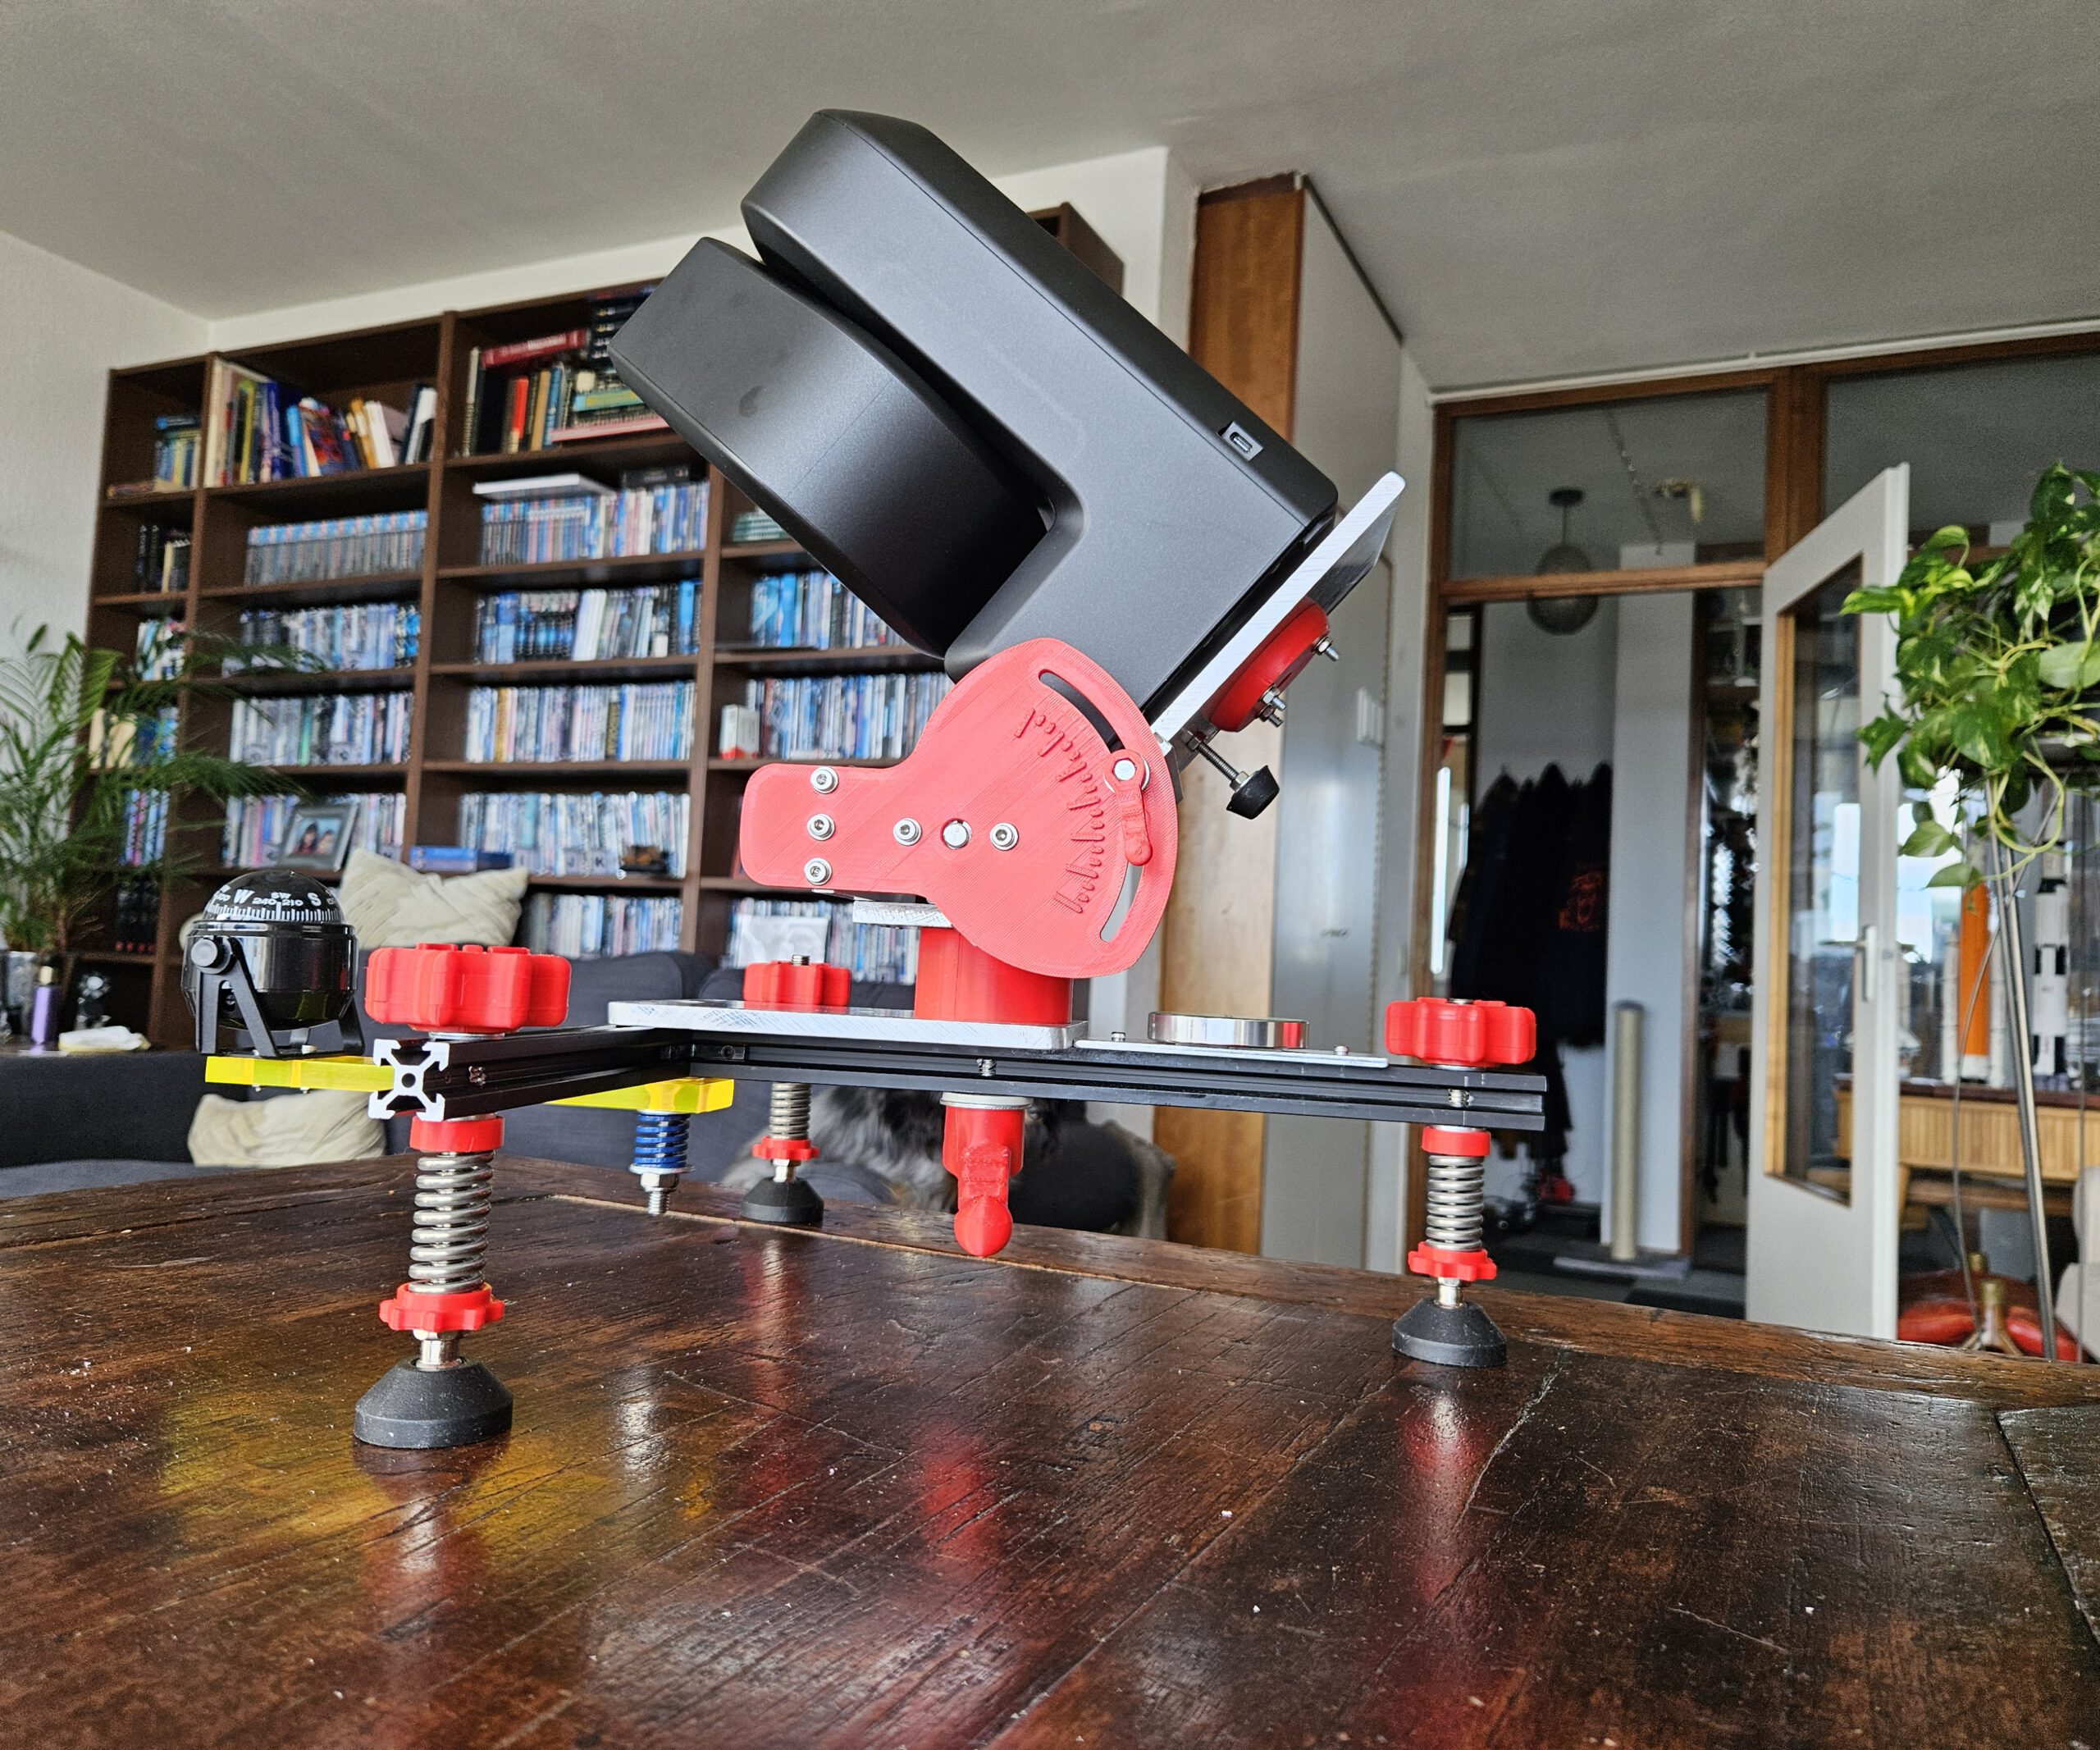
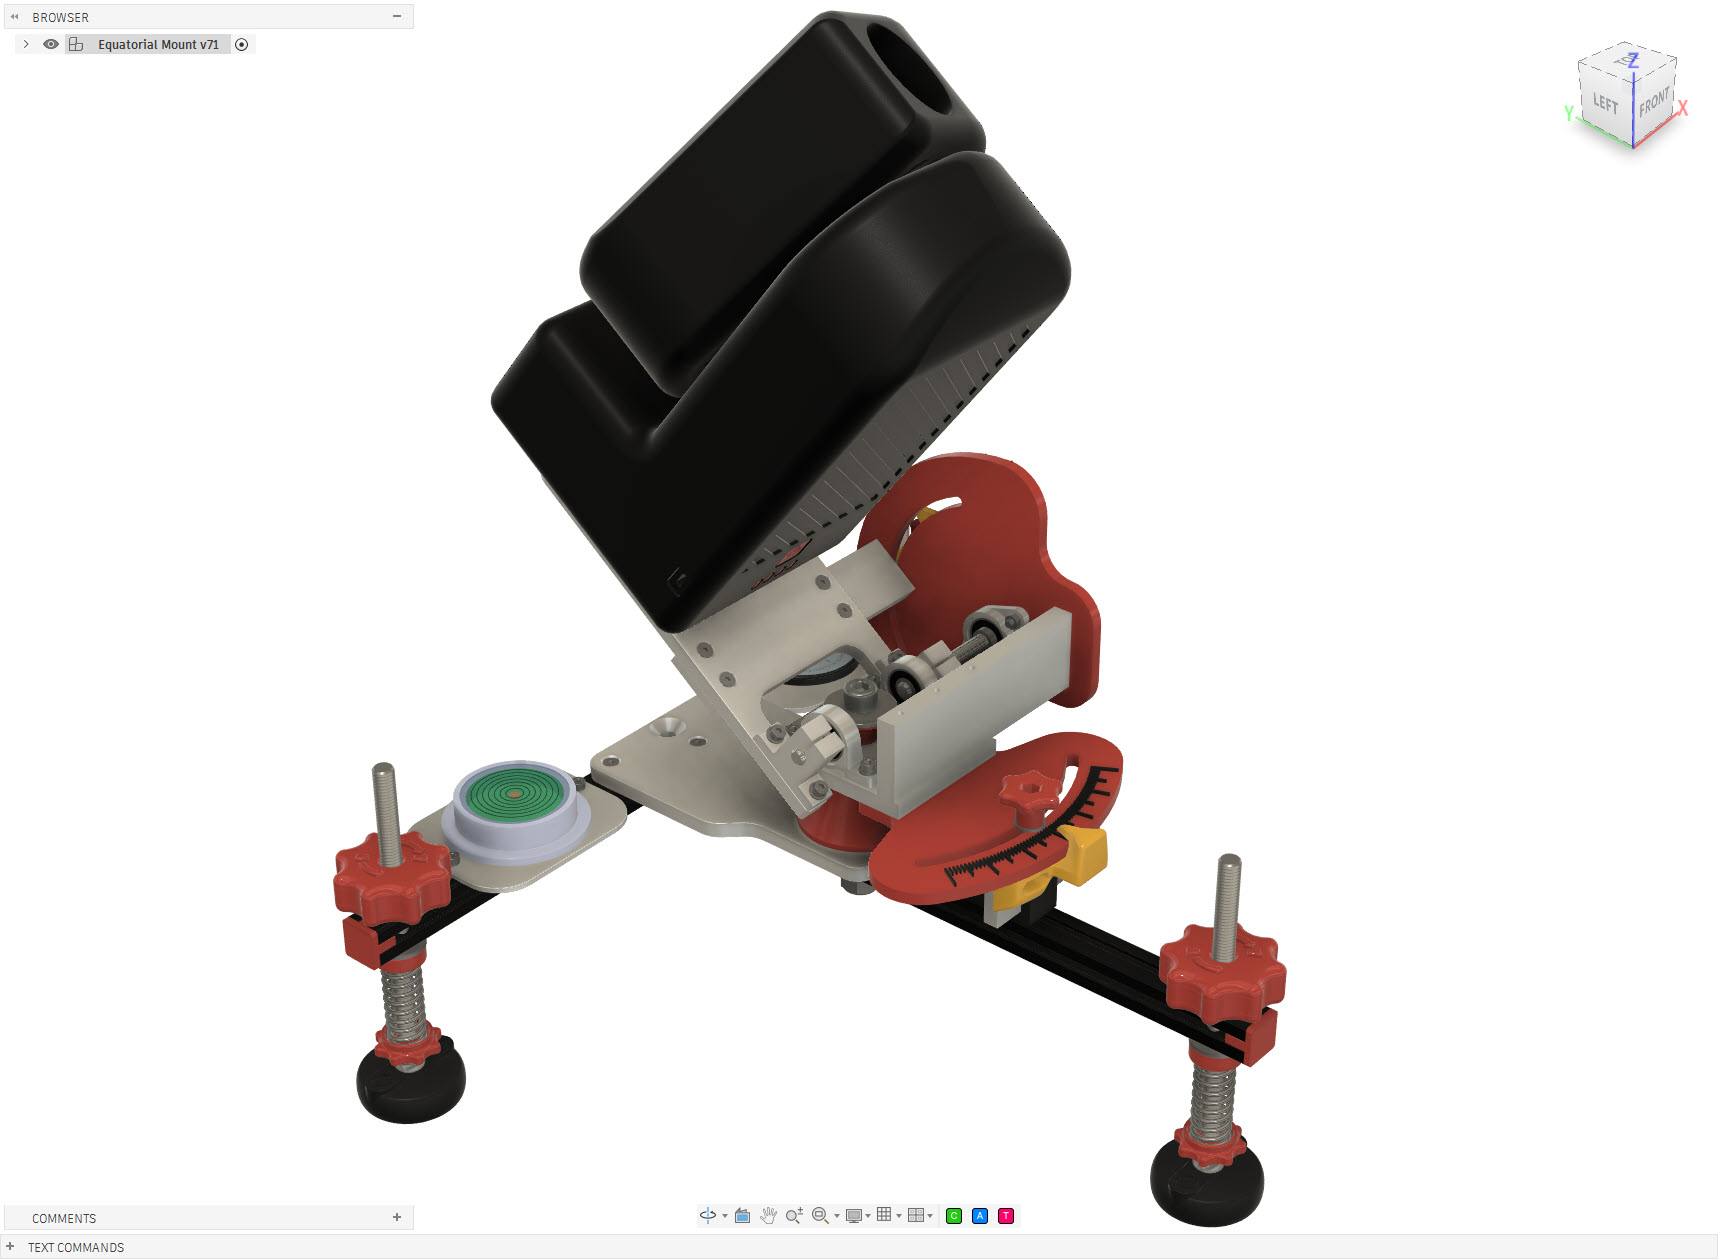
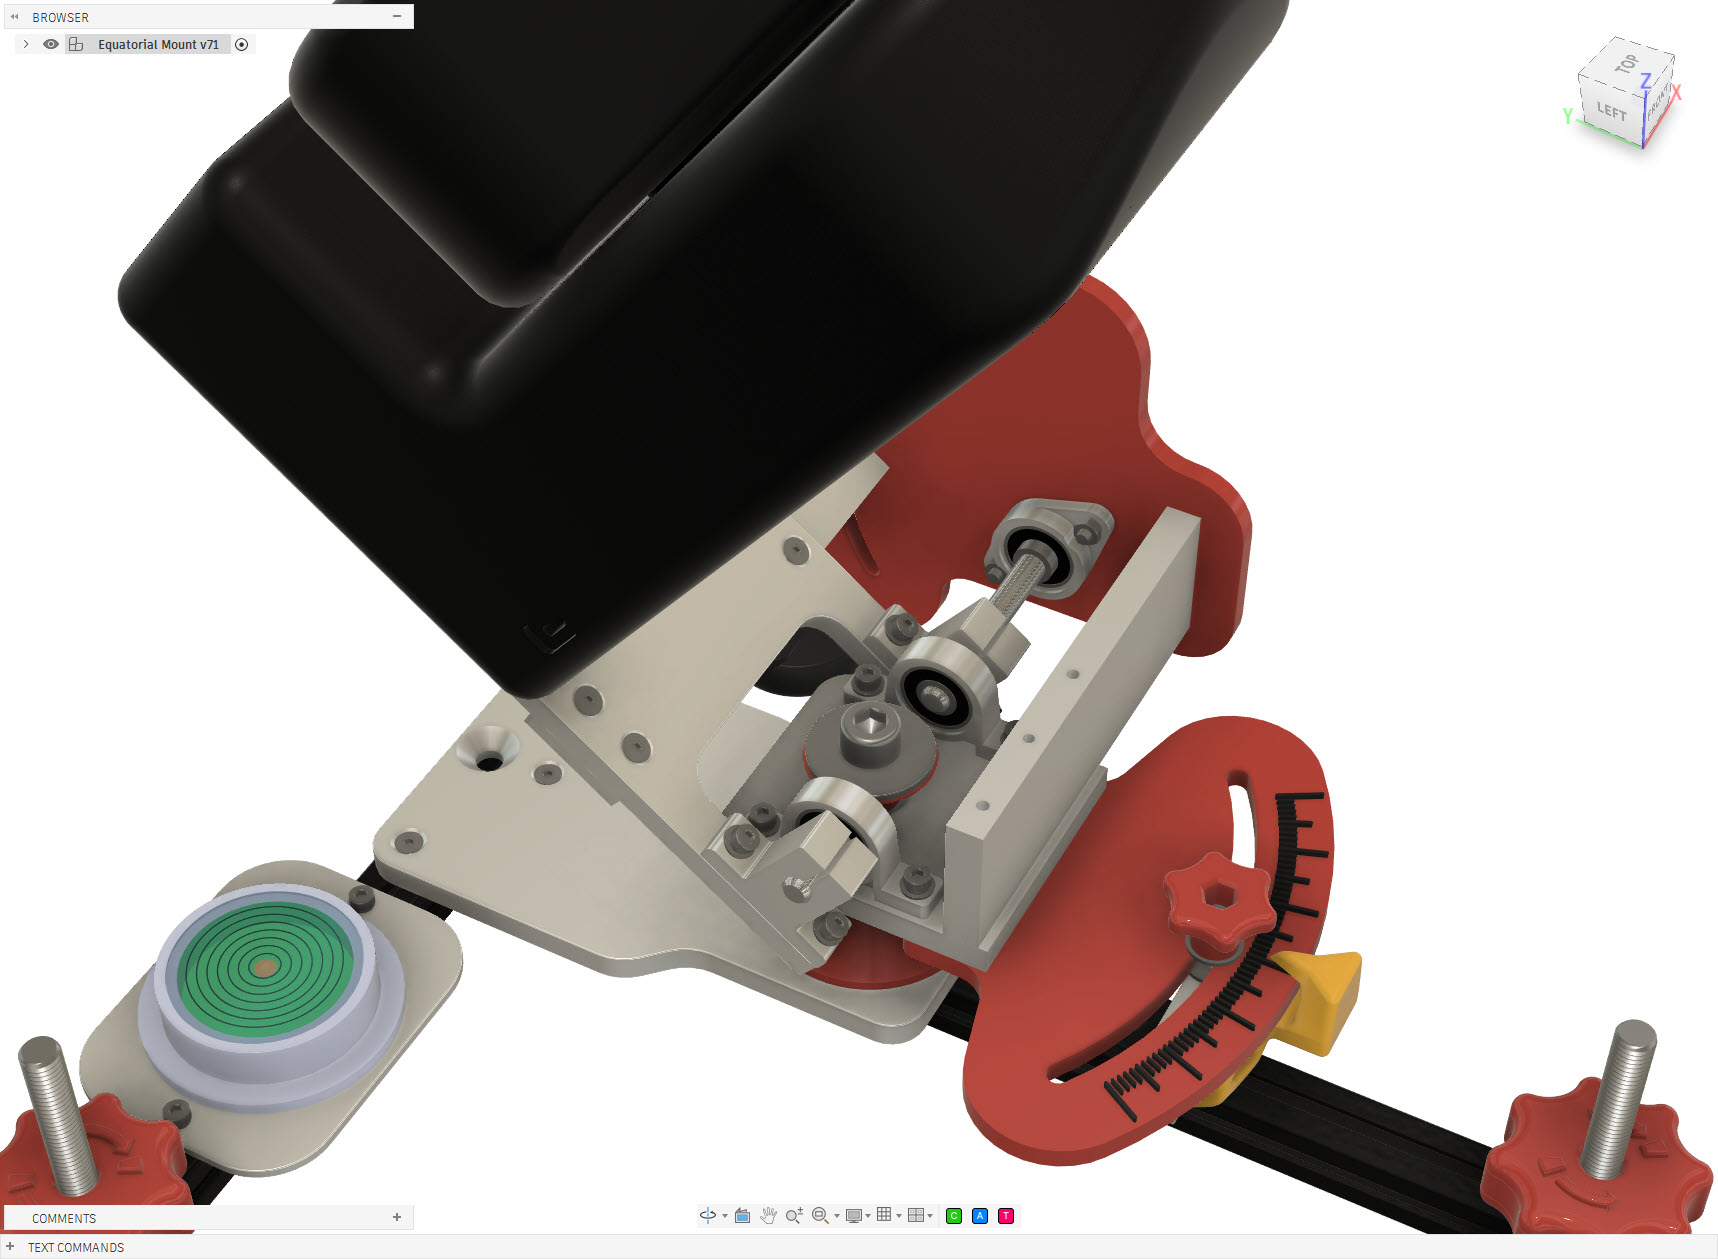
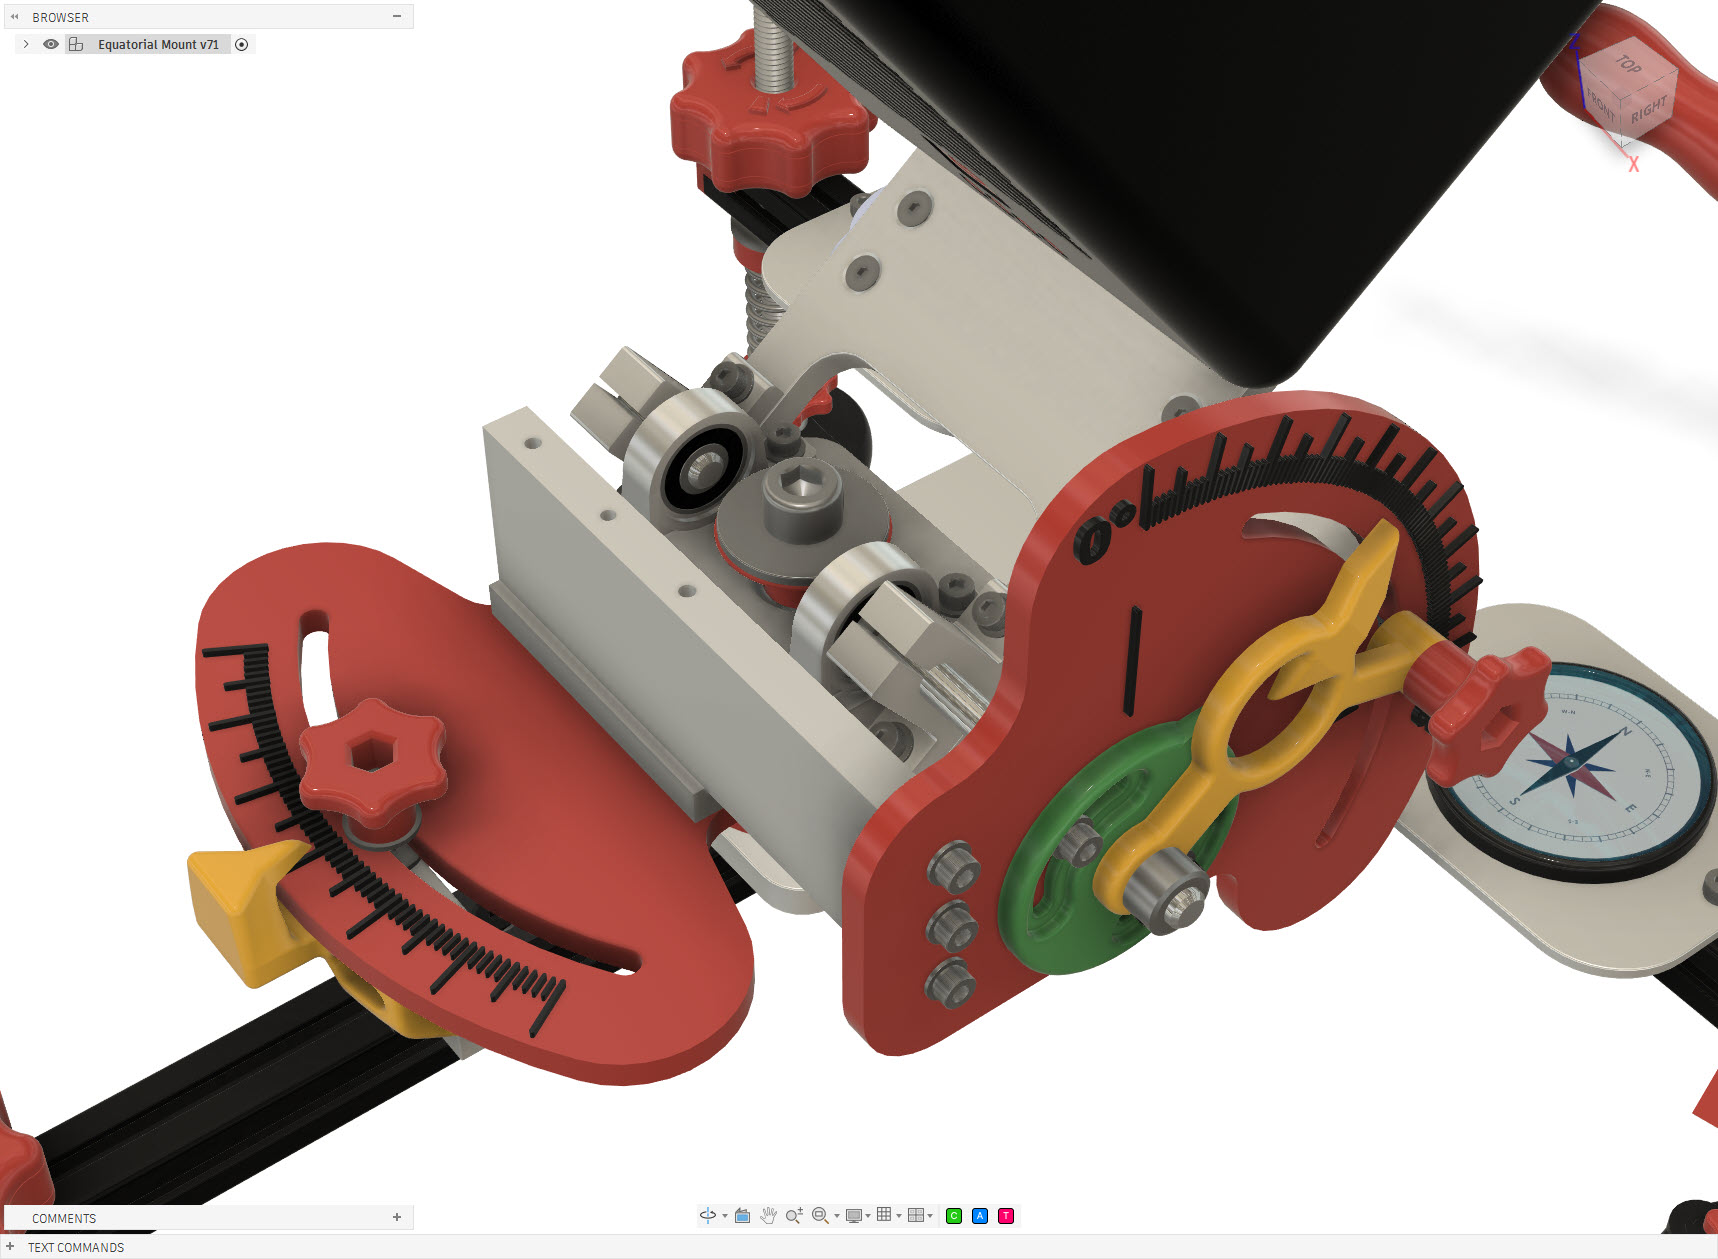
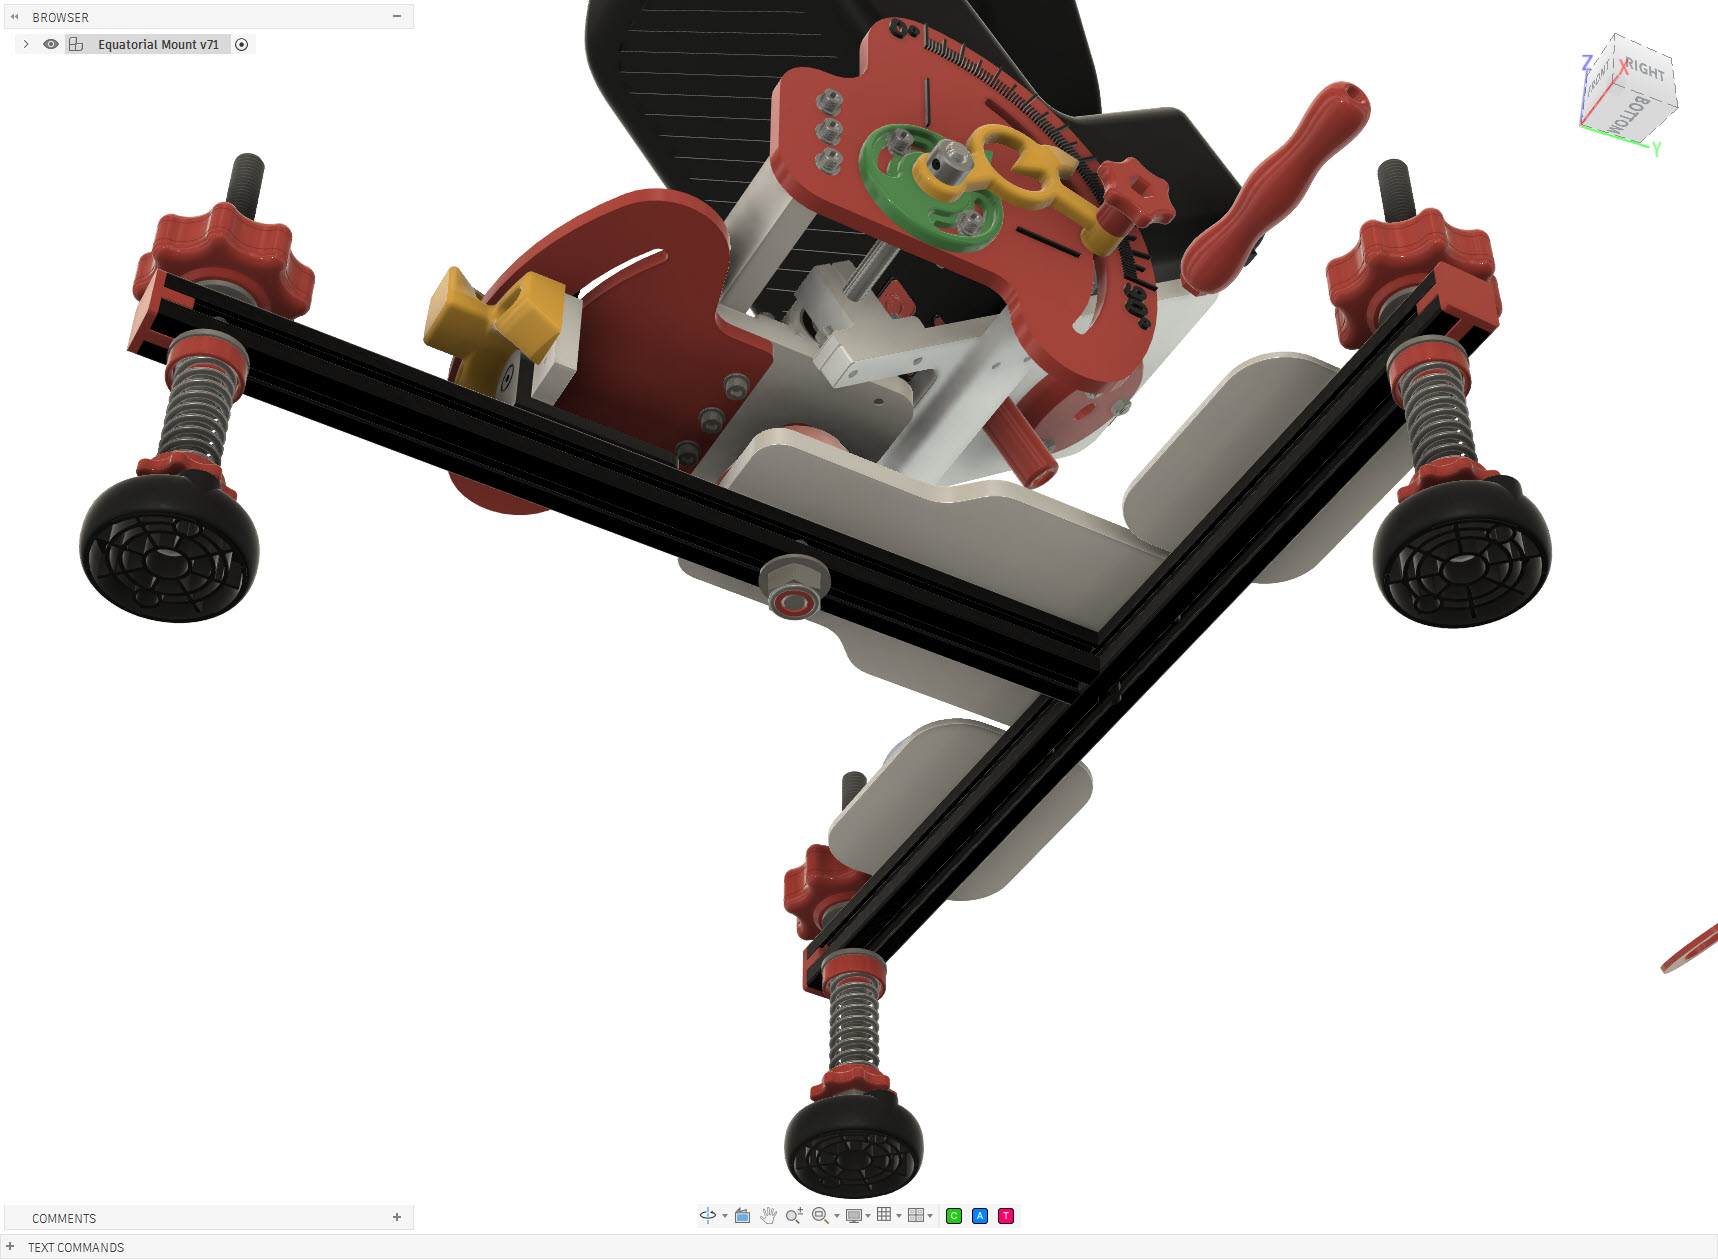
Equatorial Mount for the ZWO Seestar S50 telescope. Giving a smart telescope a different way to follow the sky.
The Seestar S50 is a compact smart telescope capable of automatically locating and tracking objects in the night sky. In its standard configuration it operates as an alt-azimuth telescope, tracking an object by moving in both altitude and azimuth. That works remarkably well, but the Earth still has an annoying habit of rotating. For longer observations and astrophotography, an equatorial setup has an important advantage: instead of continuously correcting two axes, the telescope’s primary rotation axis is aligned parallel to the Earth’s rotational axis. Tracking the apparent motion of the sky can then essentially be reduced to rotation around a single axis. So rather than buying an equatorial wedge or mount, I decided to design and build one specifically for my Seestar S50.
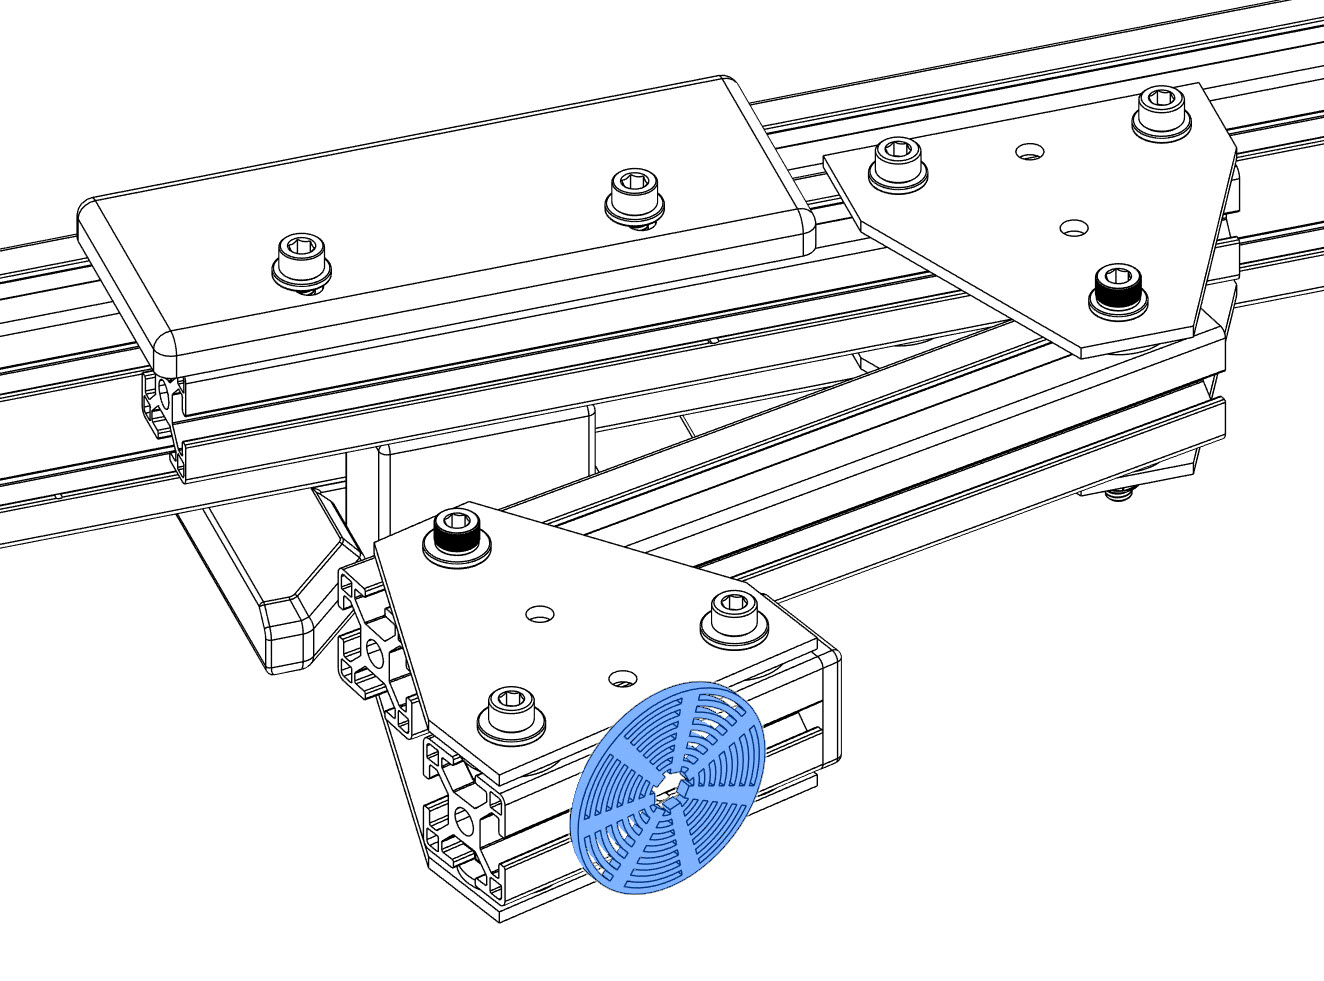
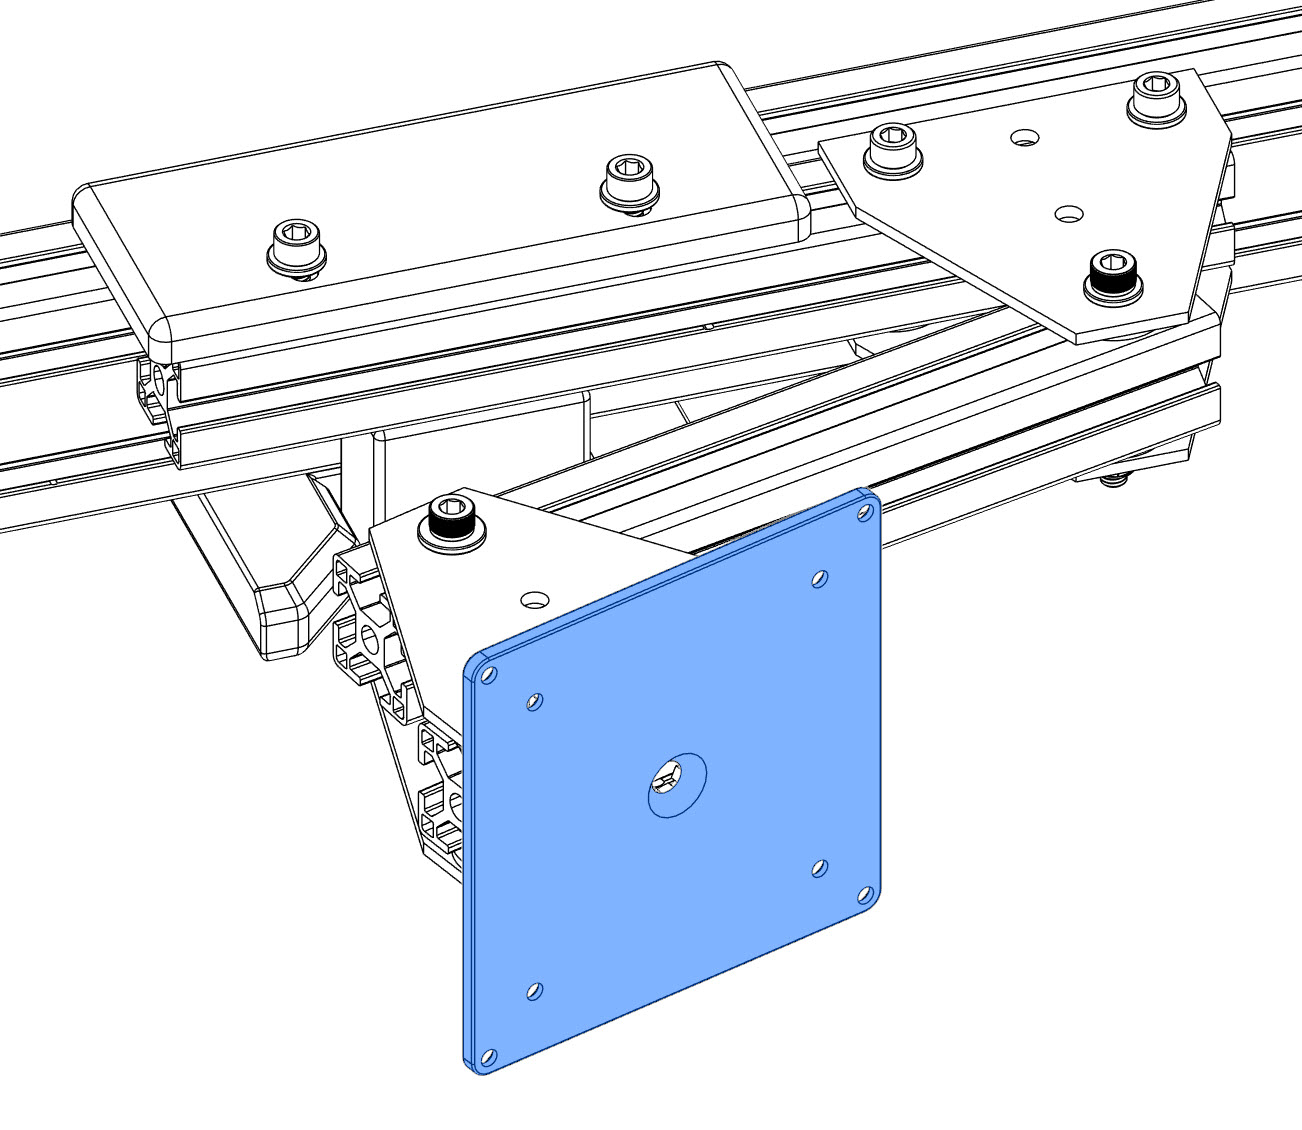
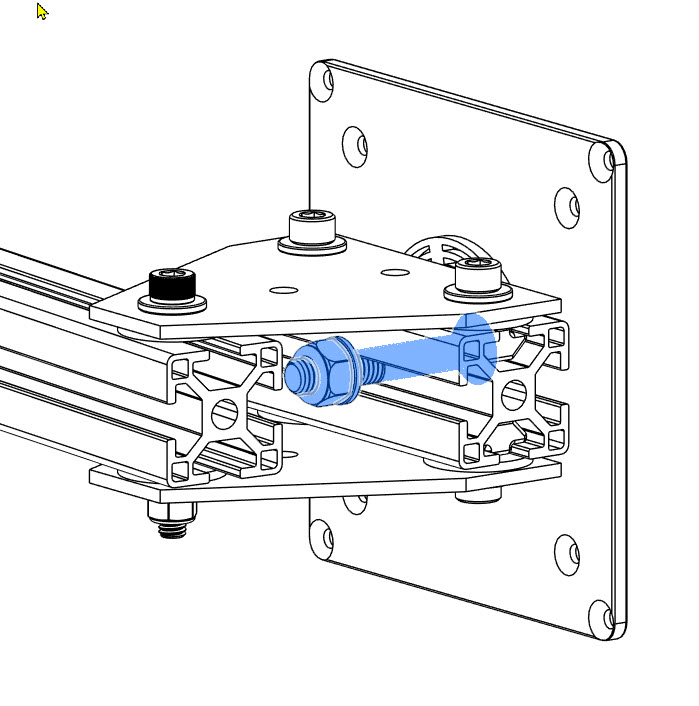
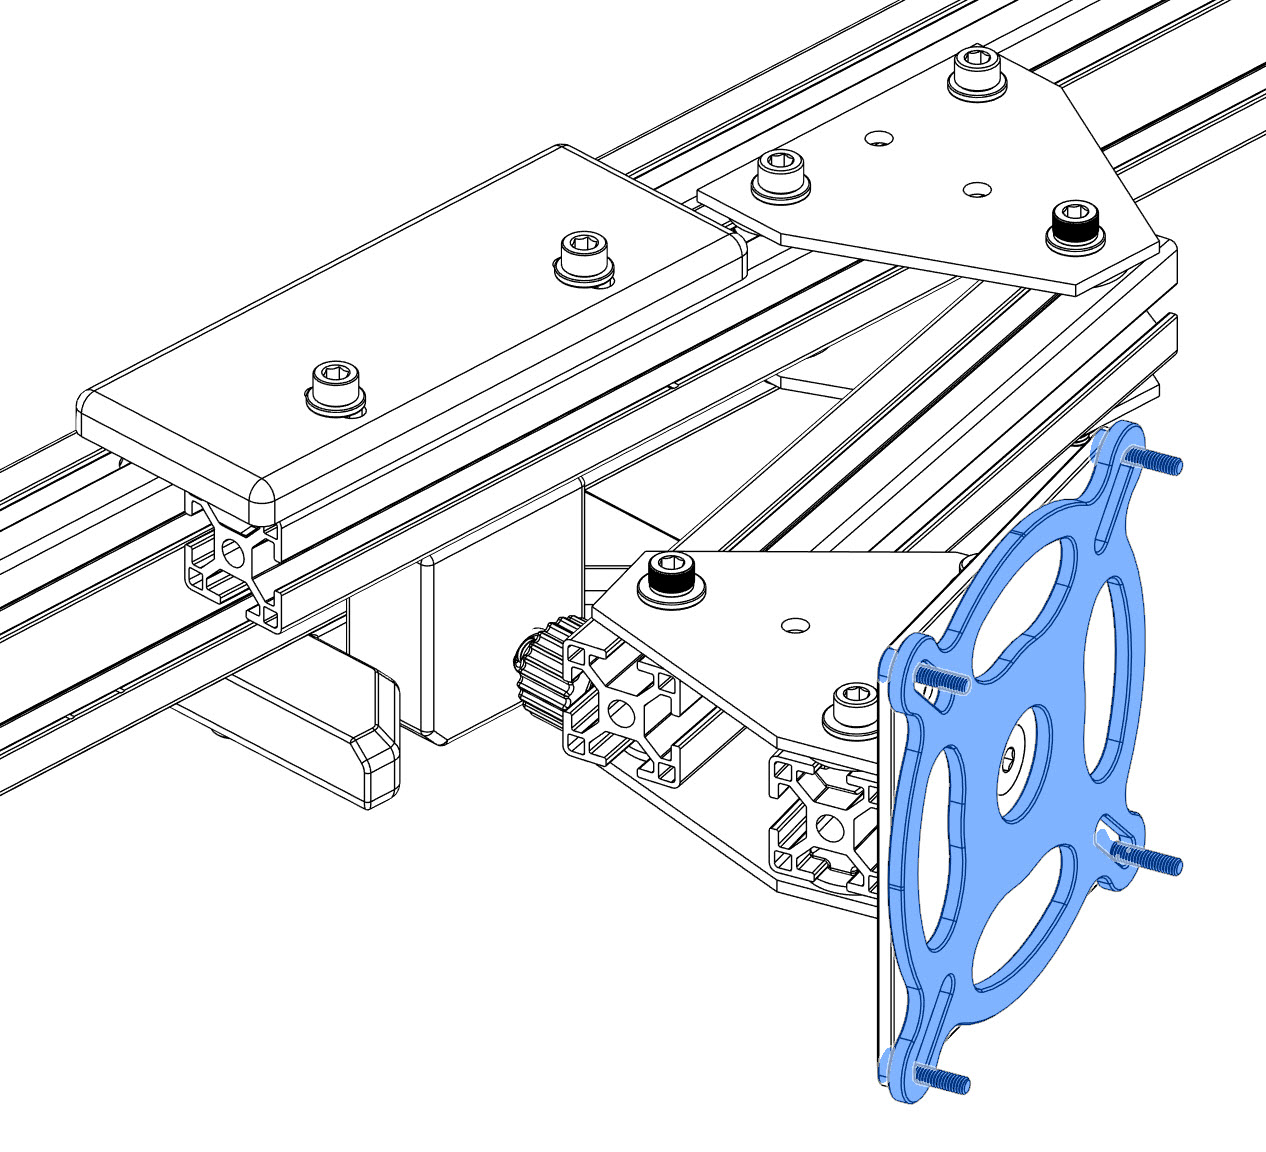
Seestar S50 Equatorial Mount
Seestar S50 Equatorial Mount
Seestar S50 Equatorial Mount
Seestar S50 Equatorial Mount
Seestar S50 Equatorial Mount
Seestar S50 Equatorial Mount
Seestar S50 Equatorial Mount
Seestar S50 Equatorial Mount
Seestar S50 Equatorial Mount
Seestar S50 Equatorial Mount
How does it work
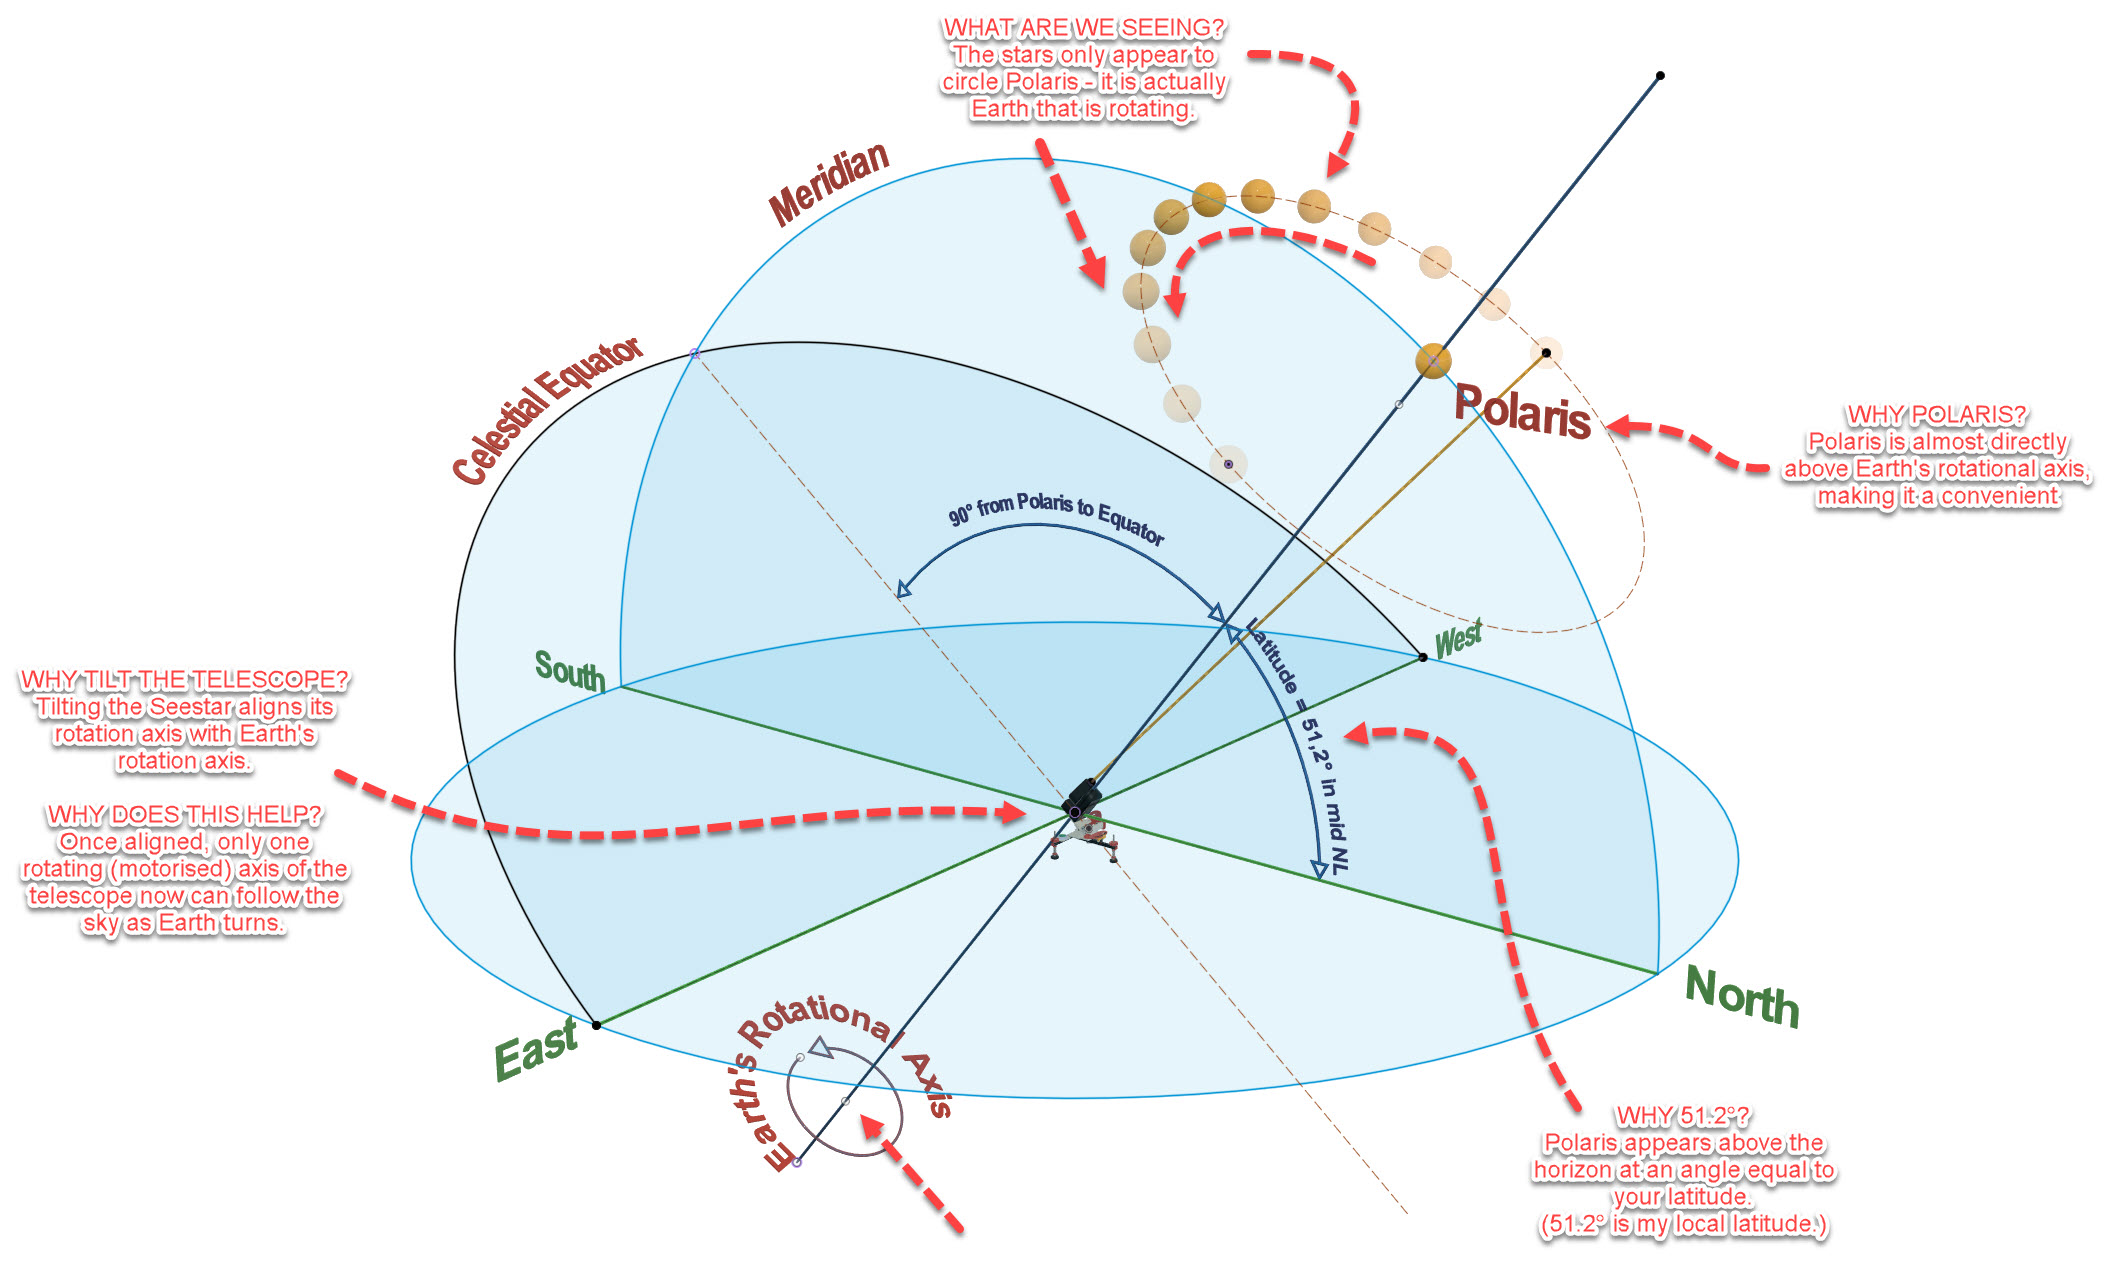
The stars appear to move across the night sky because the Earth rotates. Polaris lies very close to the Earth’s rotational axis and therefore appears almost stationary while the other stars seem to circle around it.
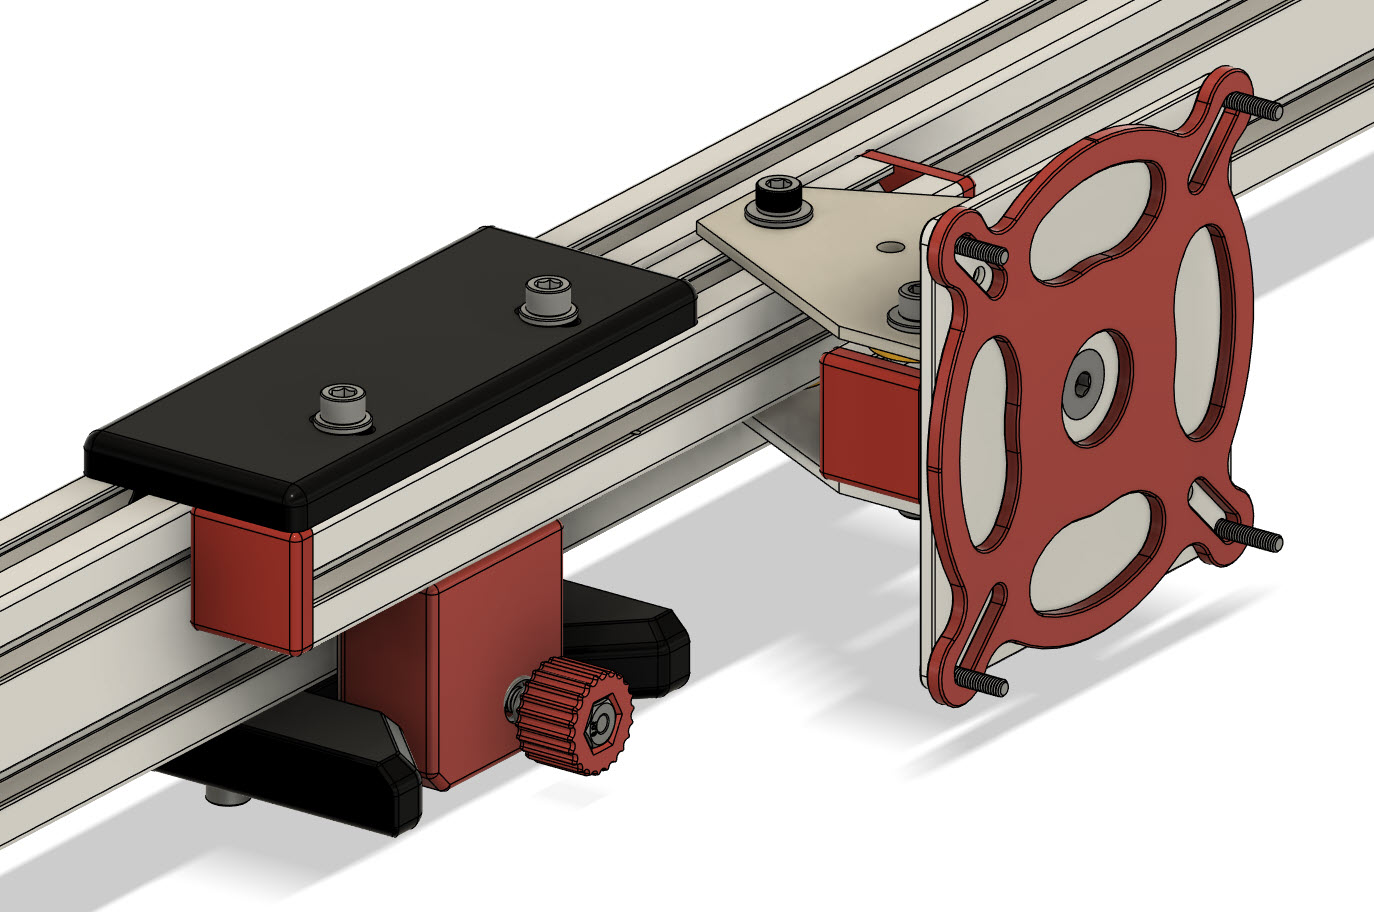
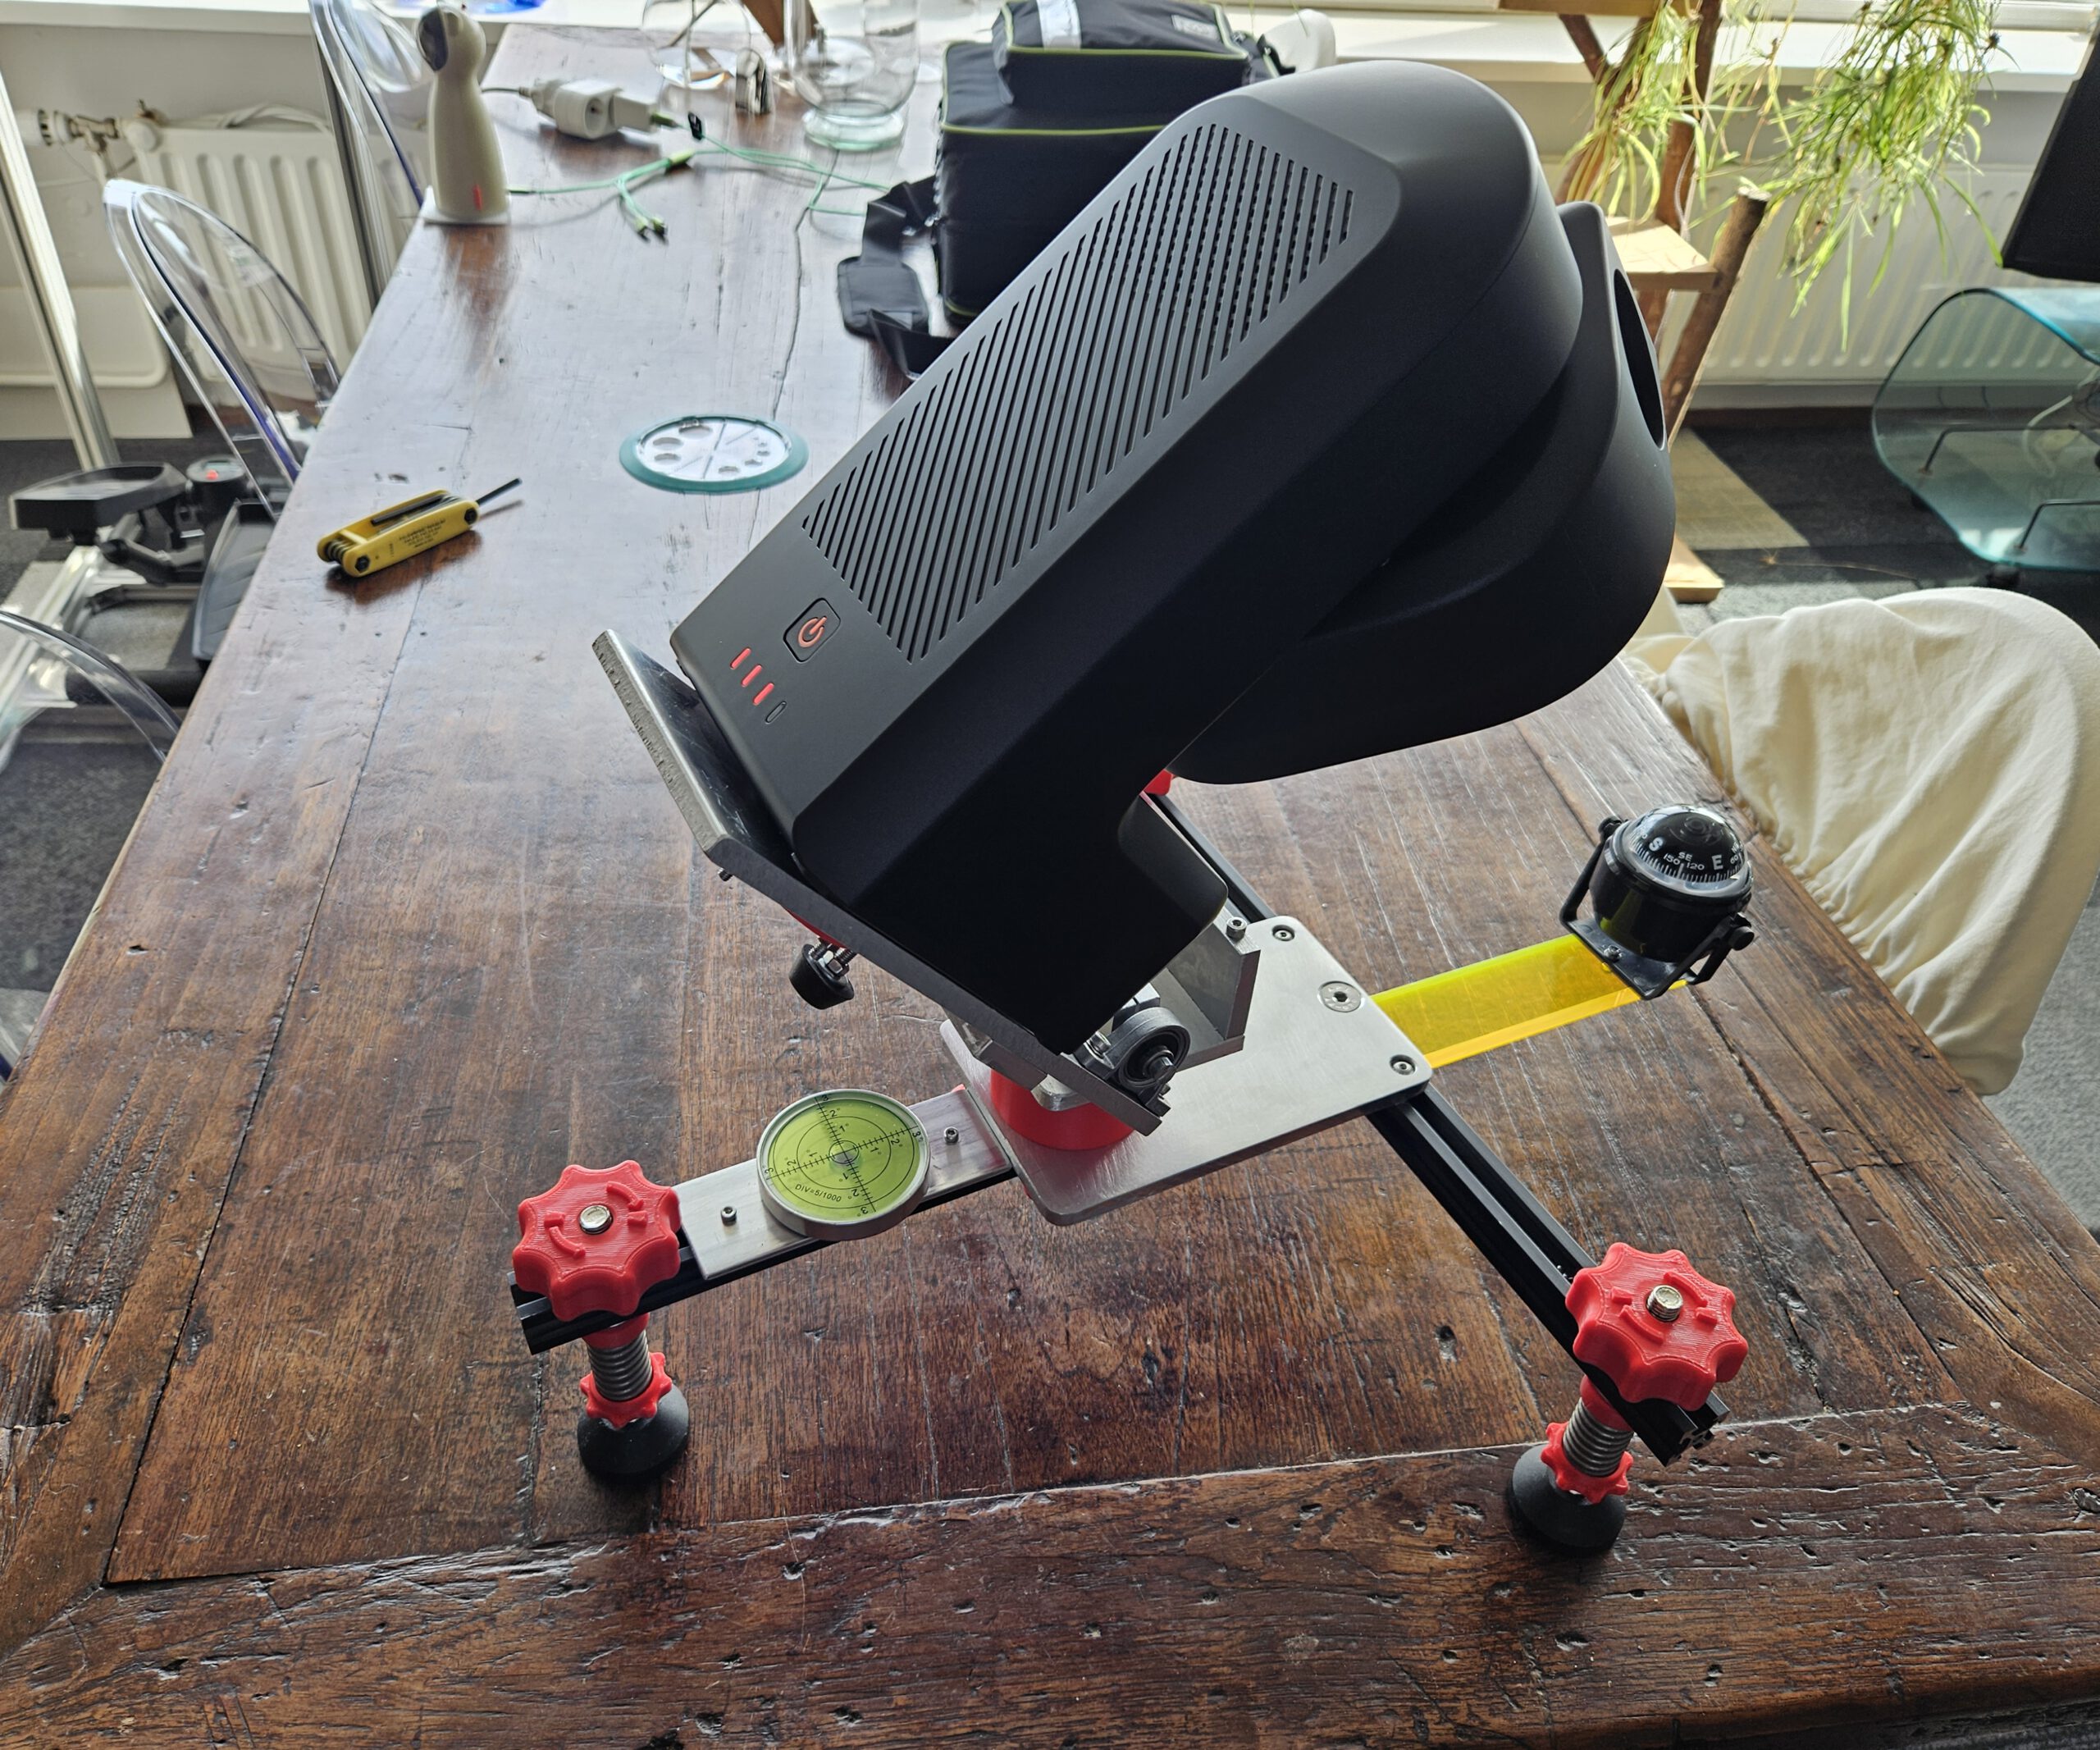
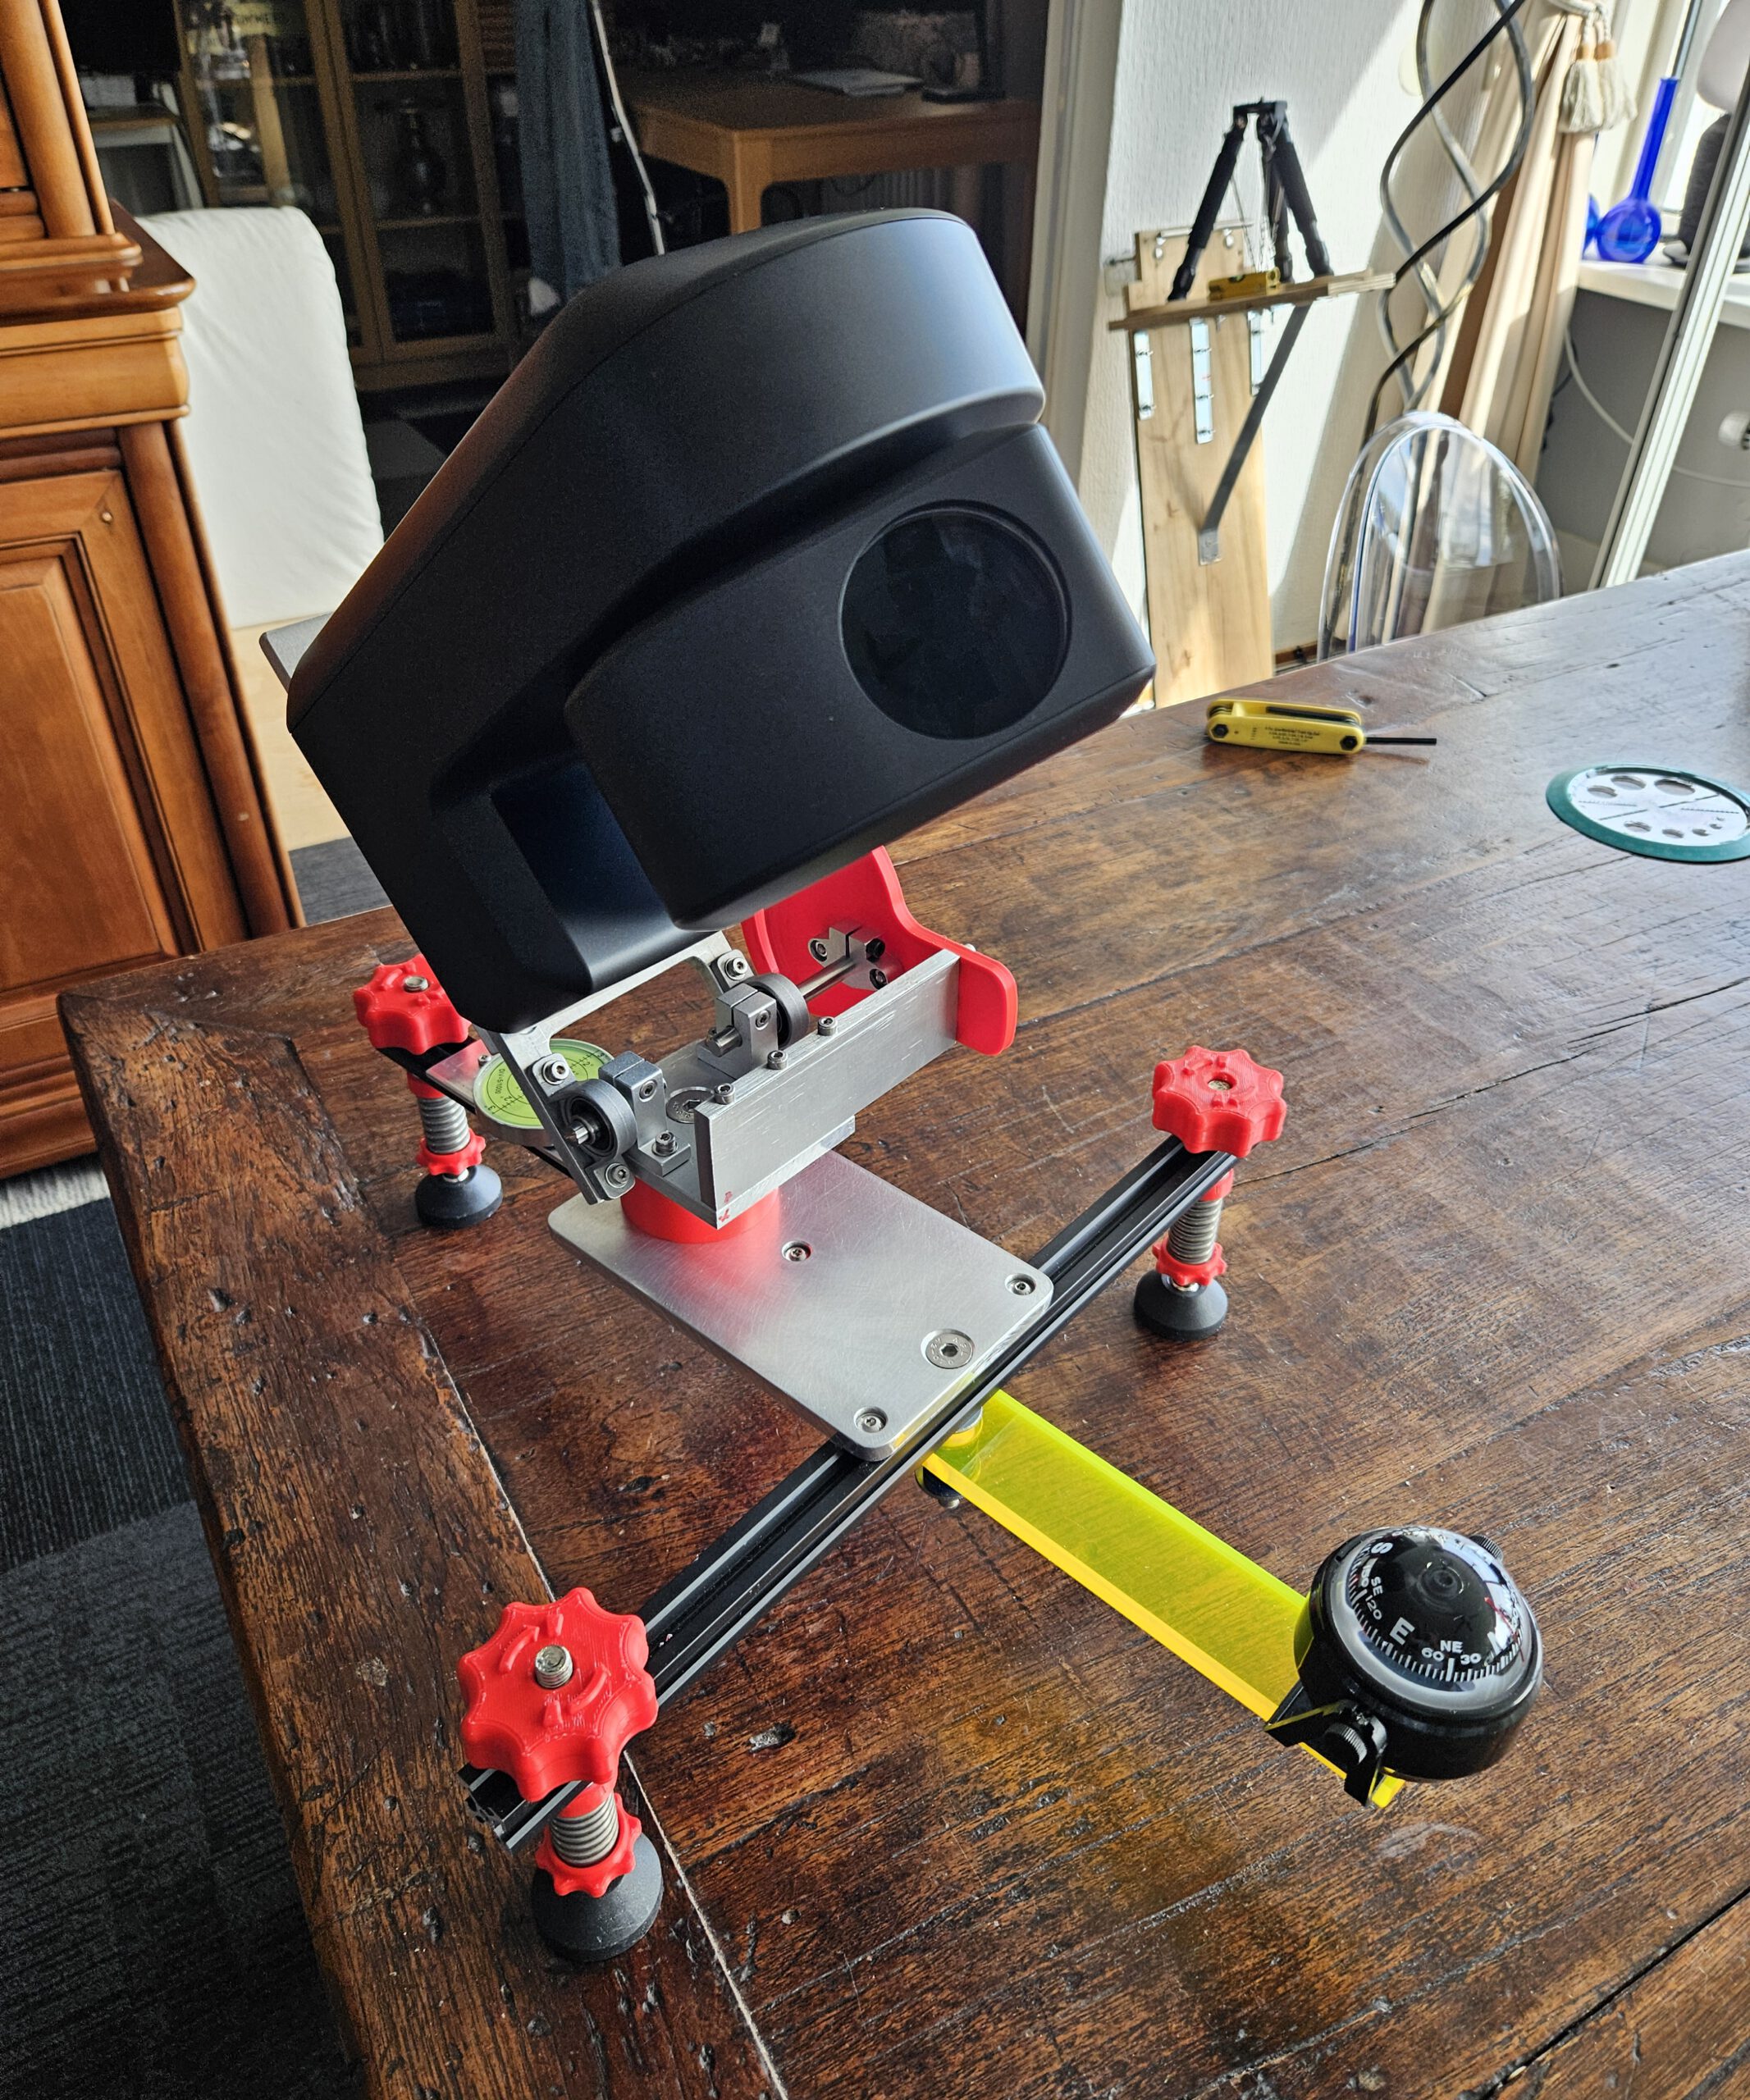
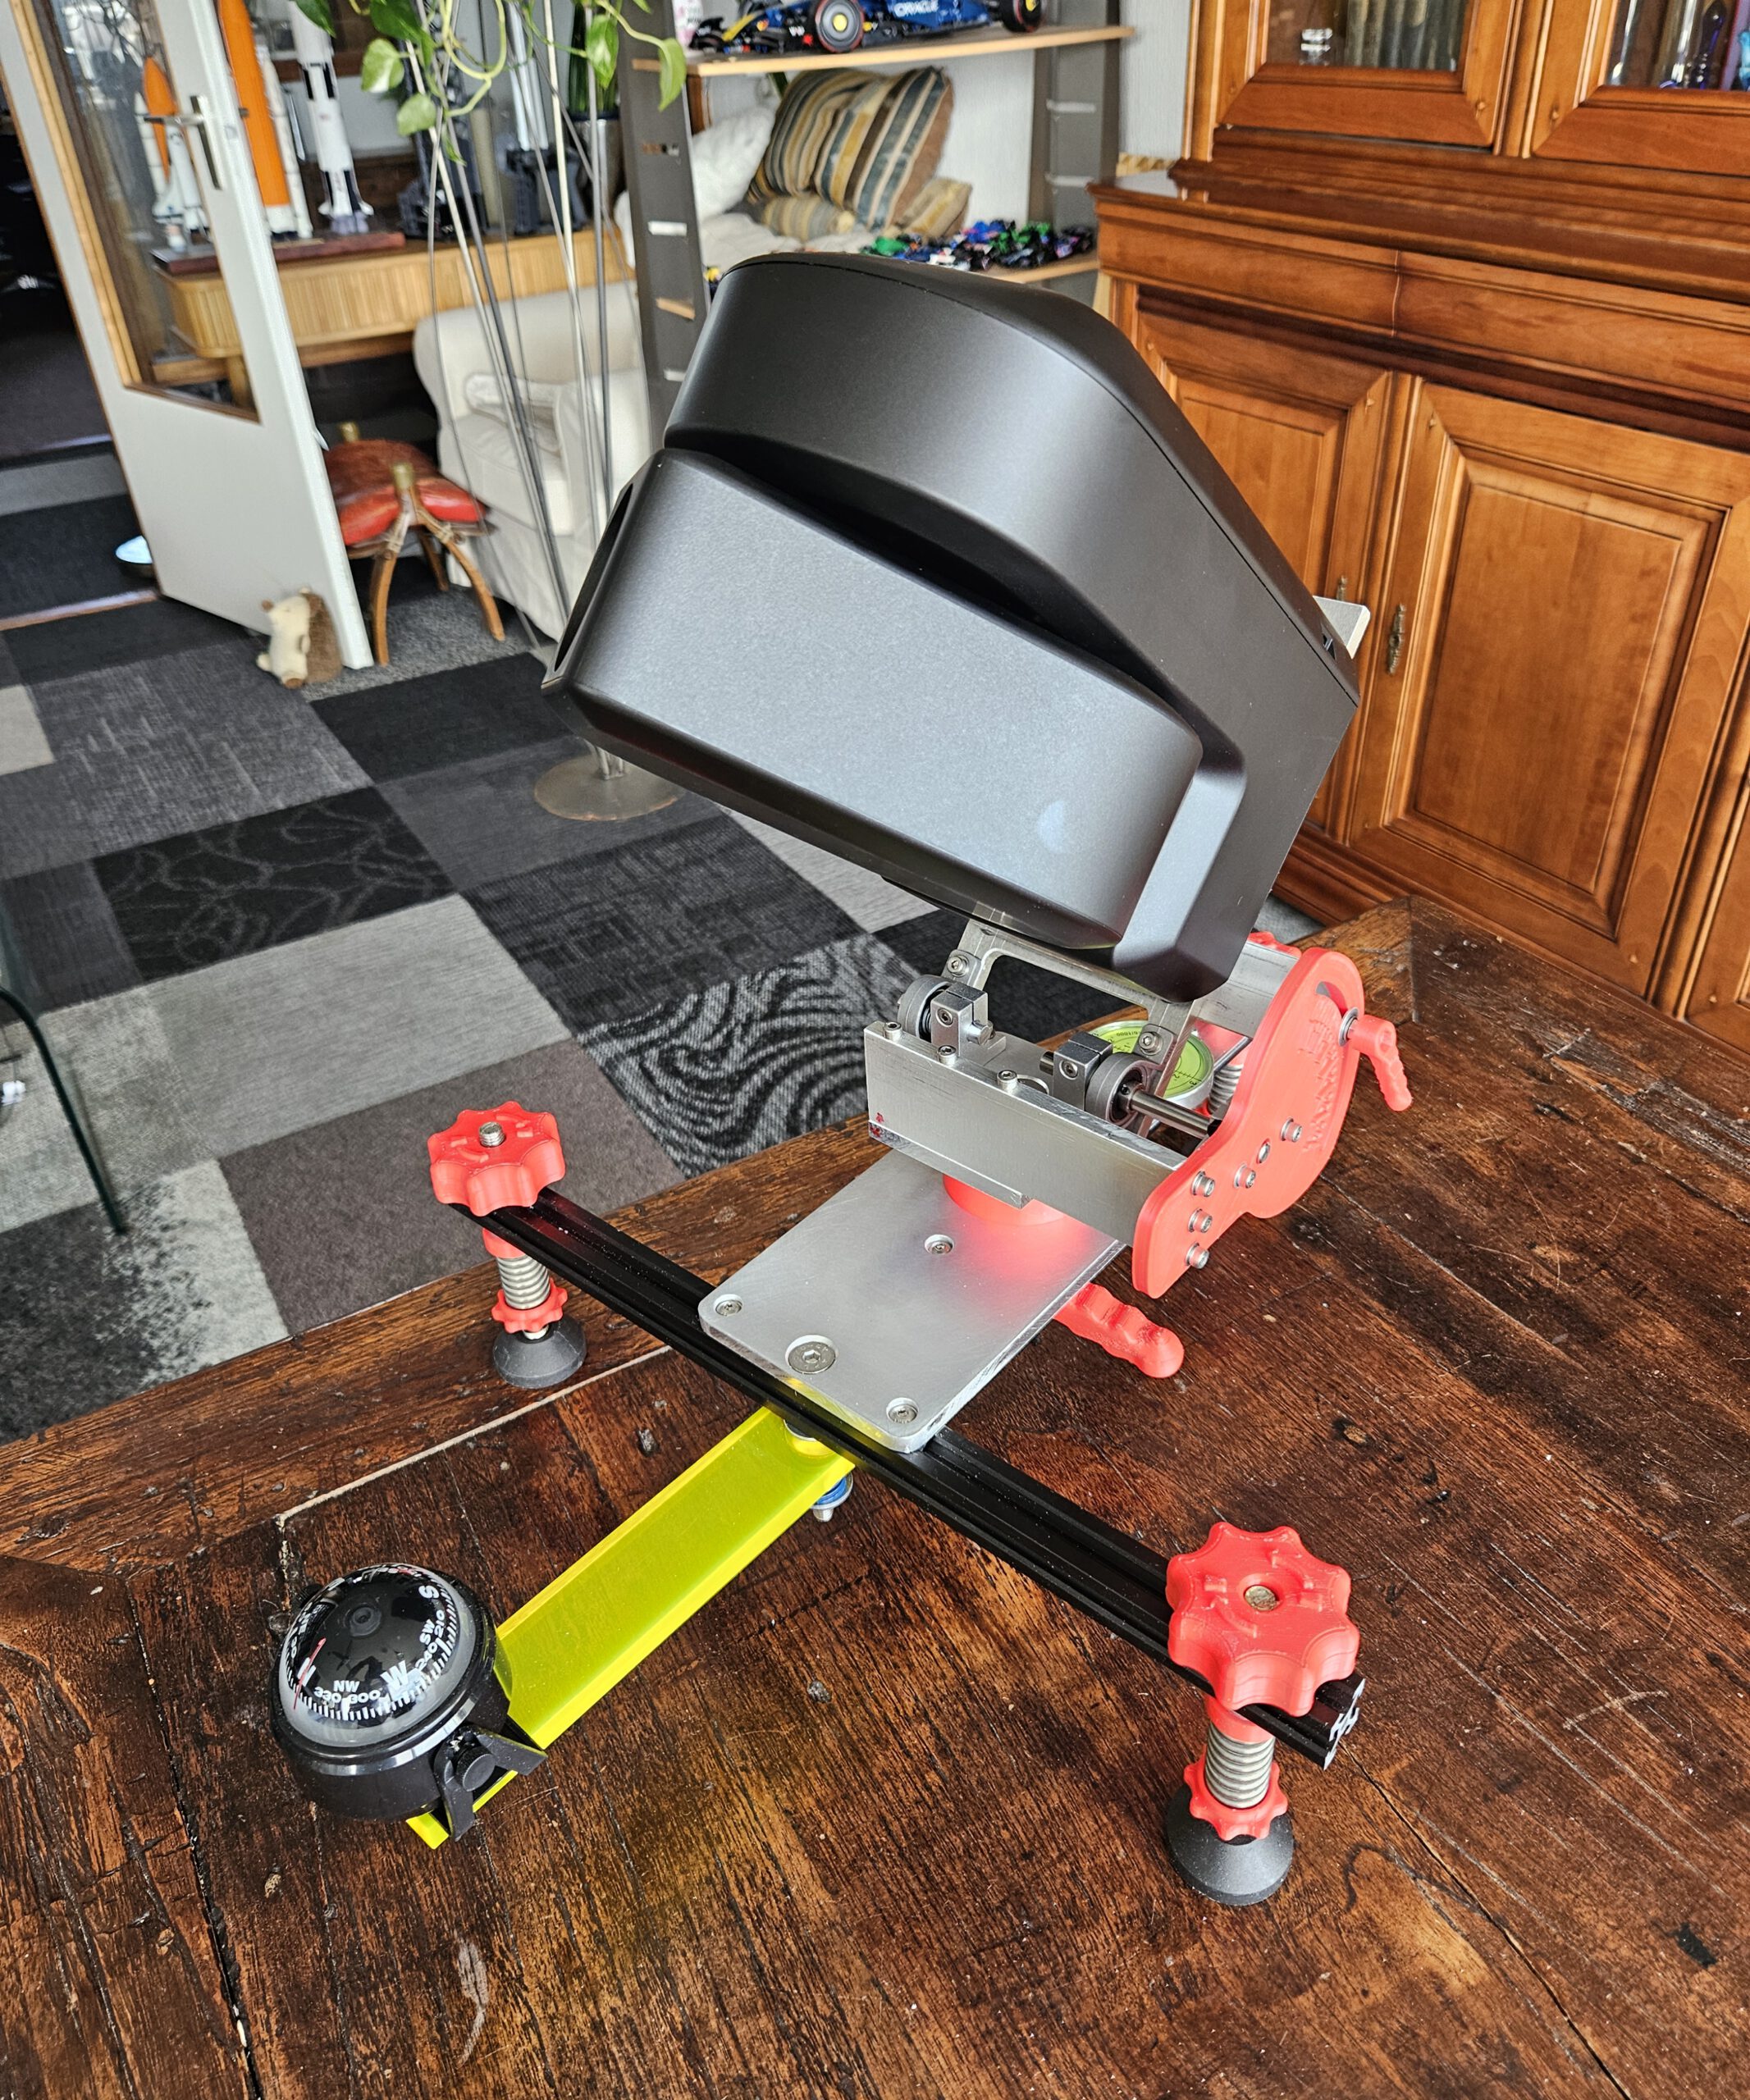
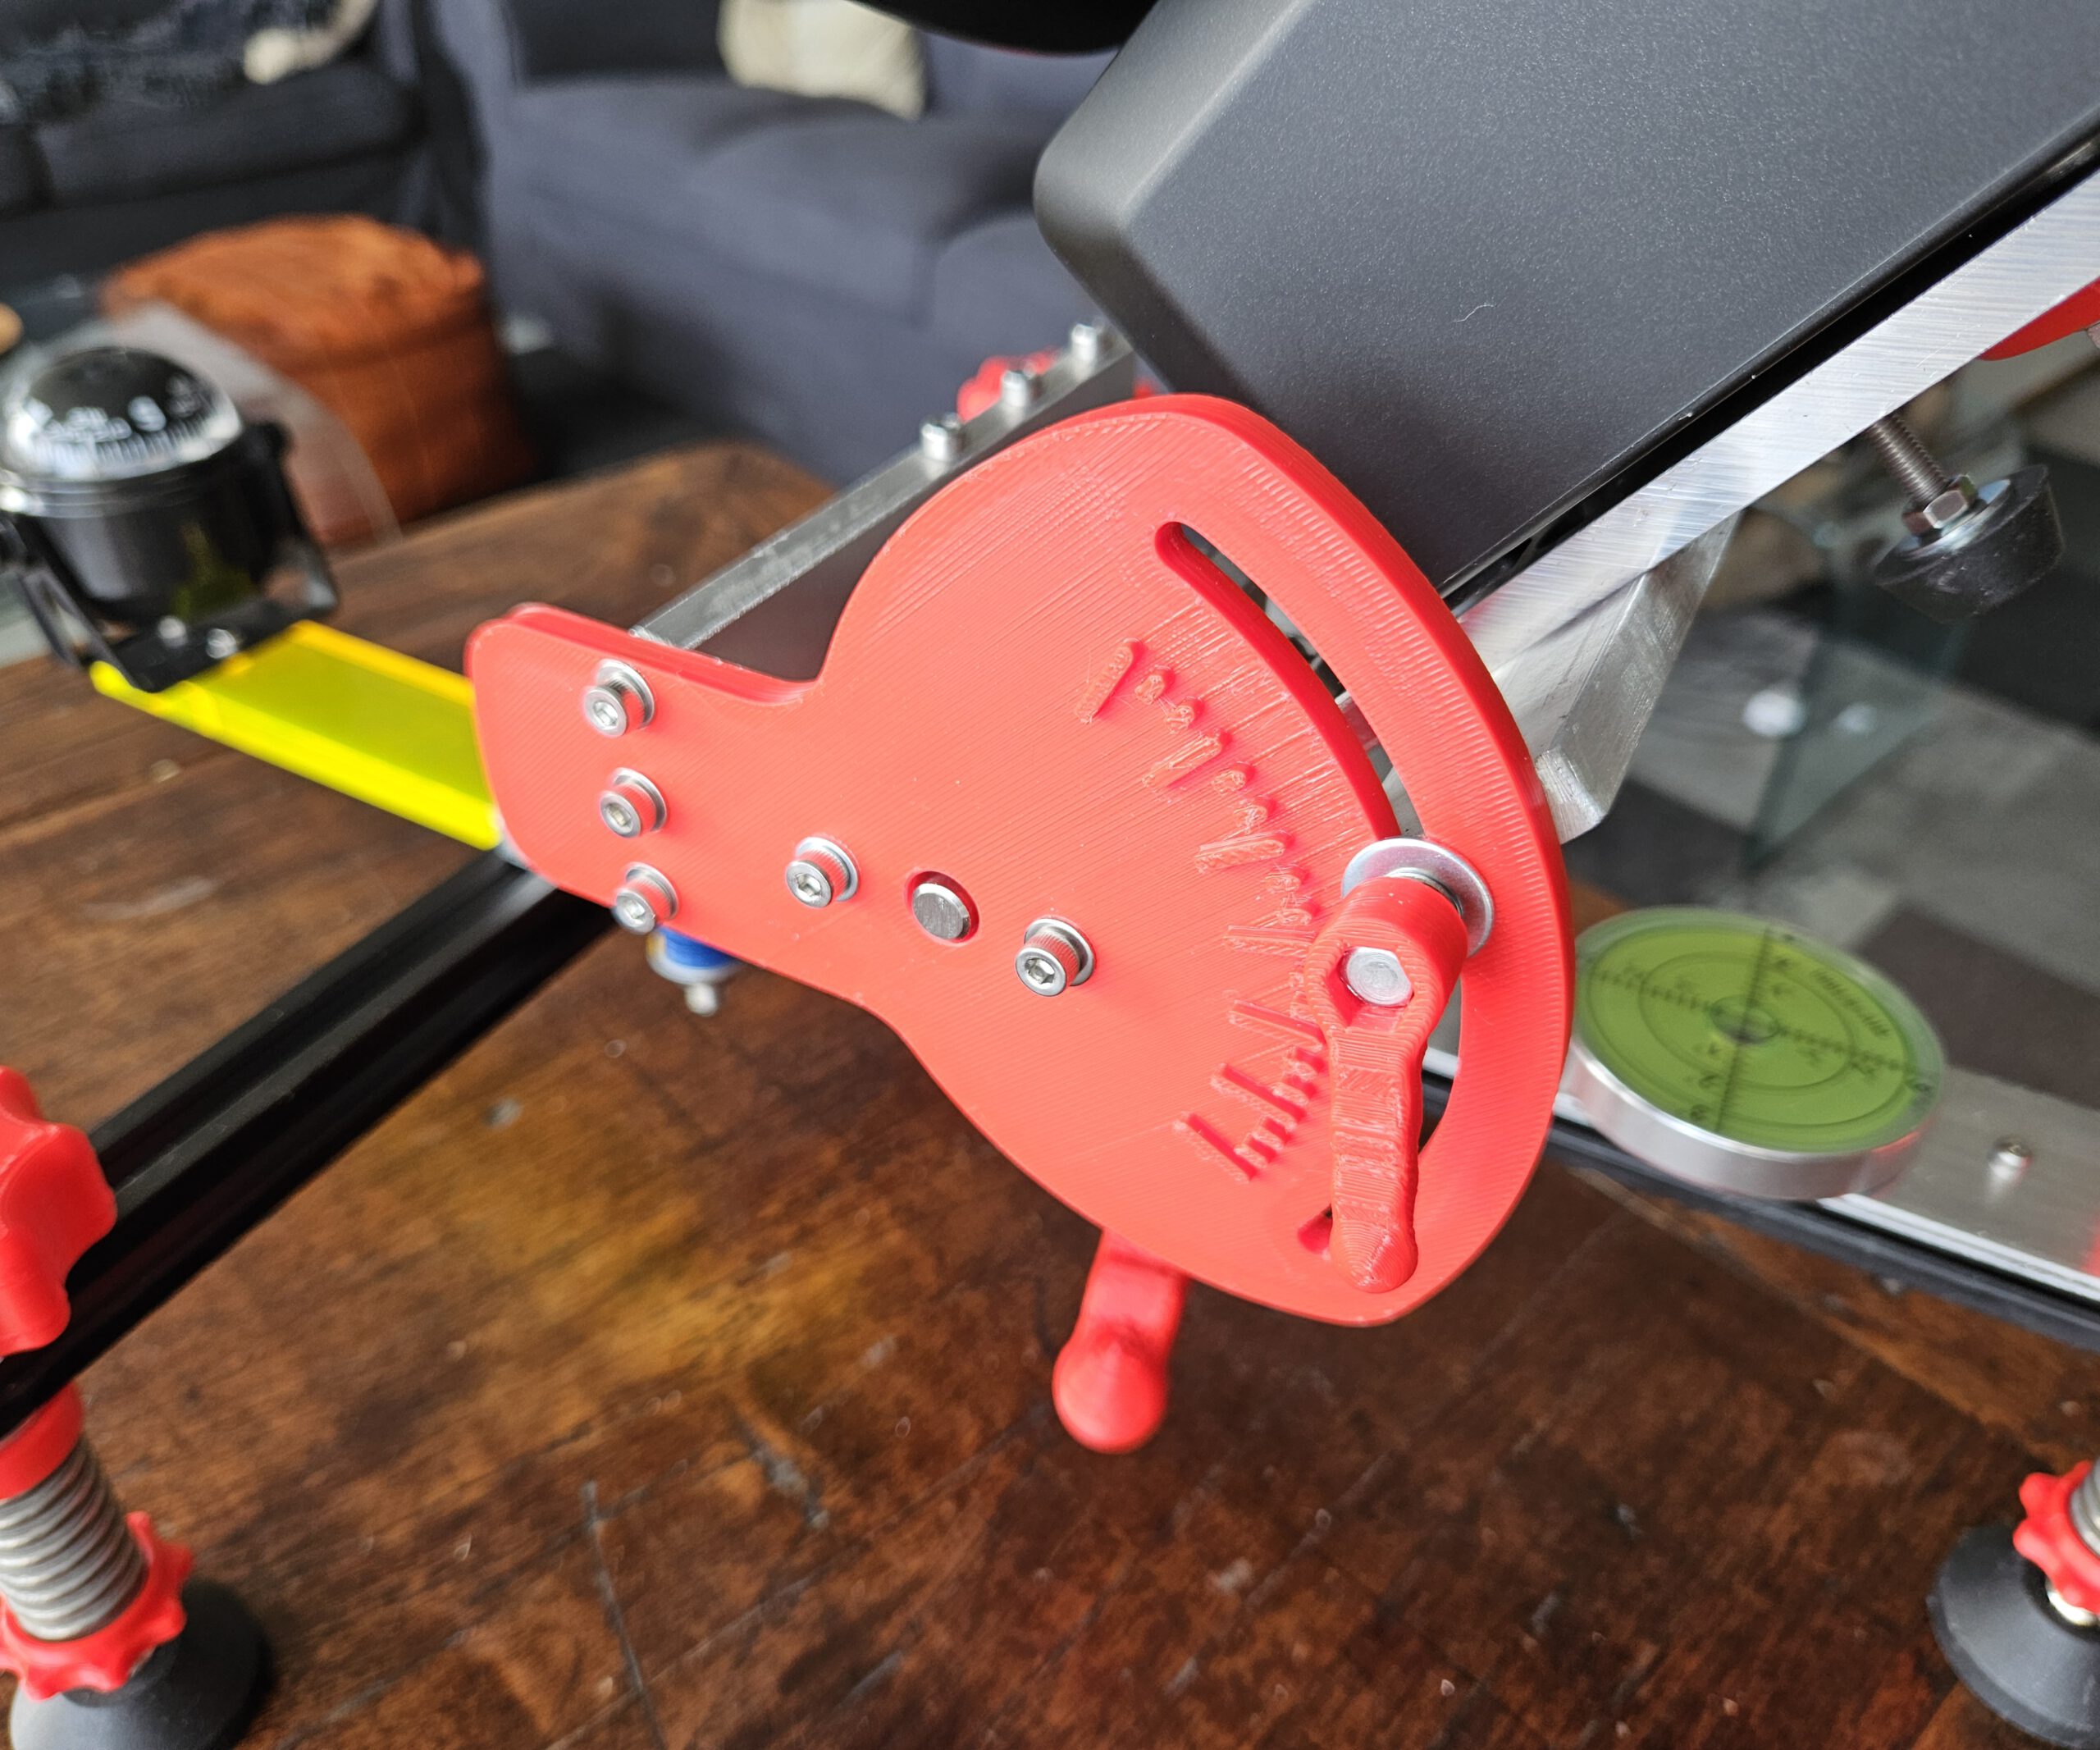
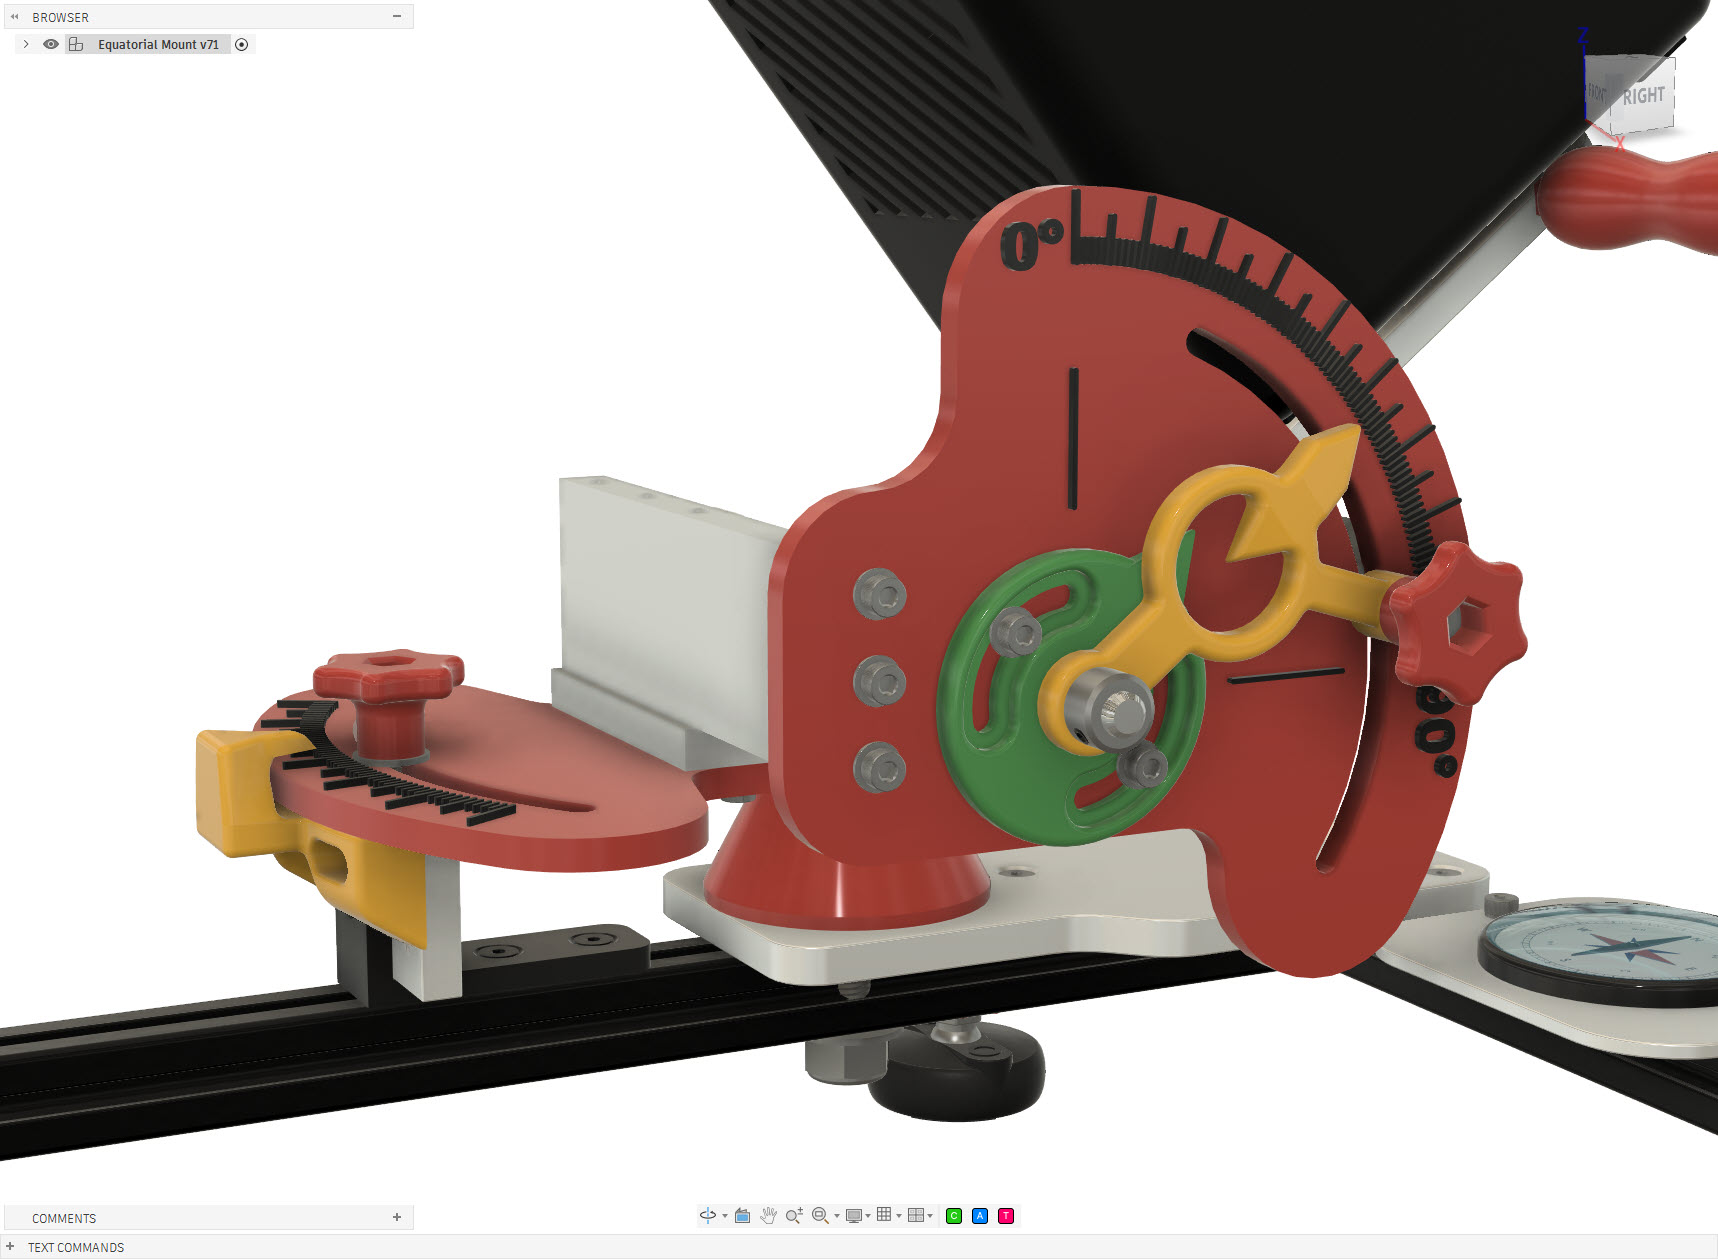
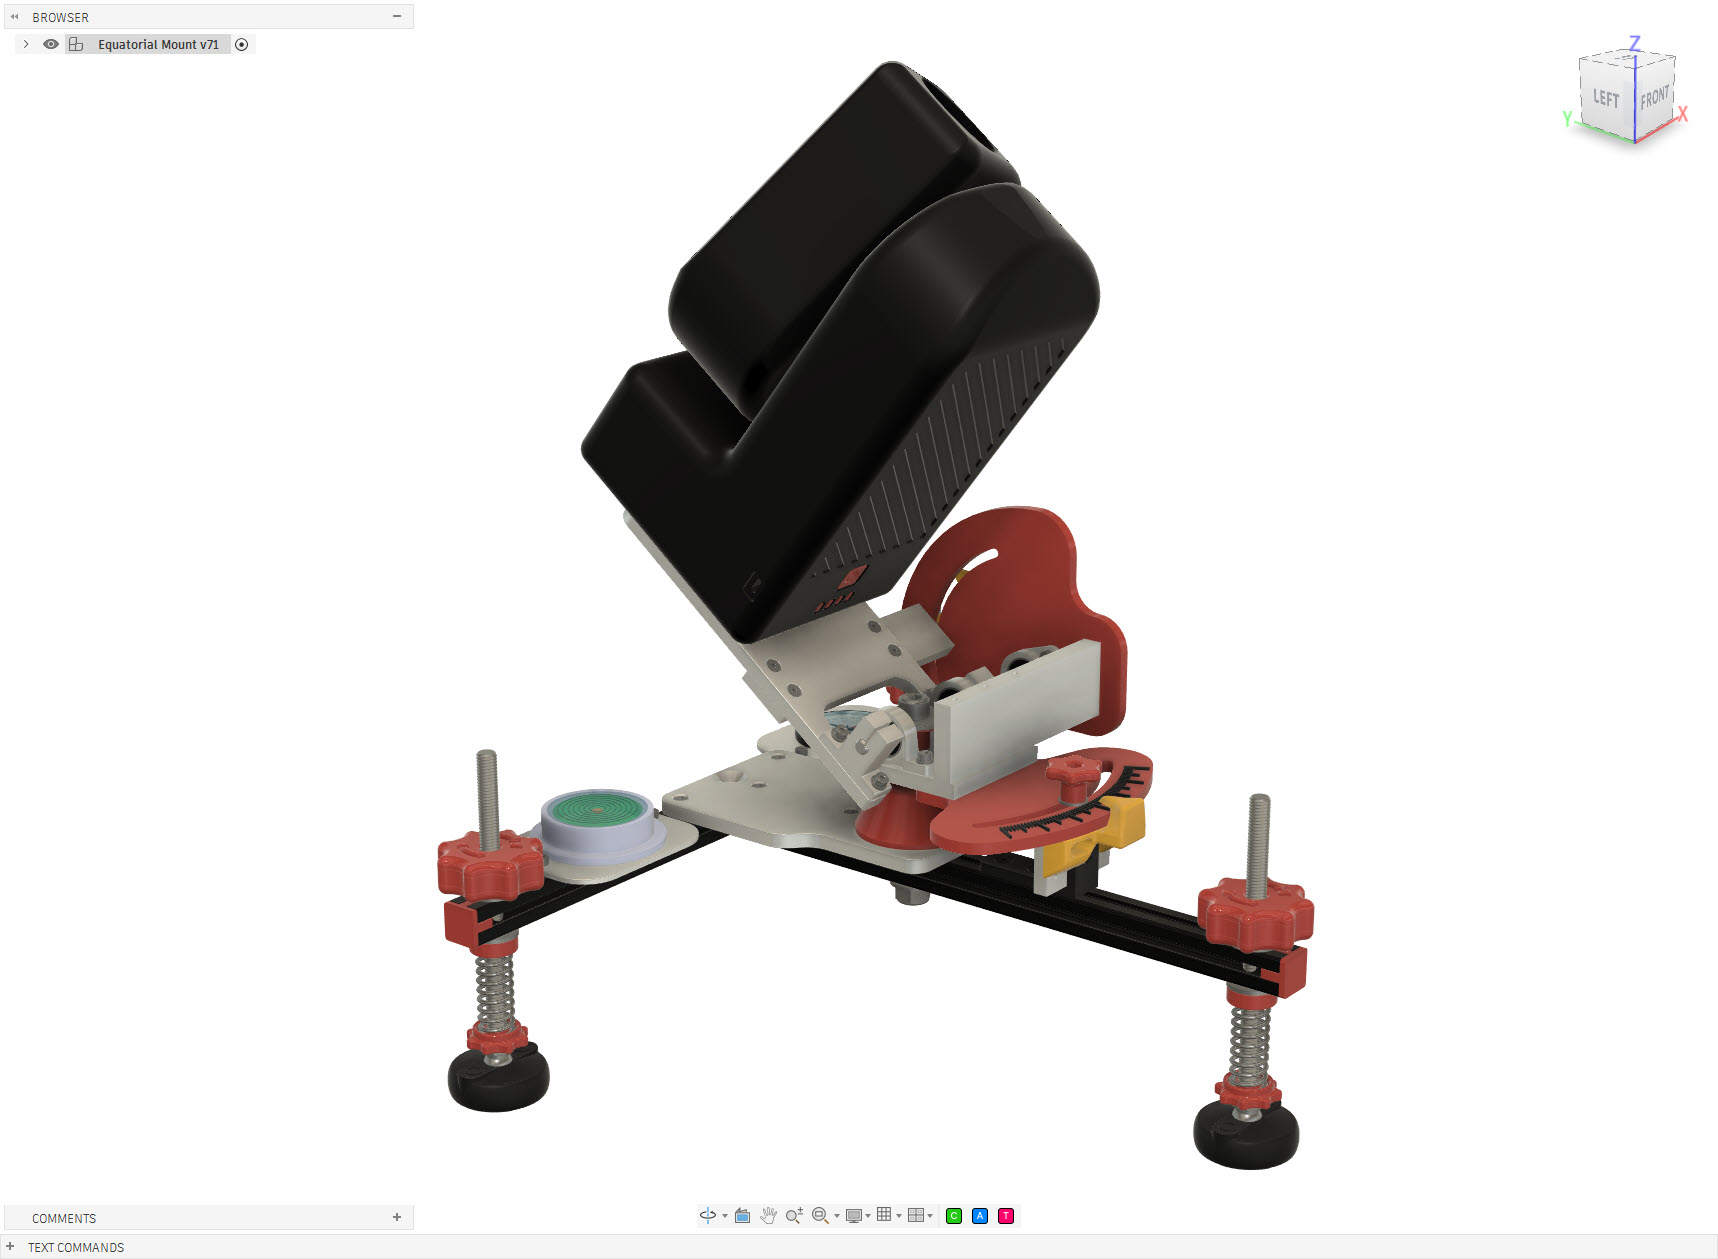
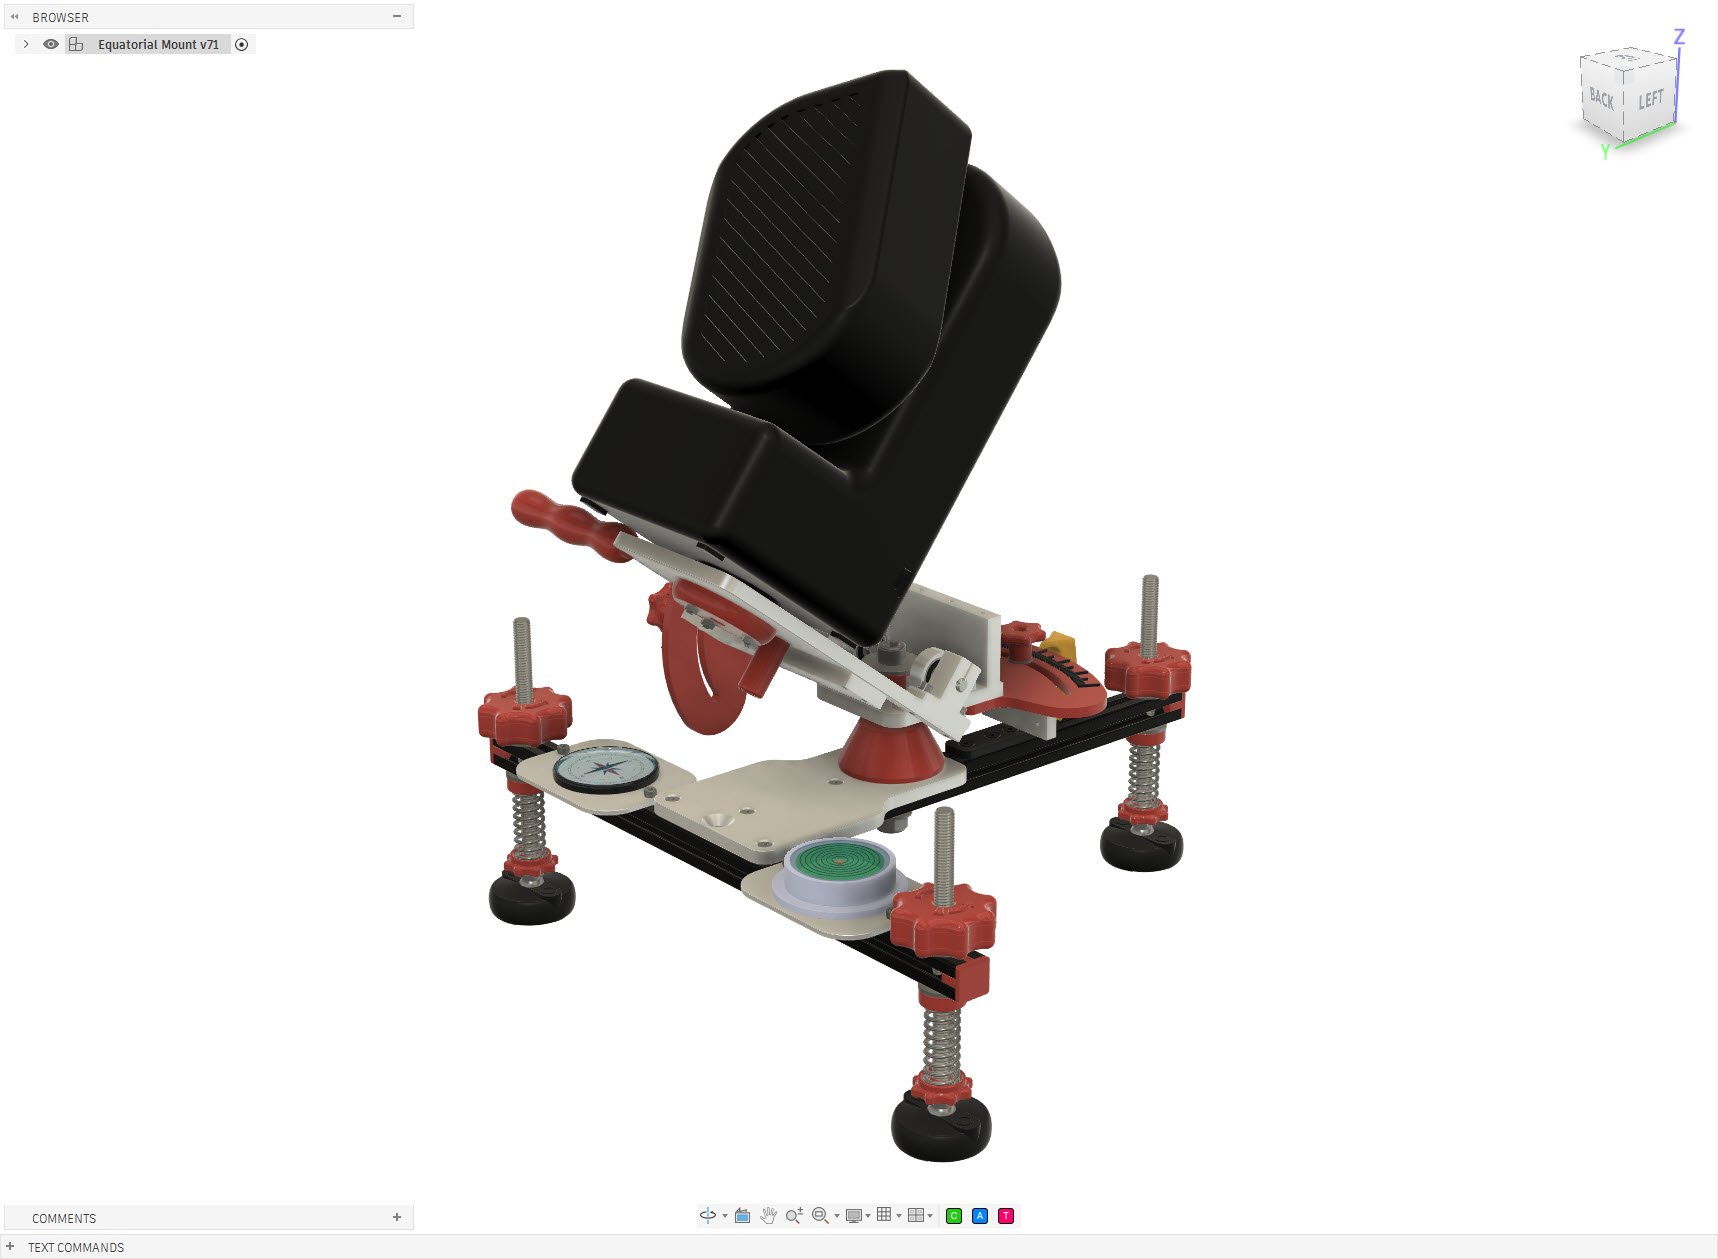
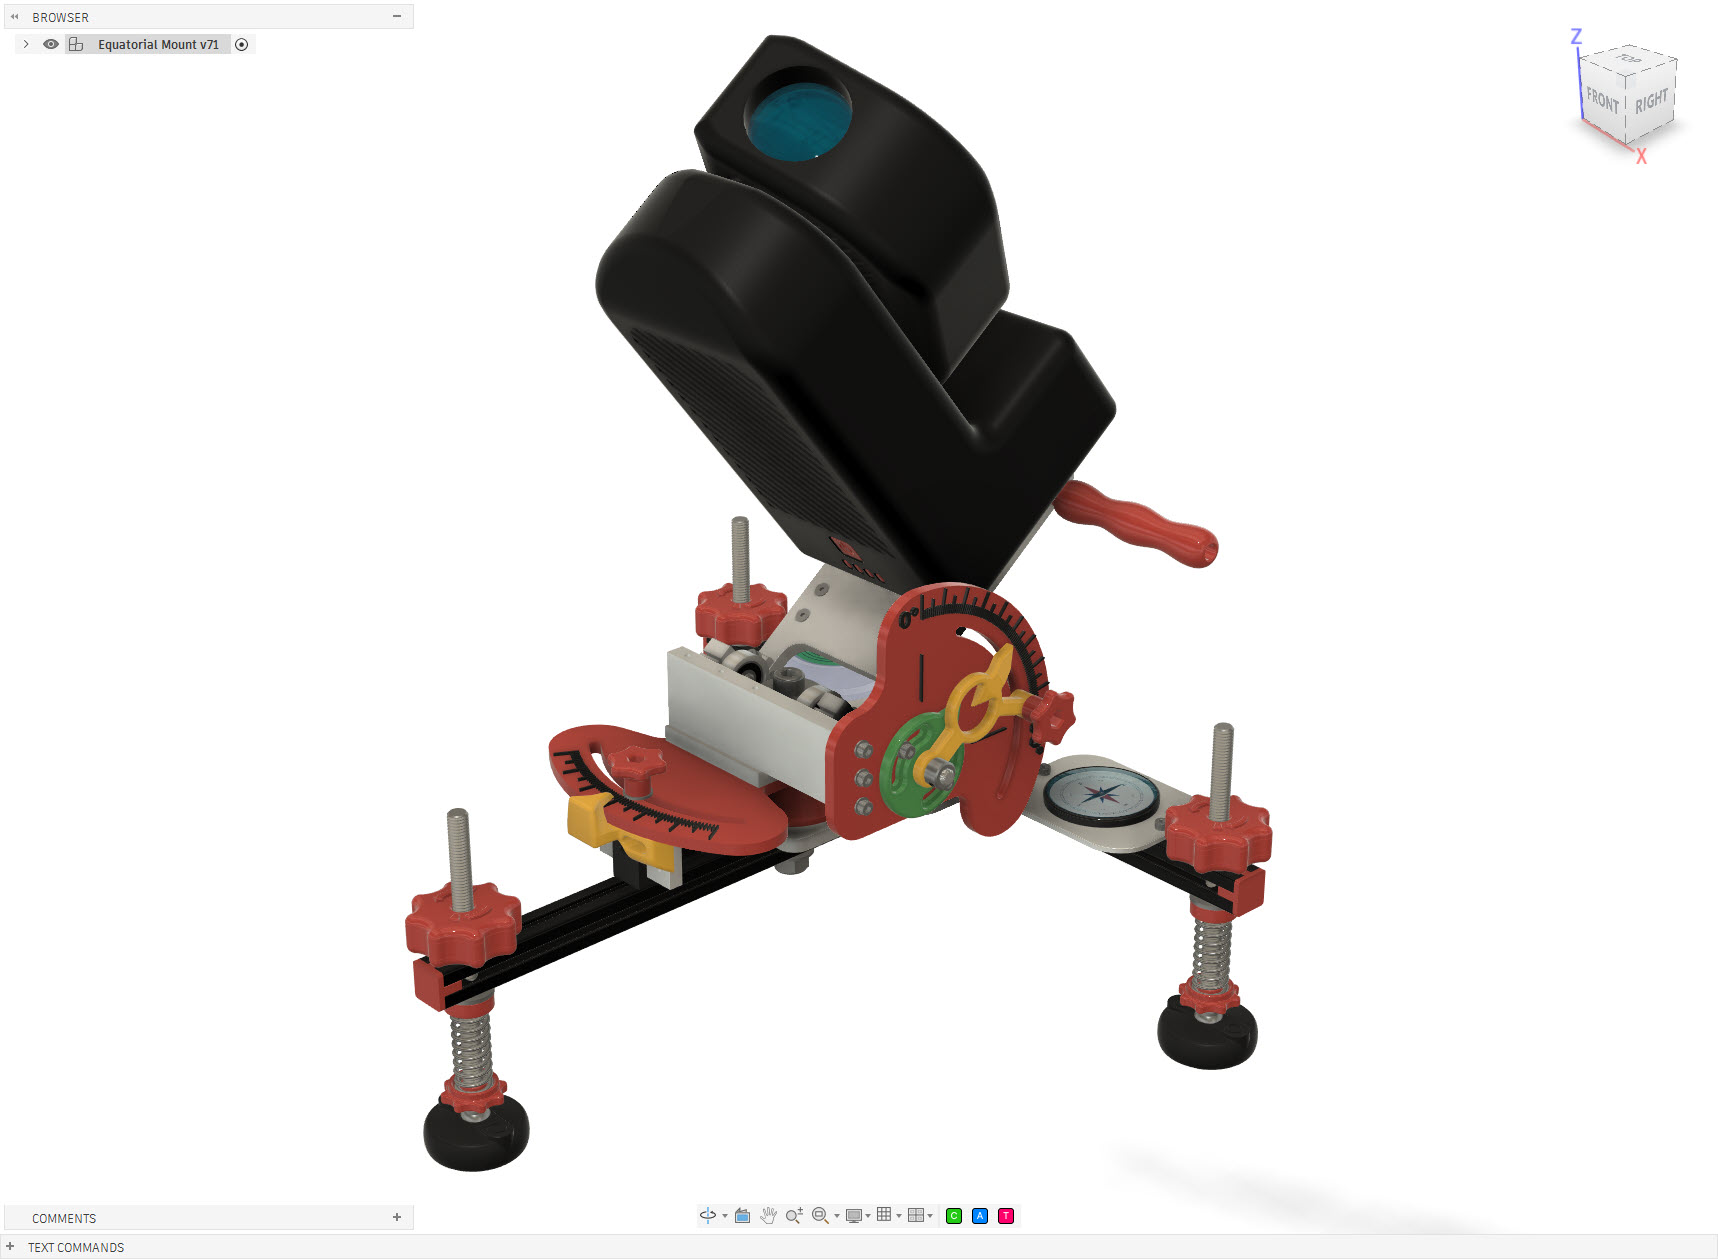
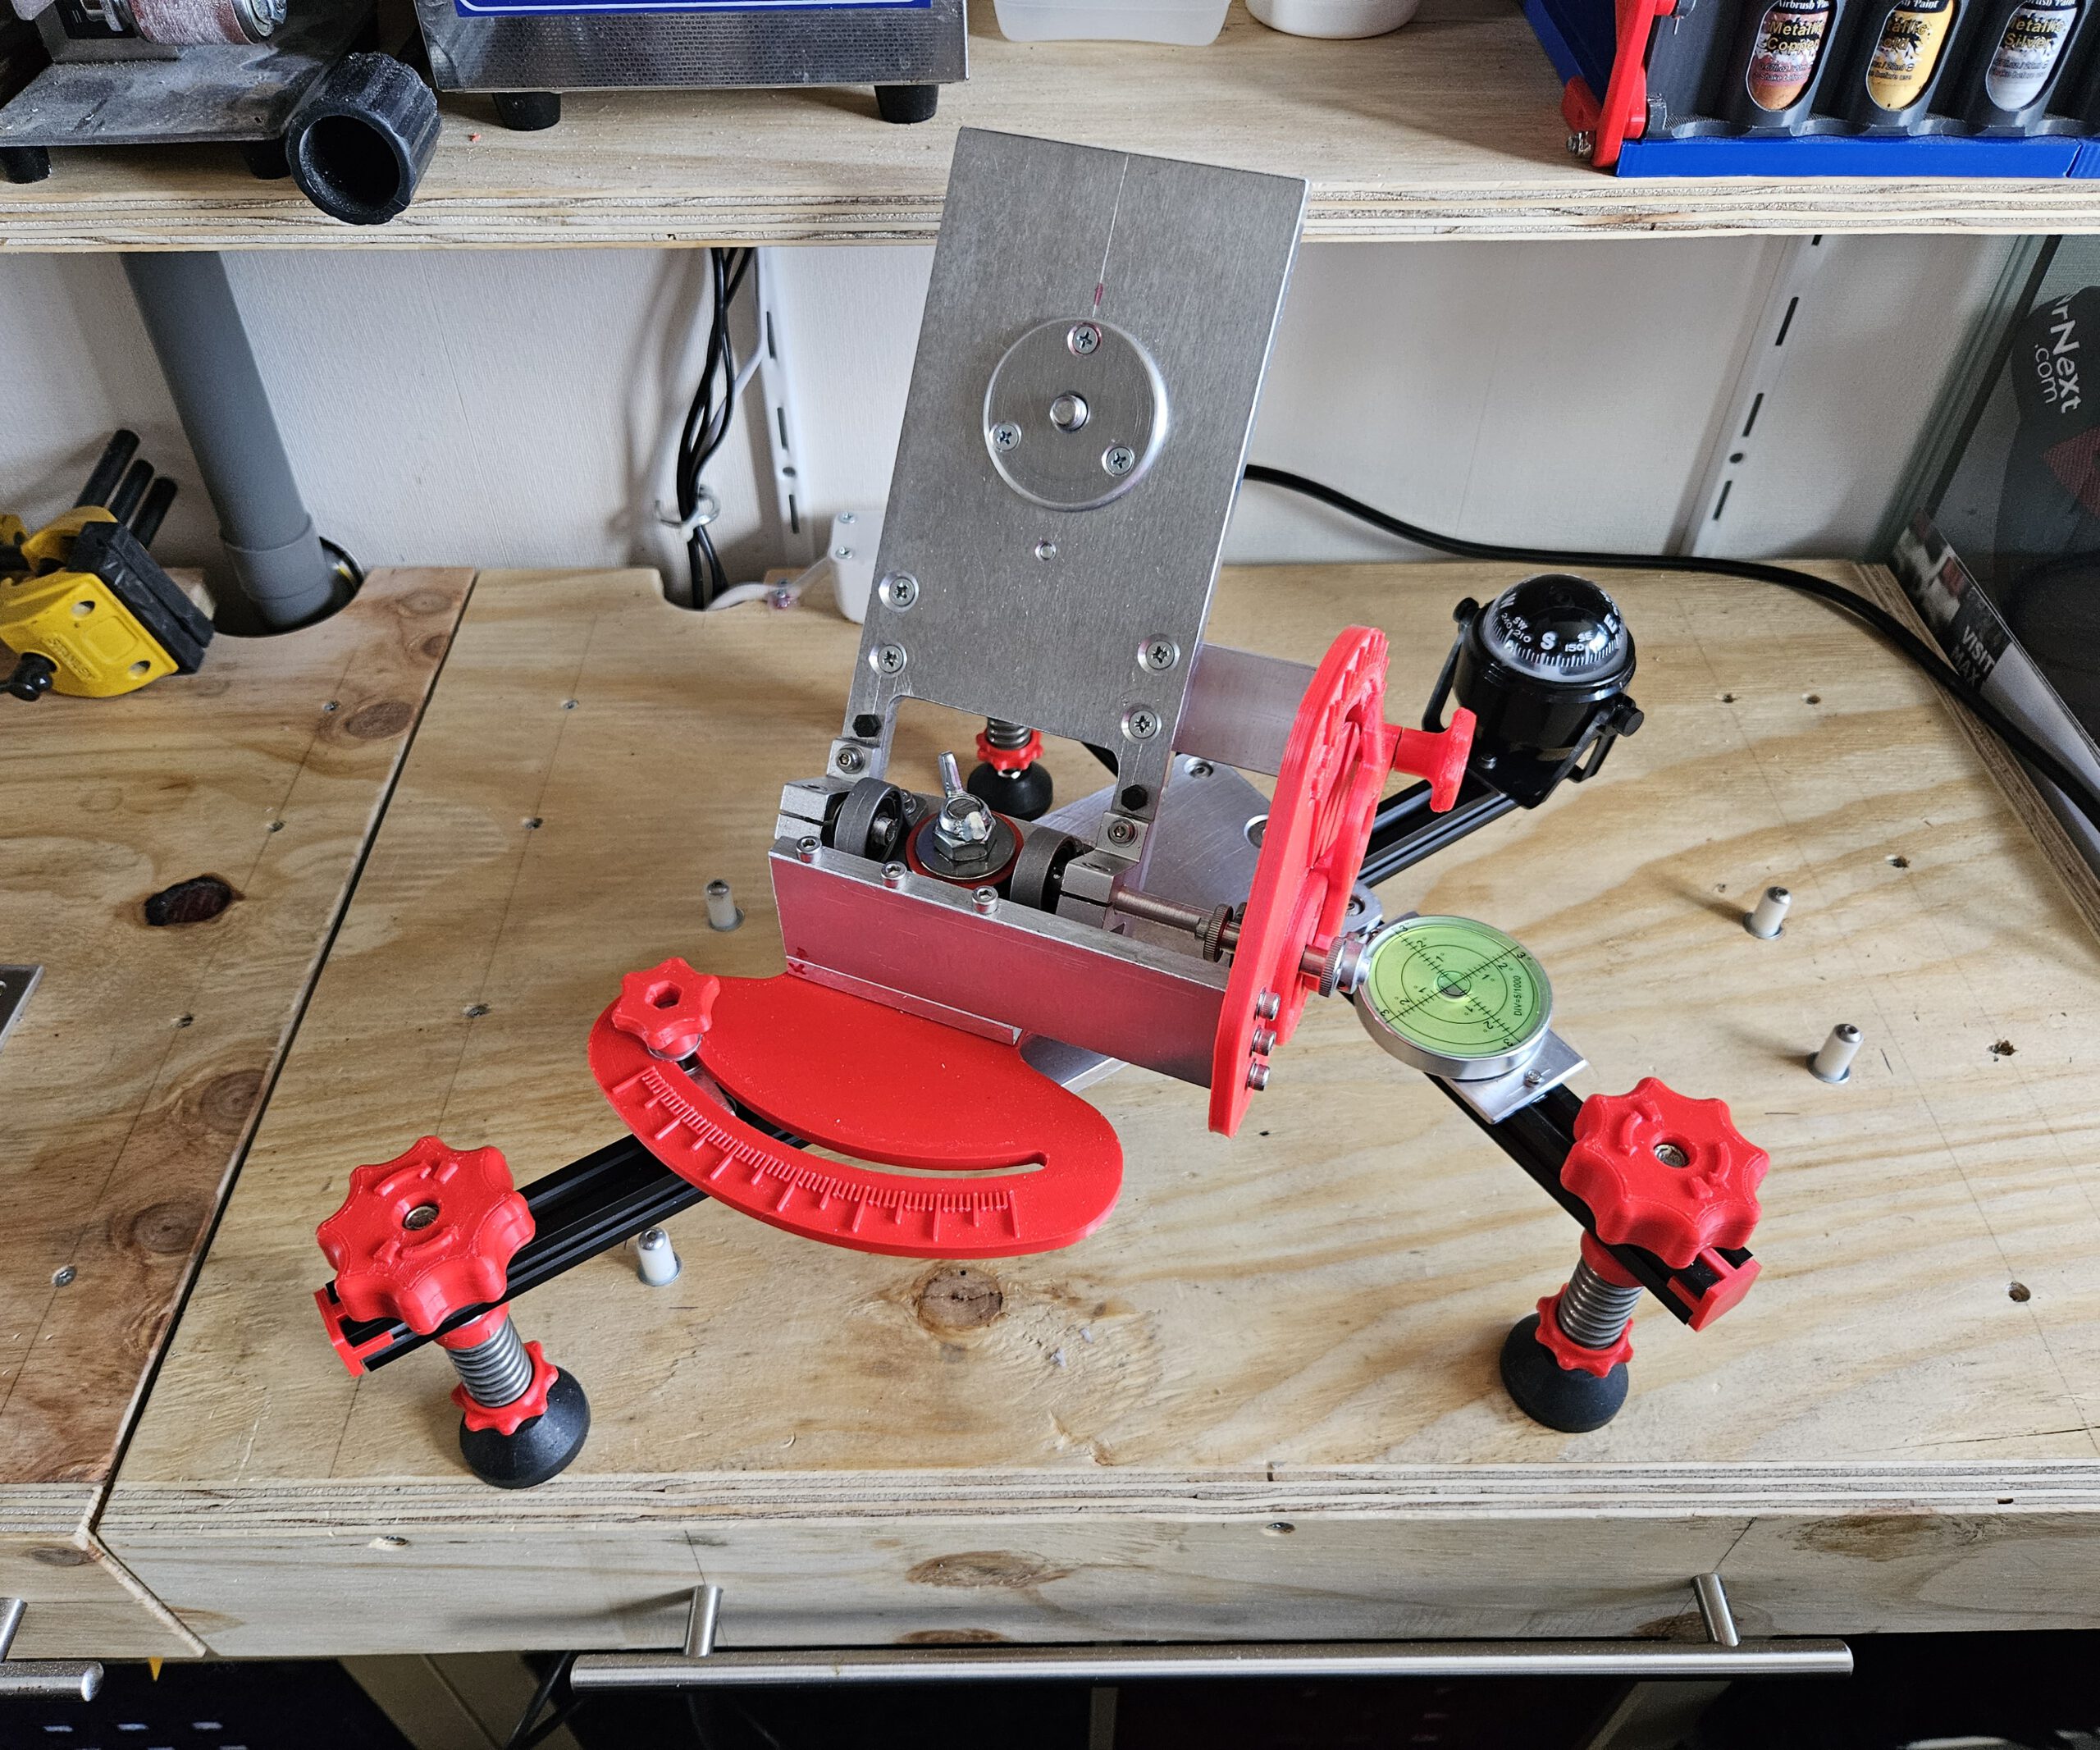
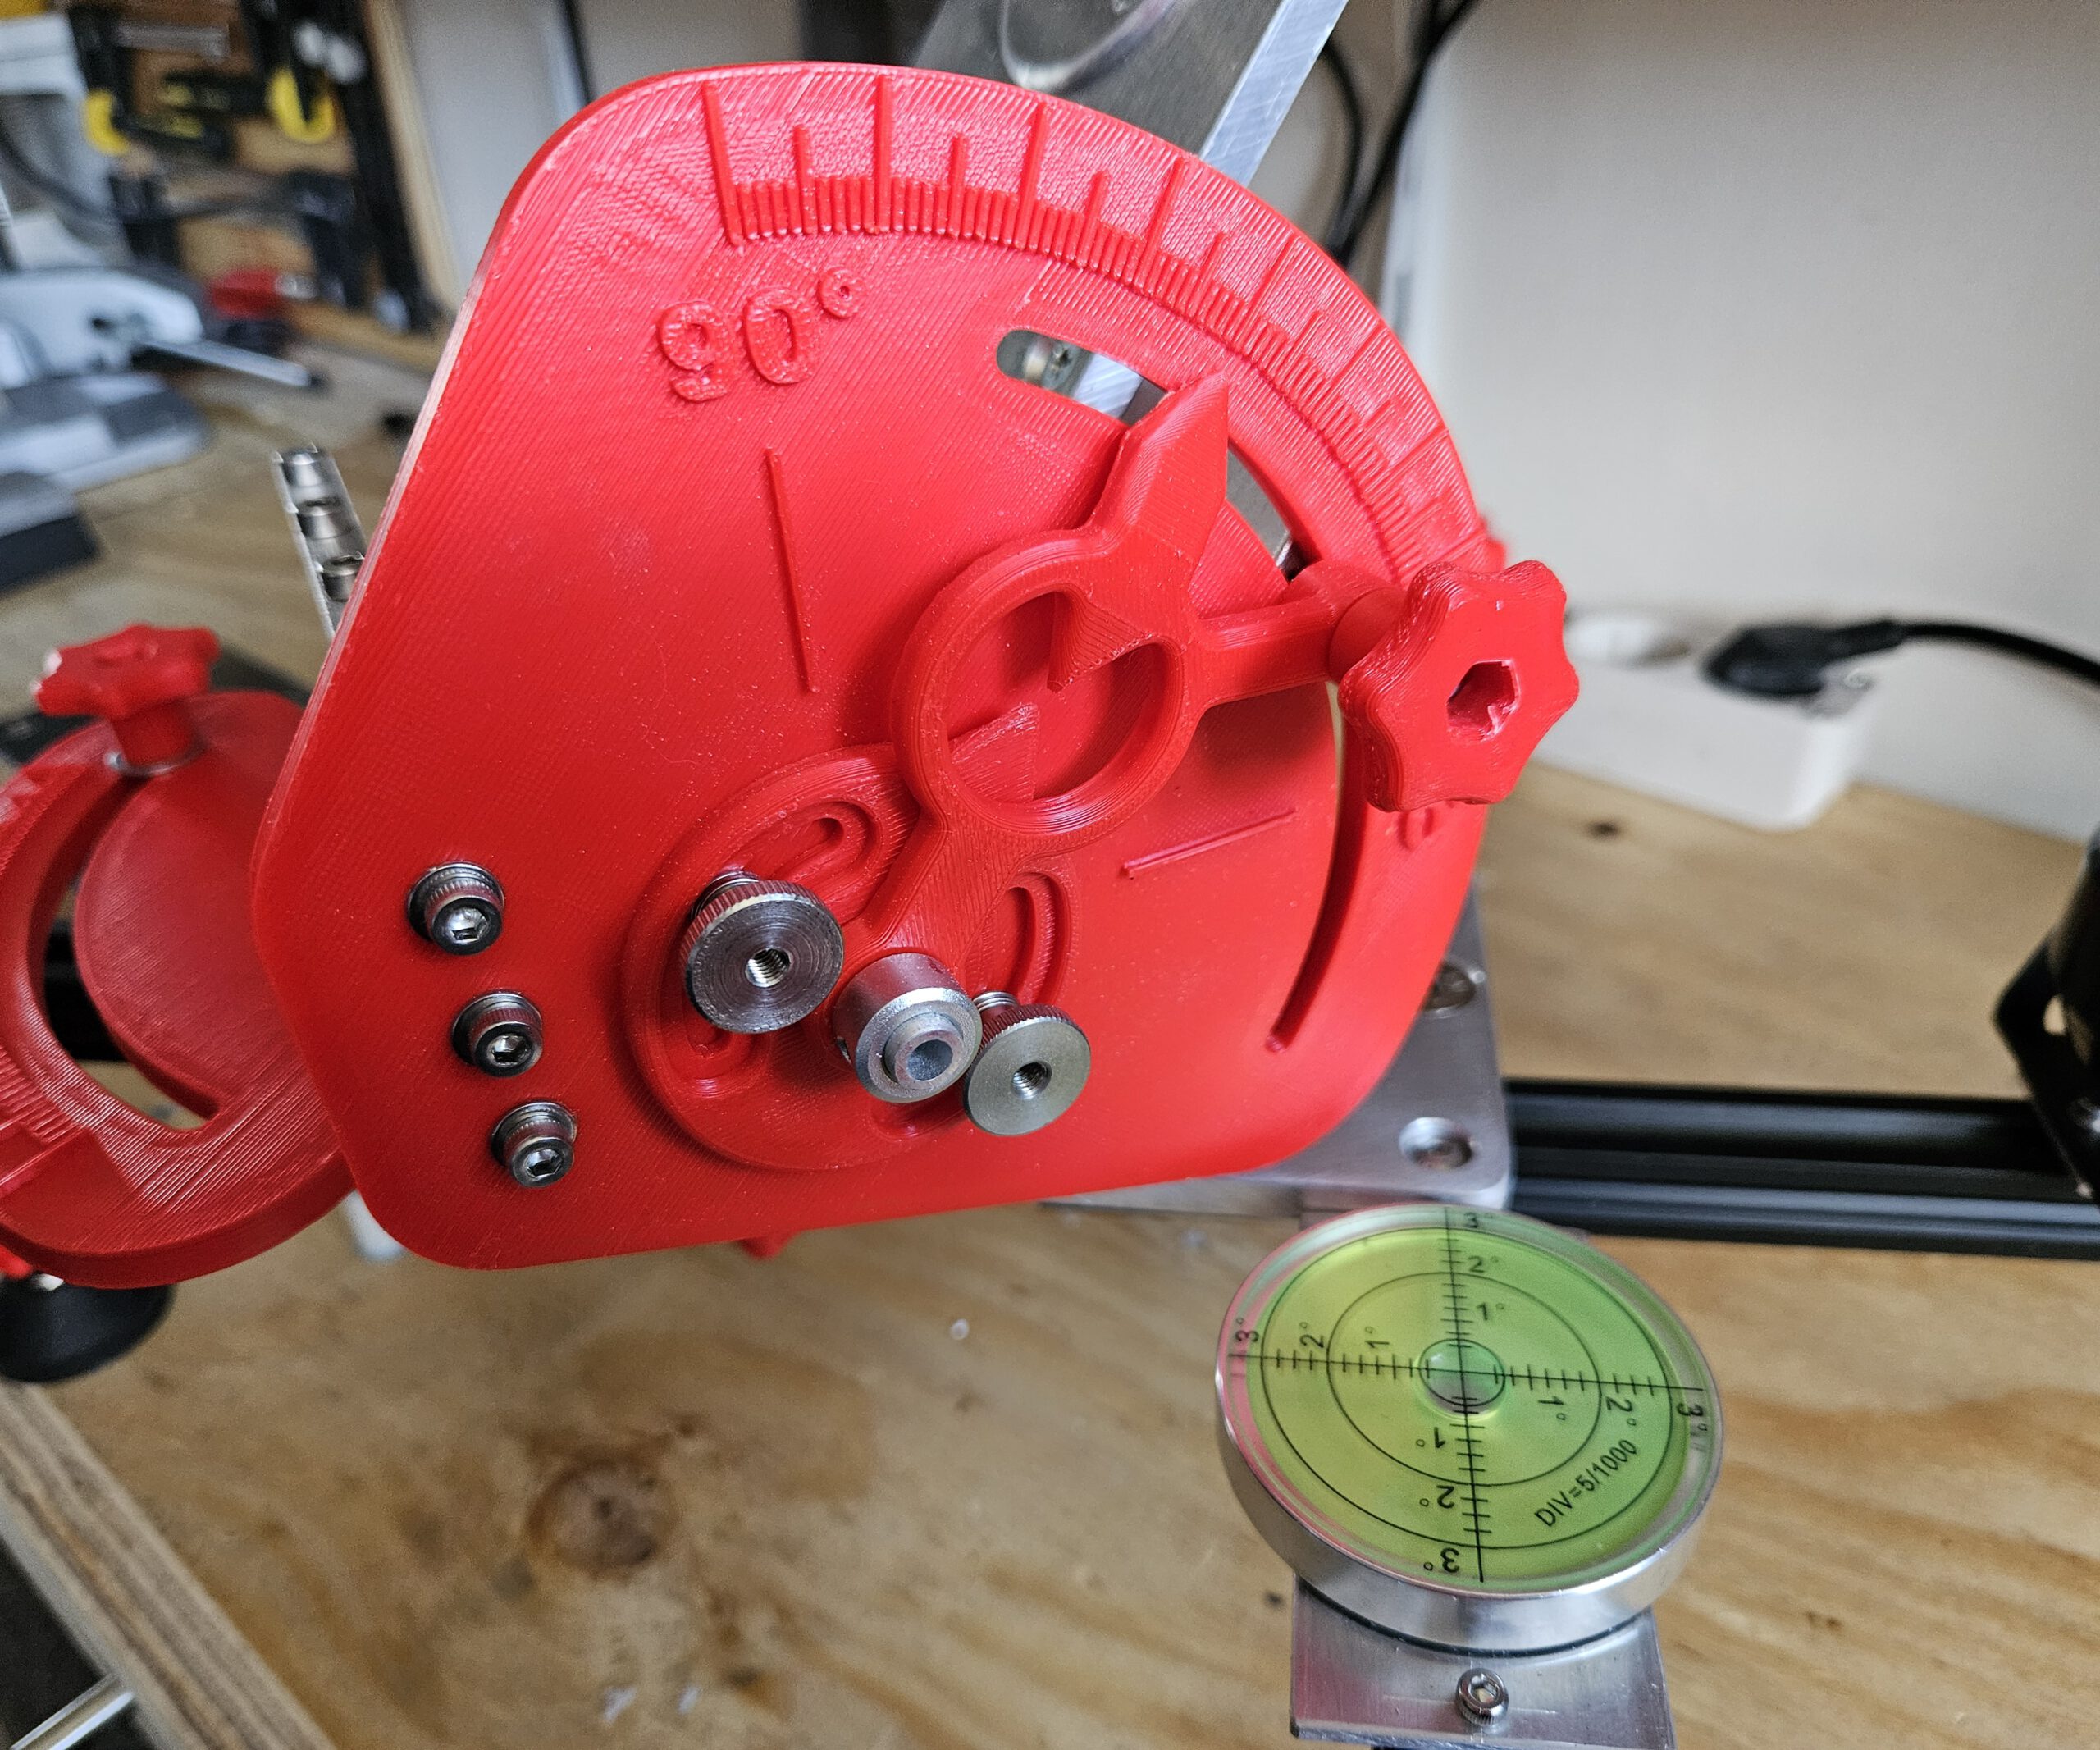
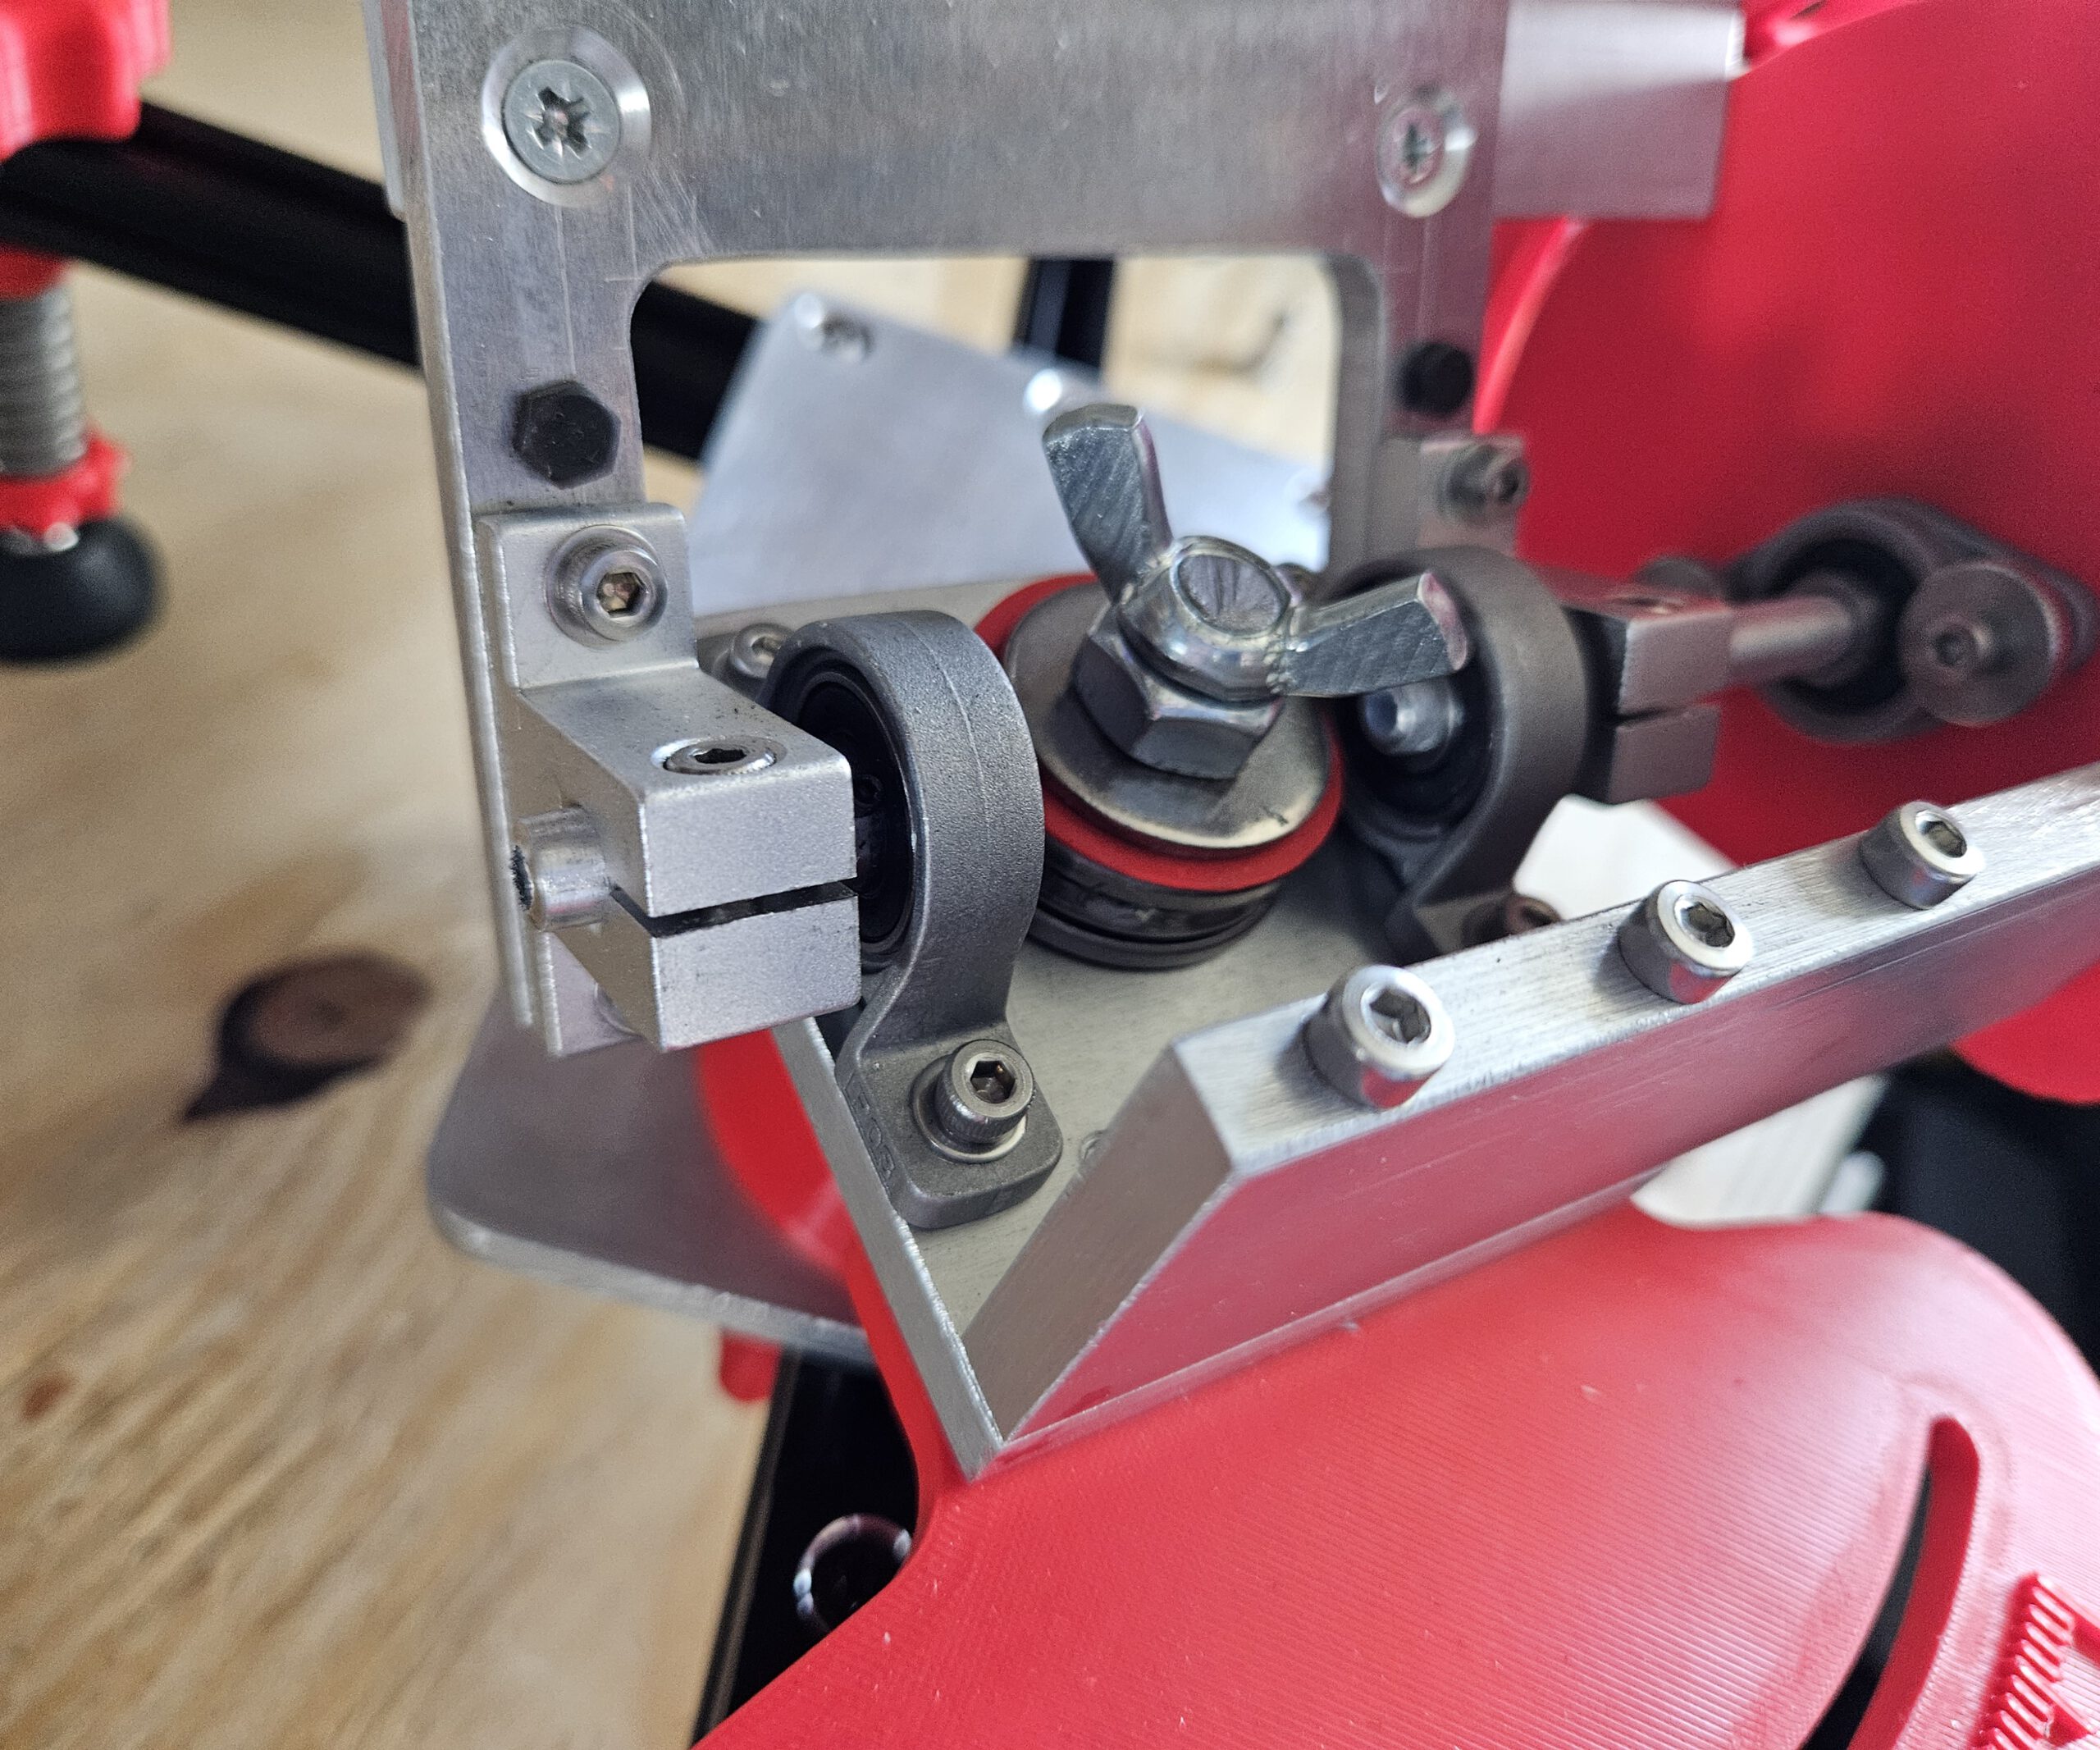
For equatorial tracking, the Seestar’s rotation axis must be aligned parallel to the Earth’s axis. My mount therefore provides adjustment in two directions: altitude sets the angle of the axis to match the local latitude, while azimuth allows the axis to be aimed precisely towards Polaris.
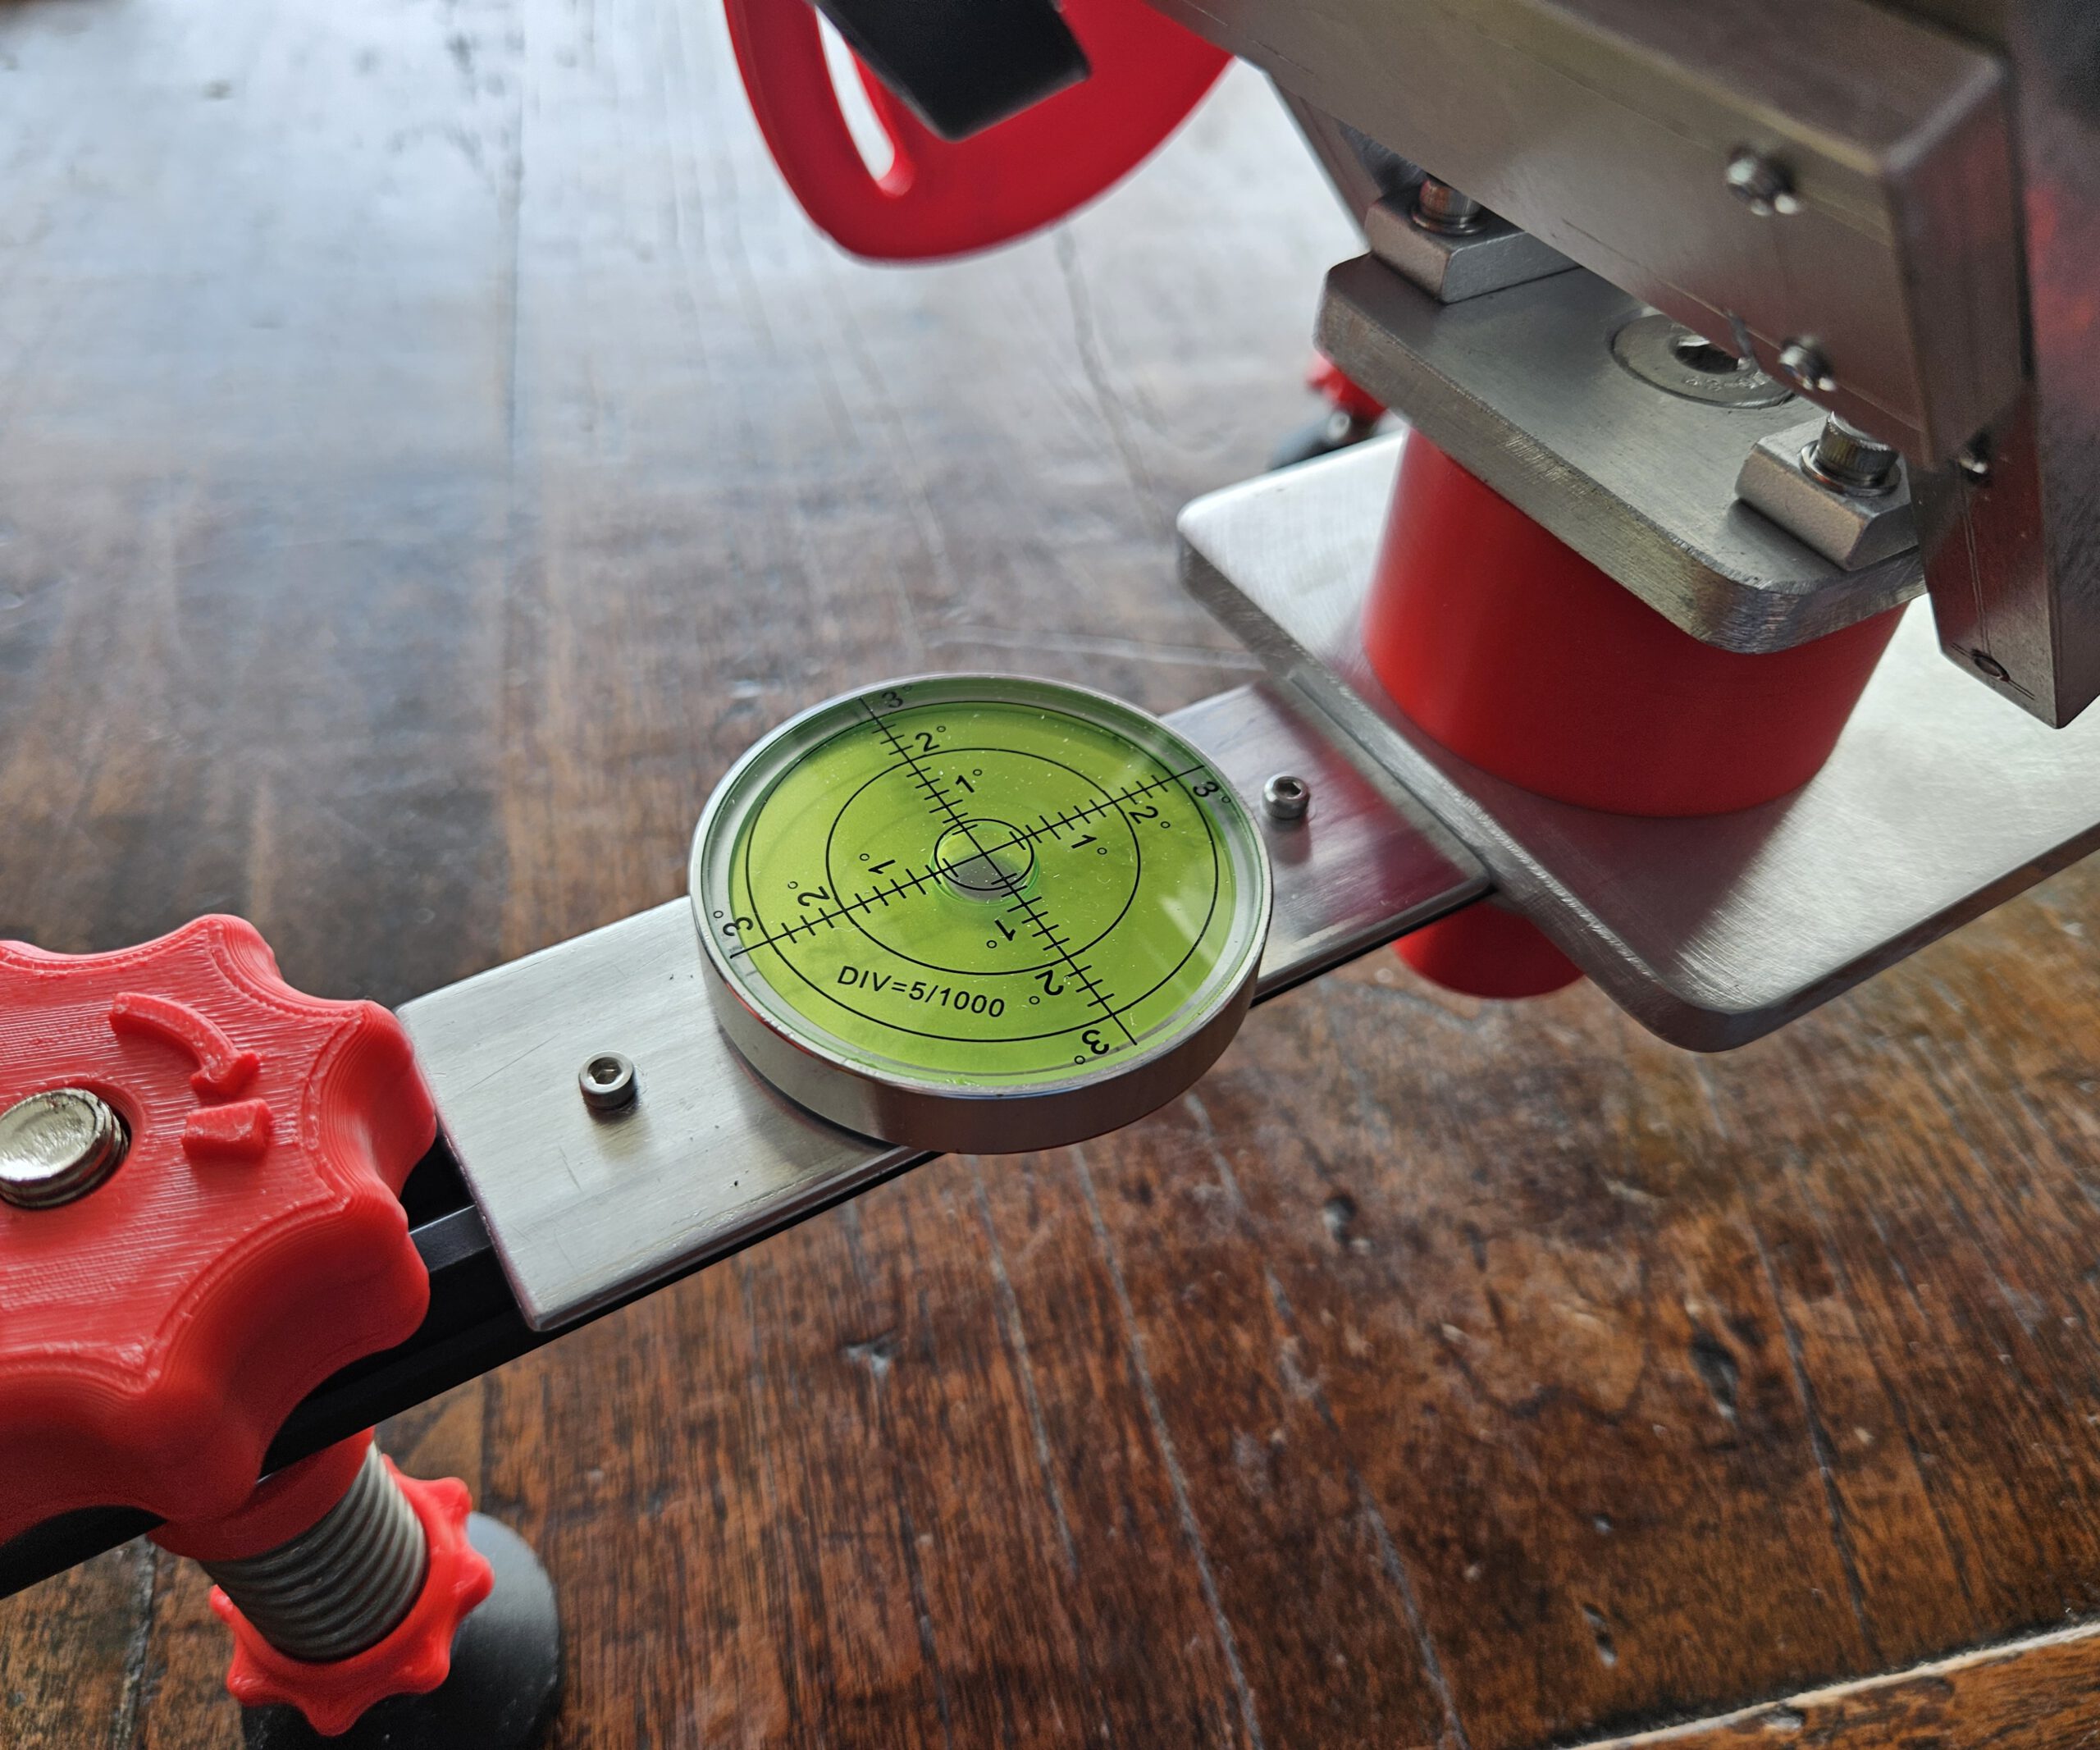
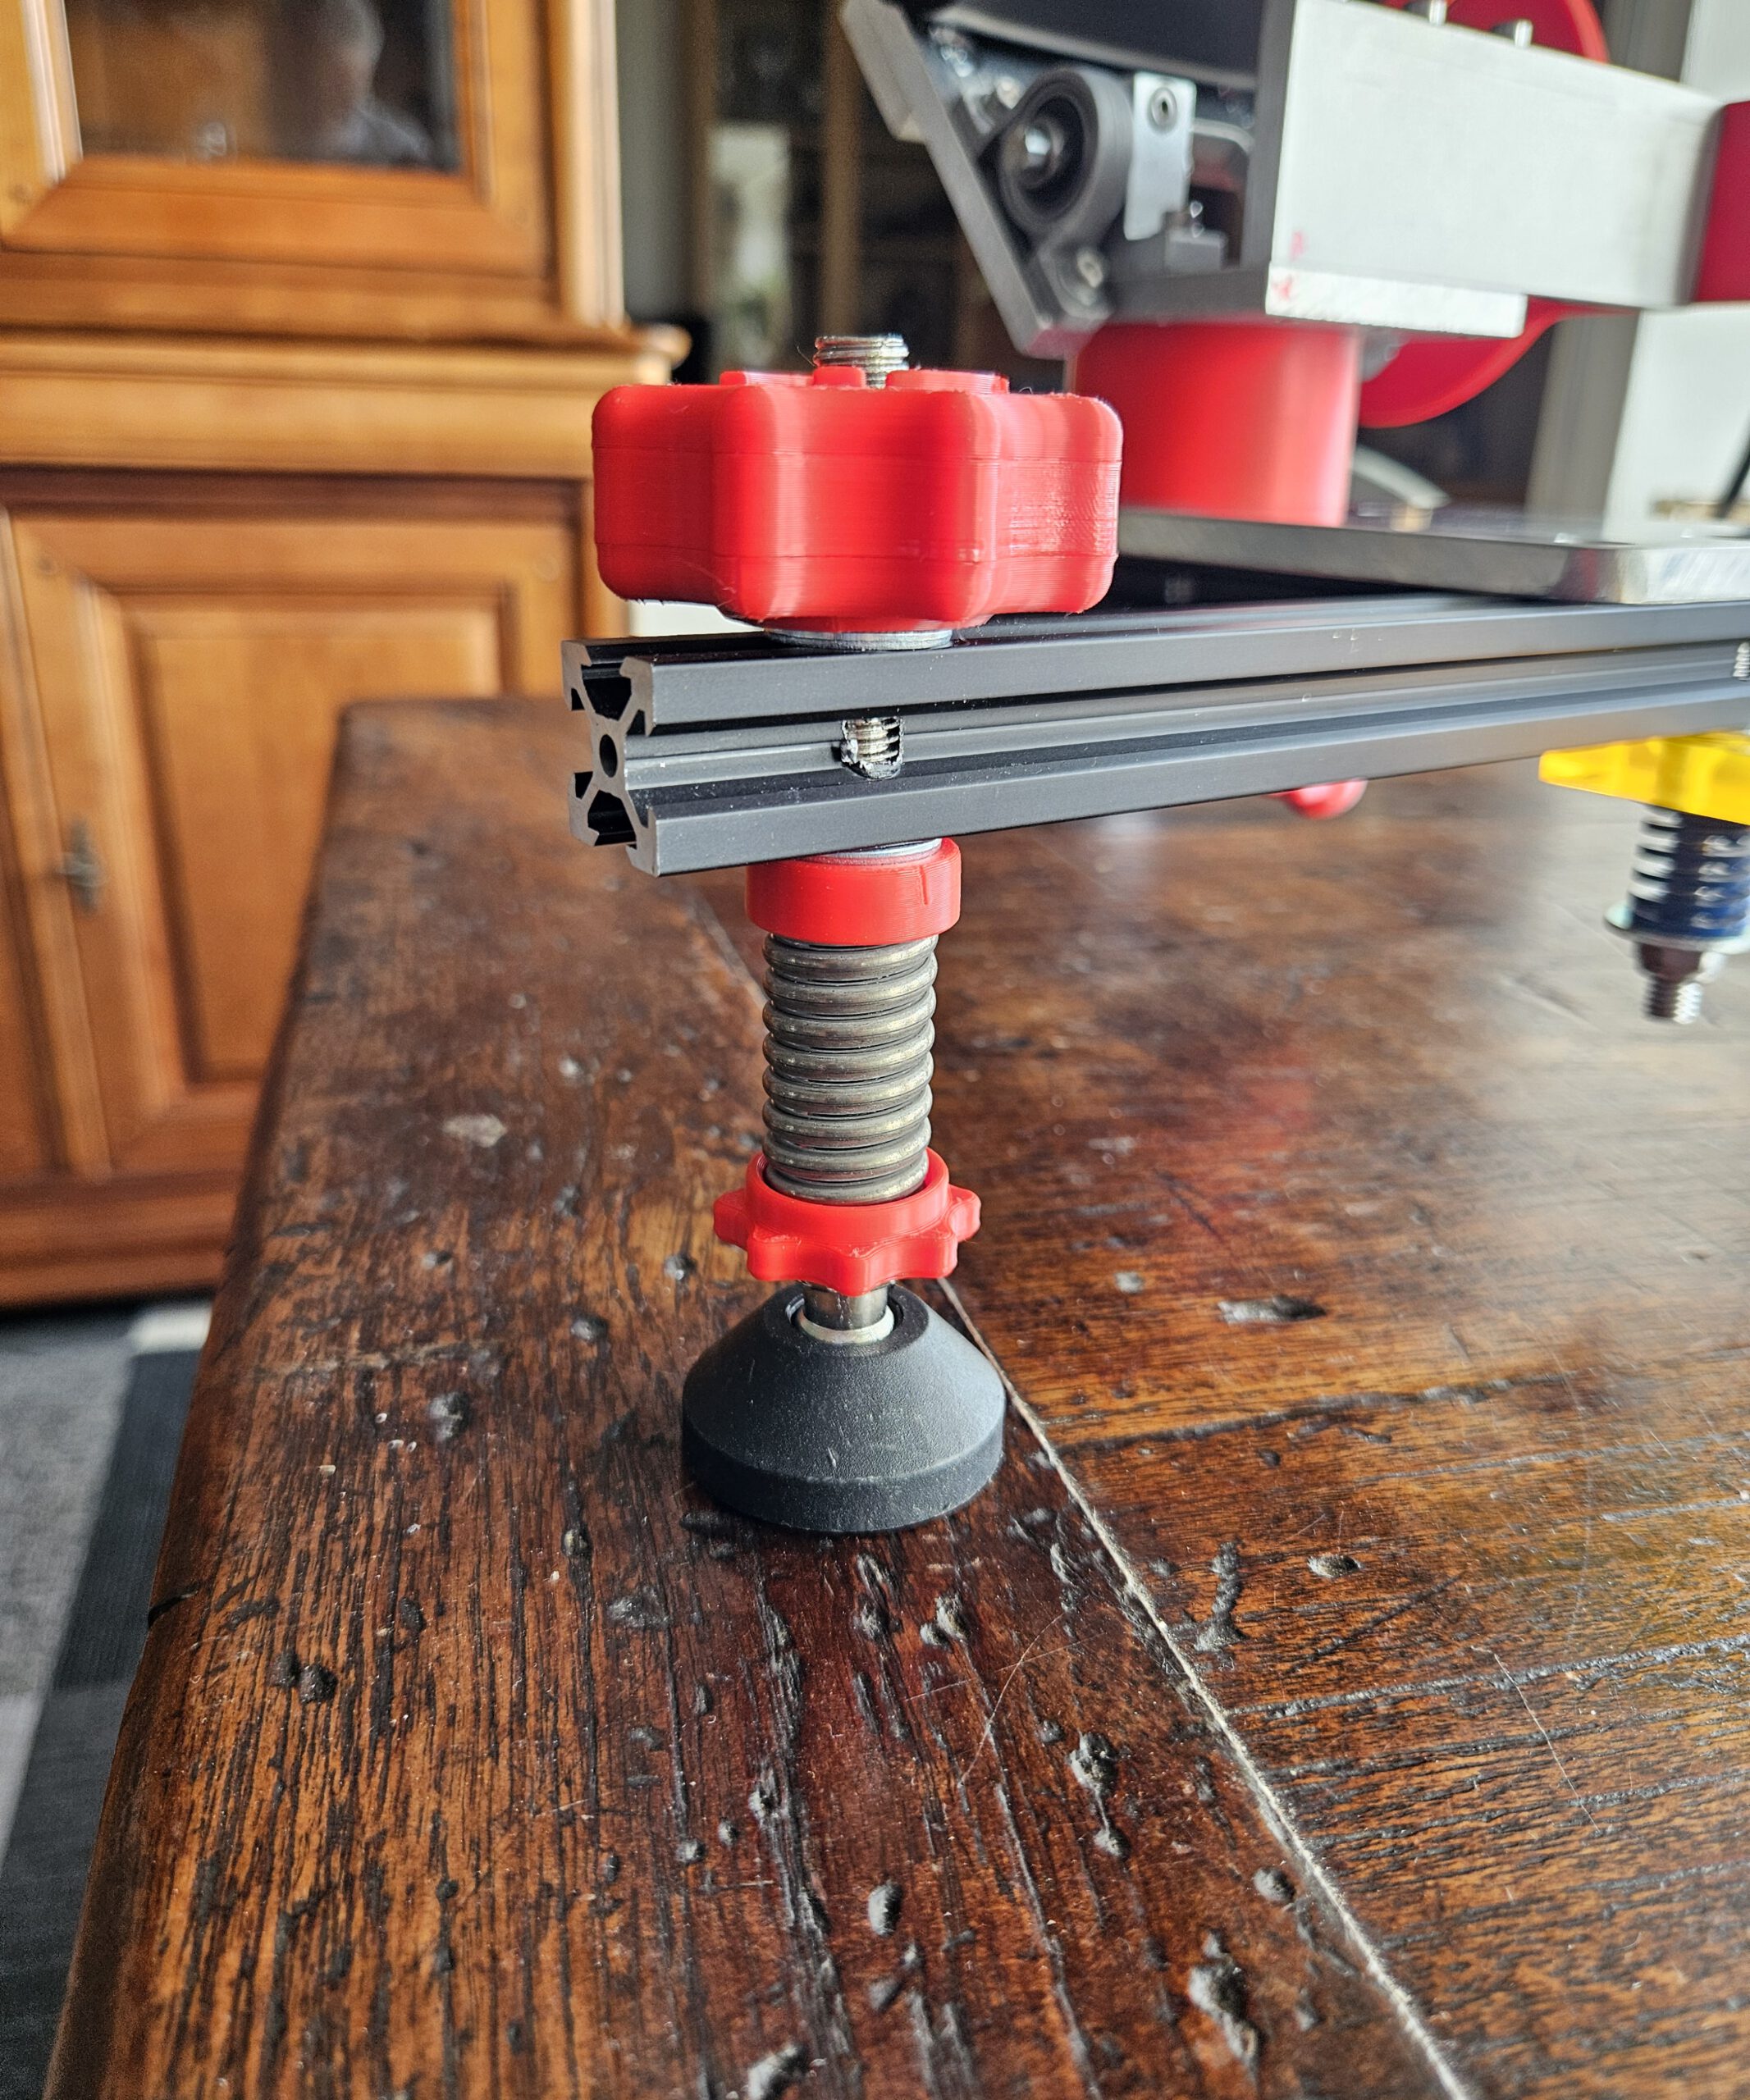
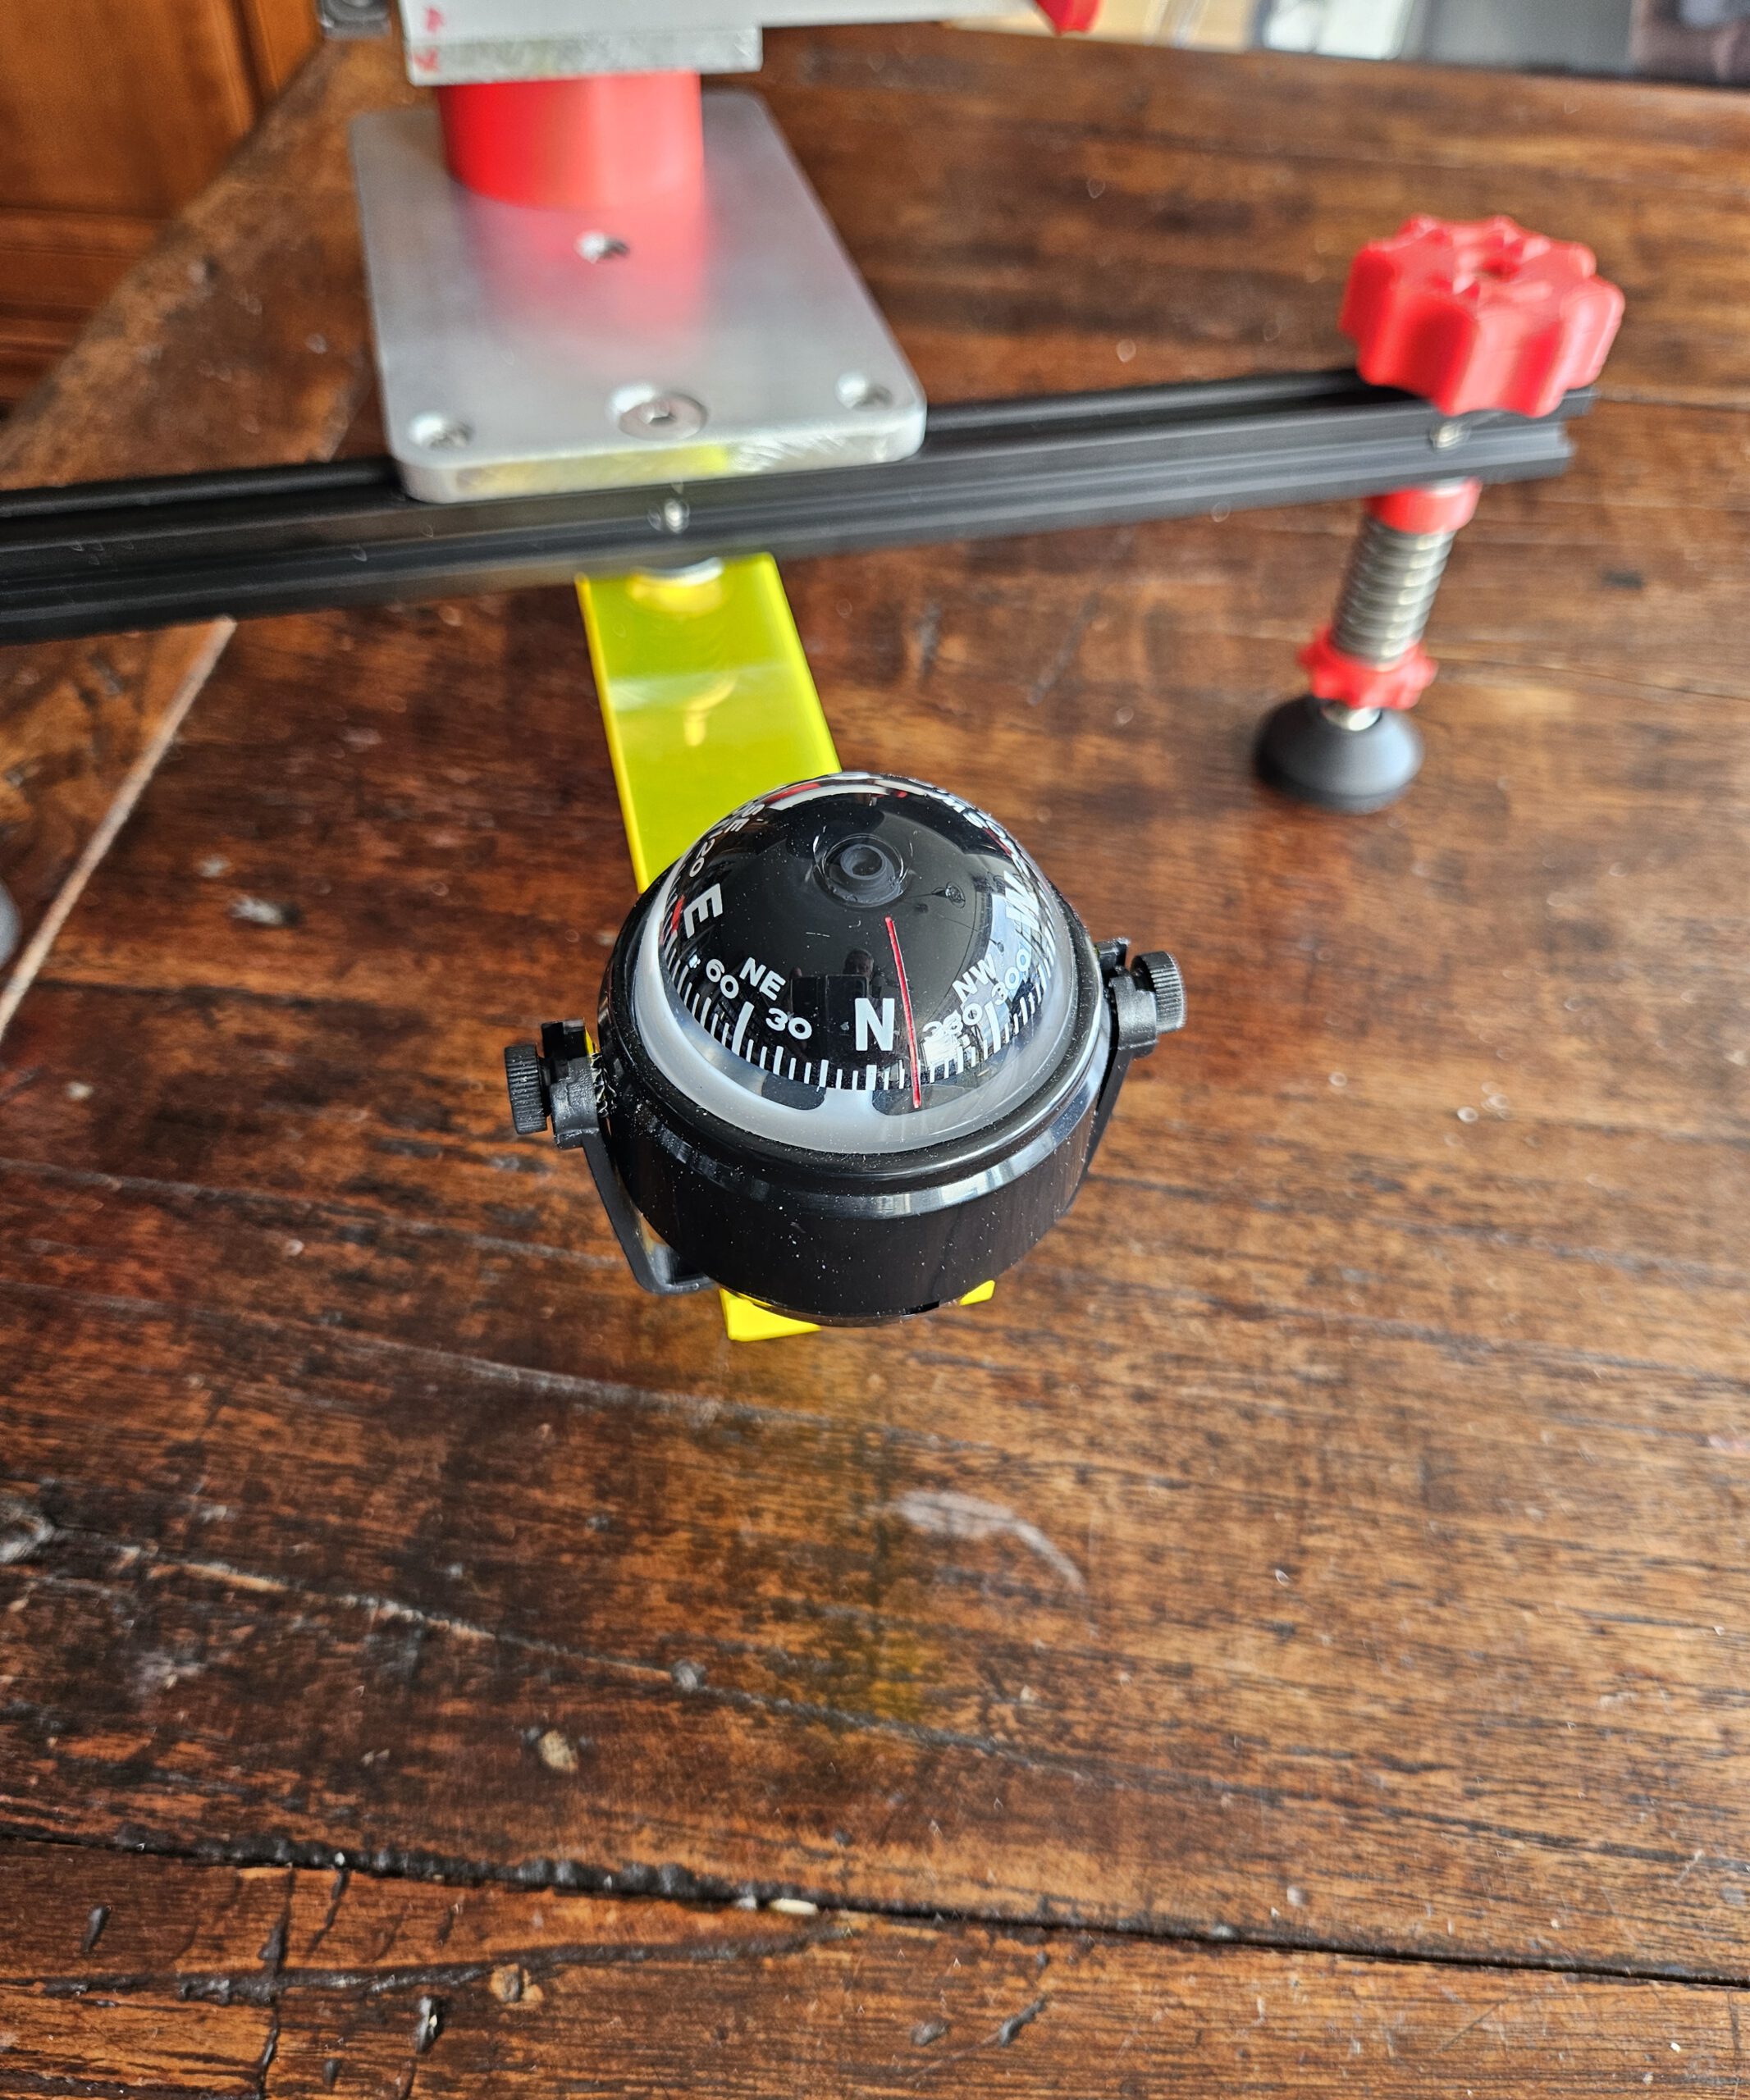
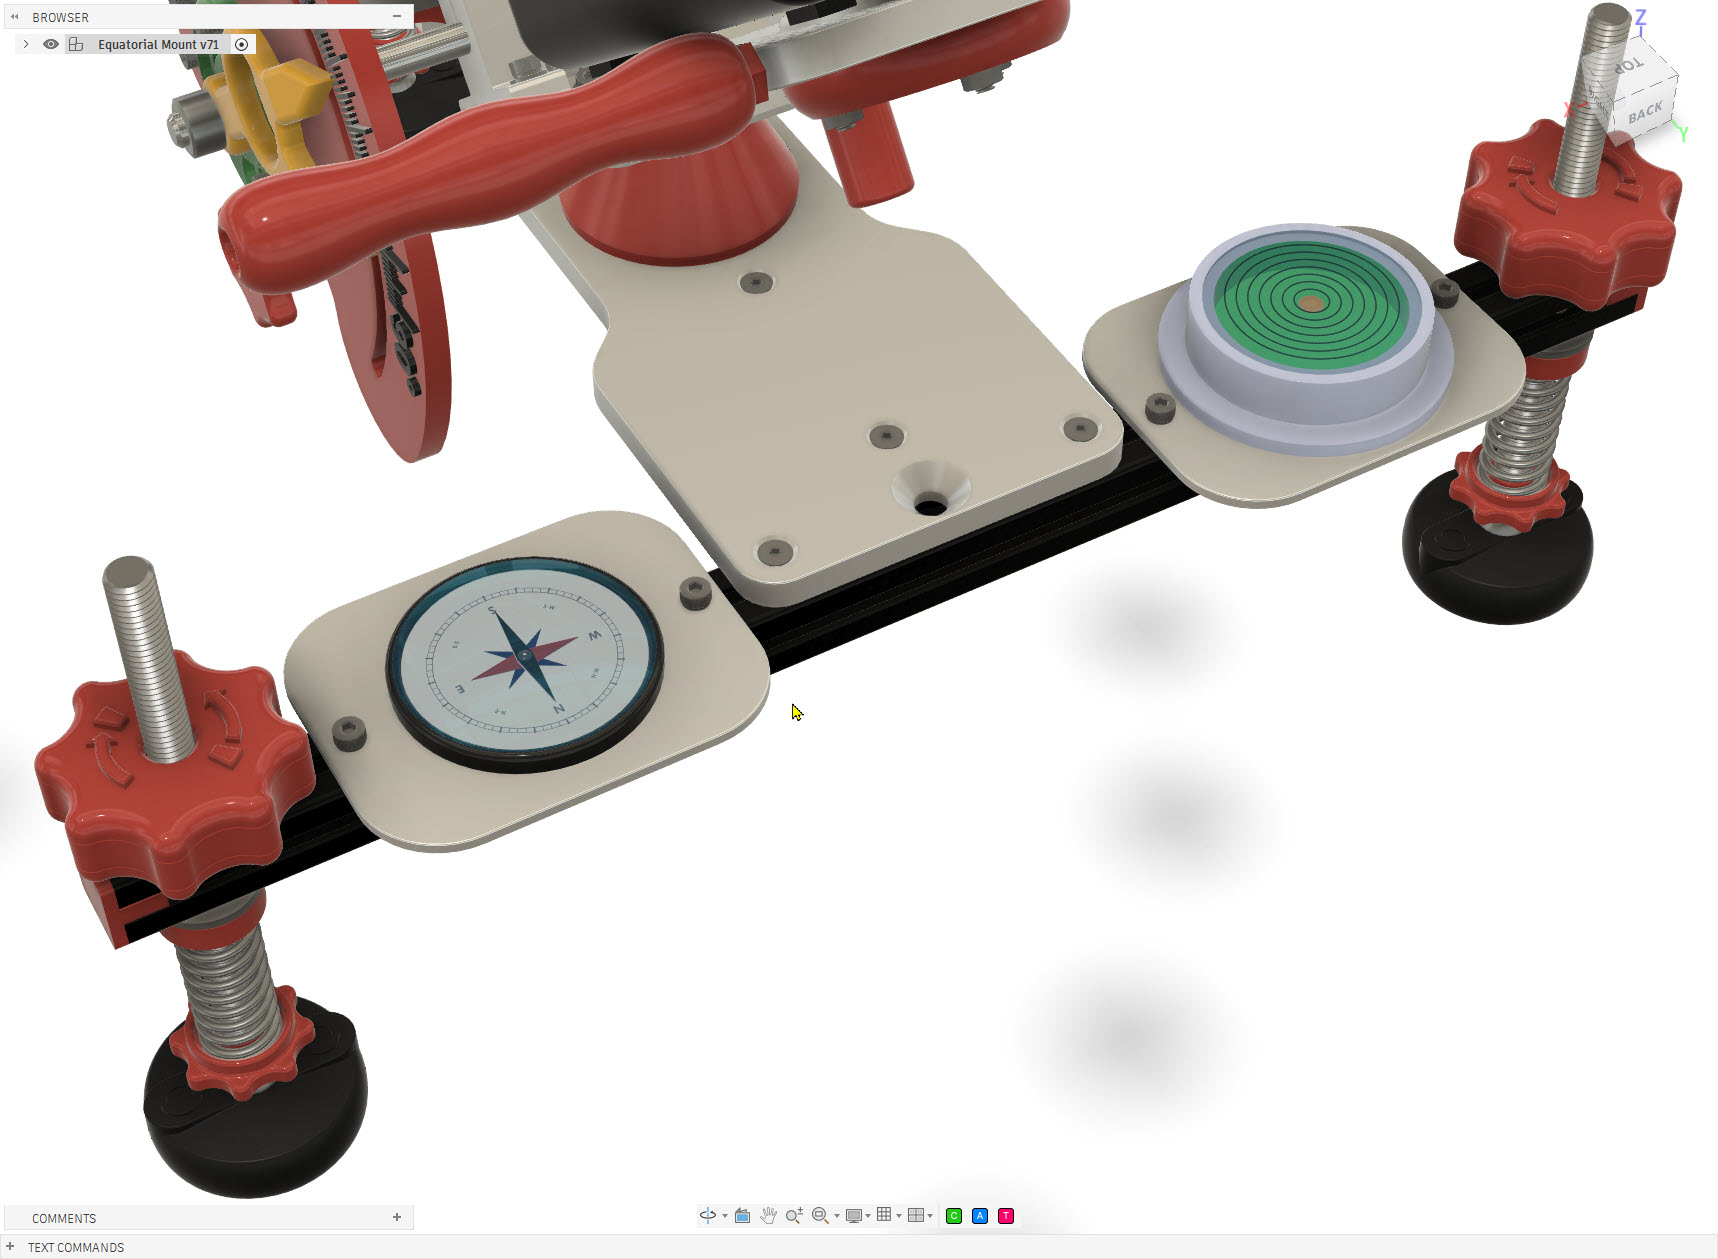
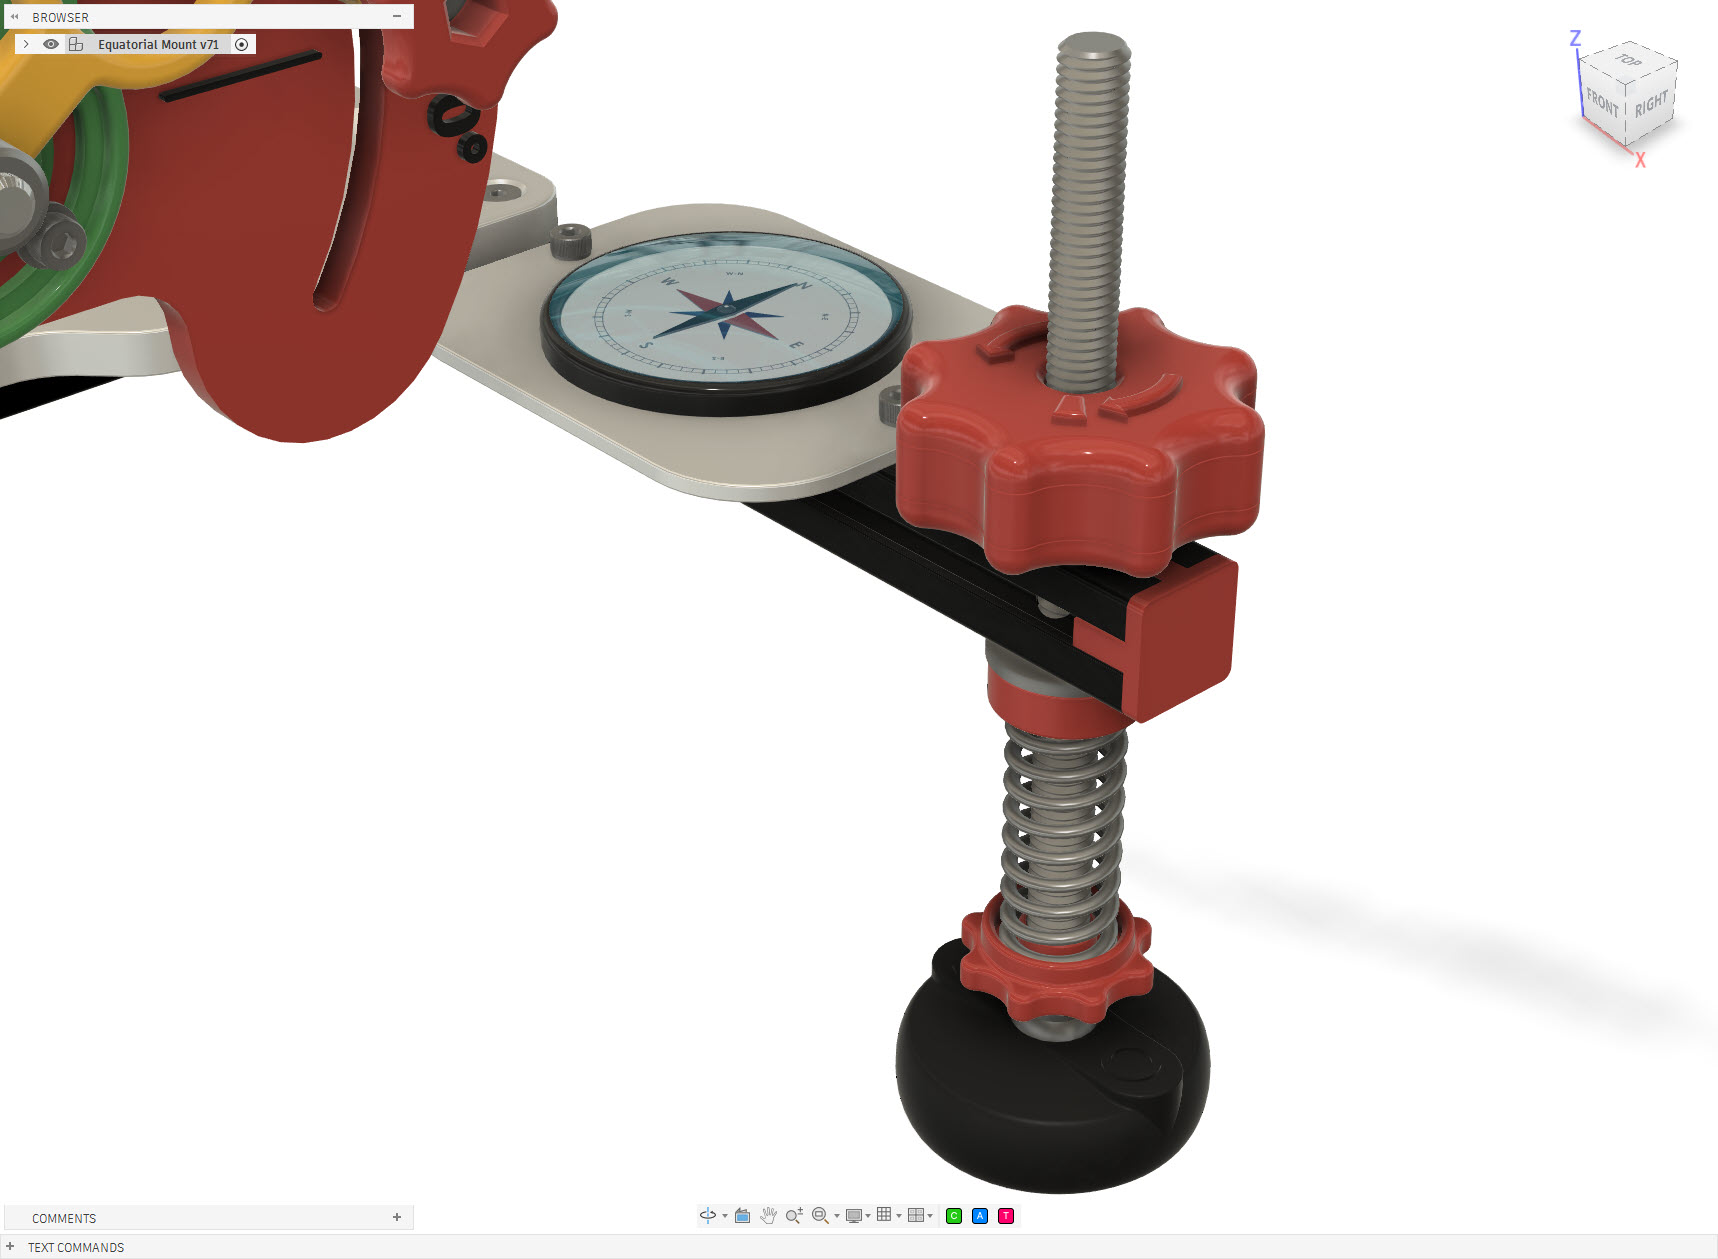
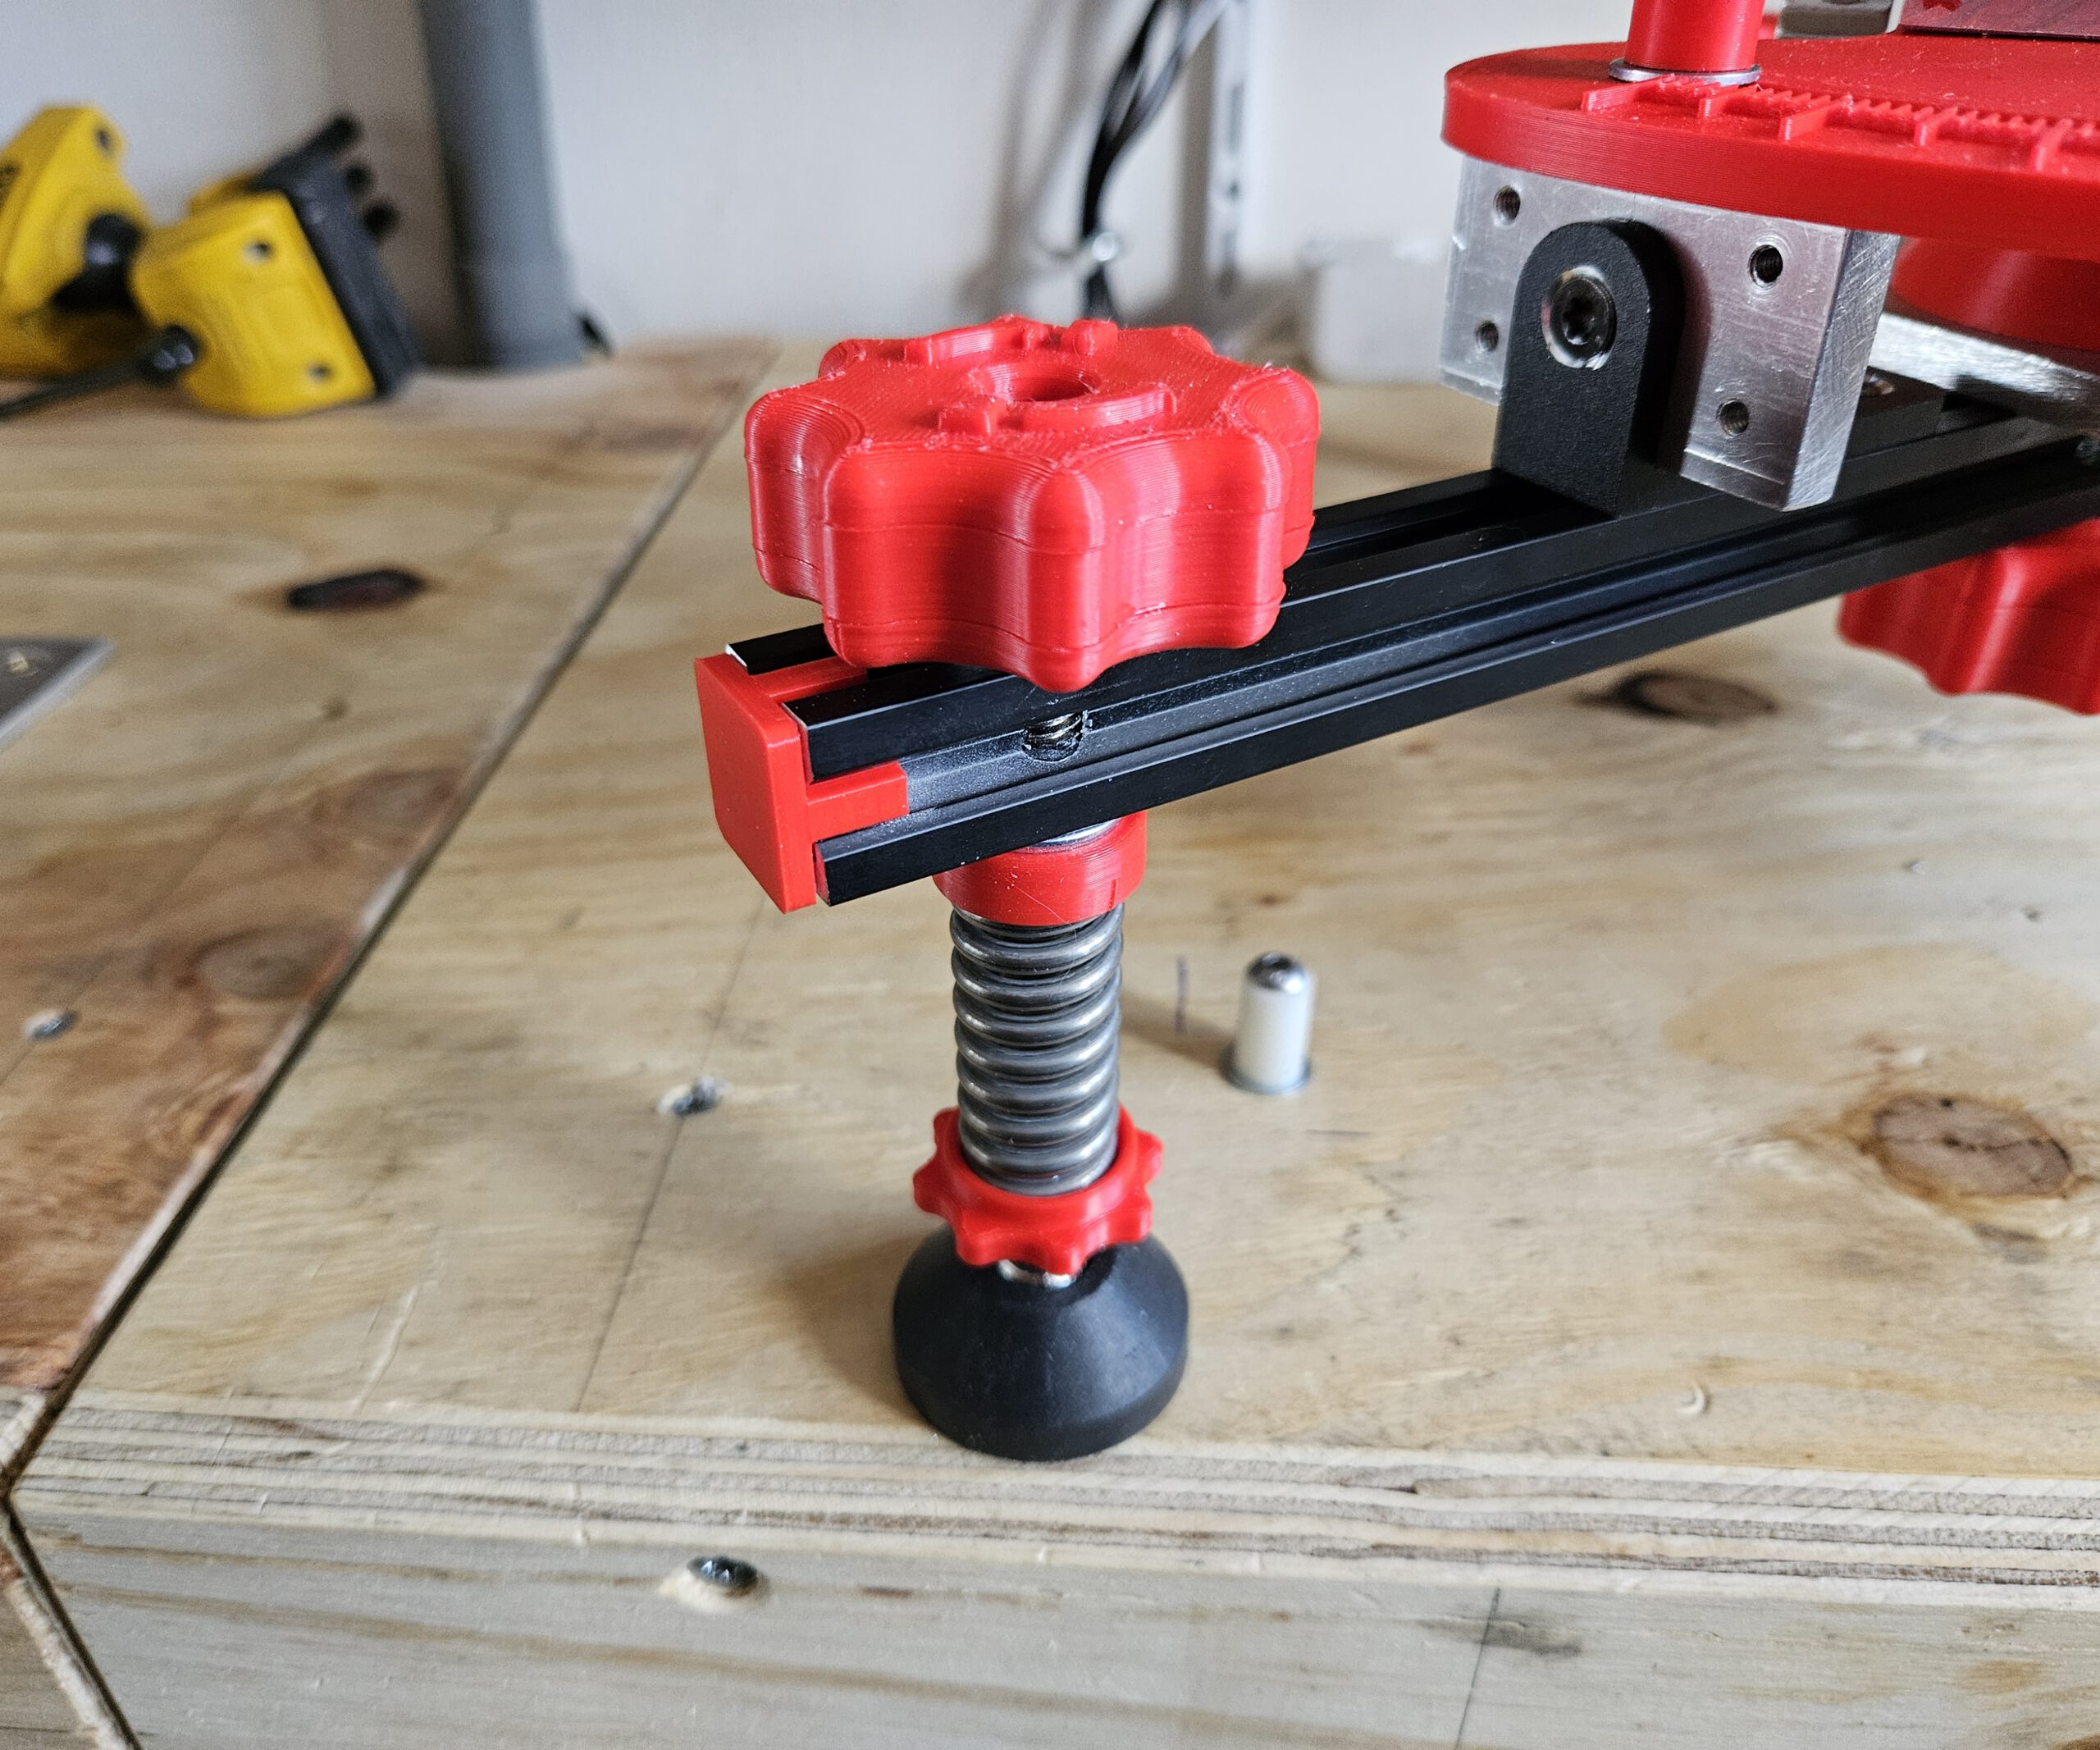
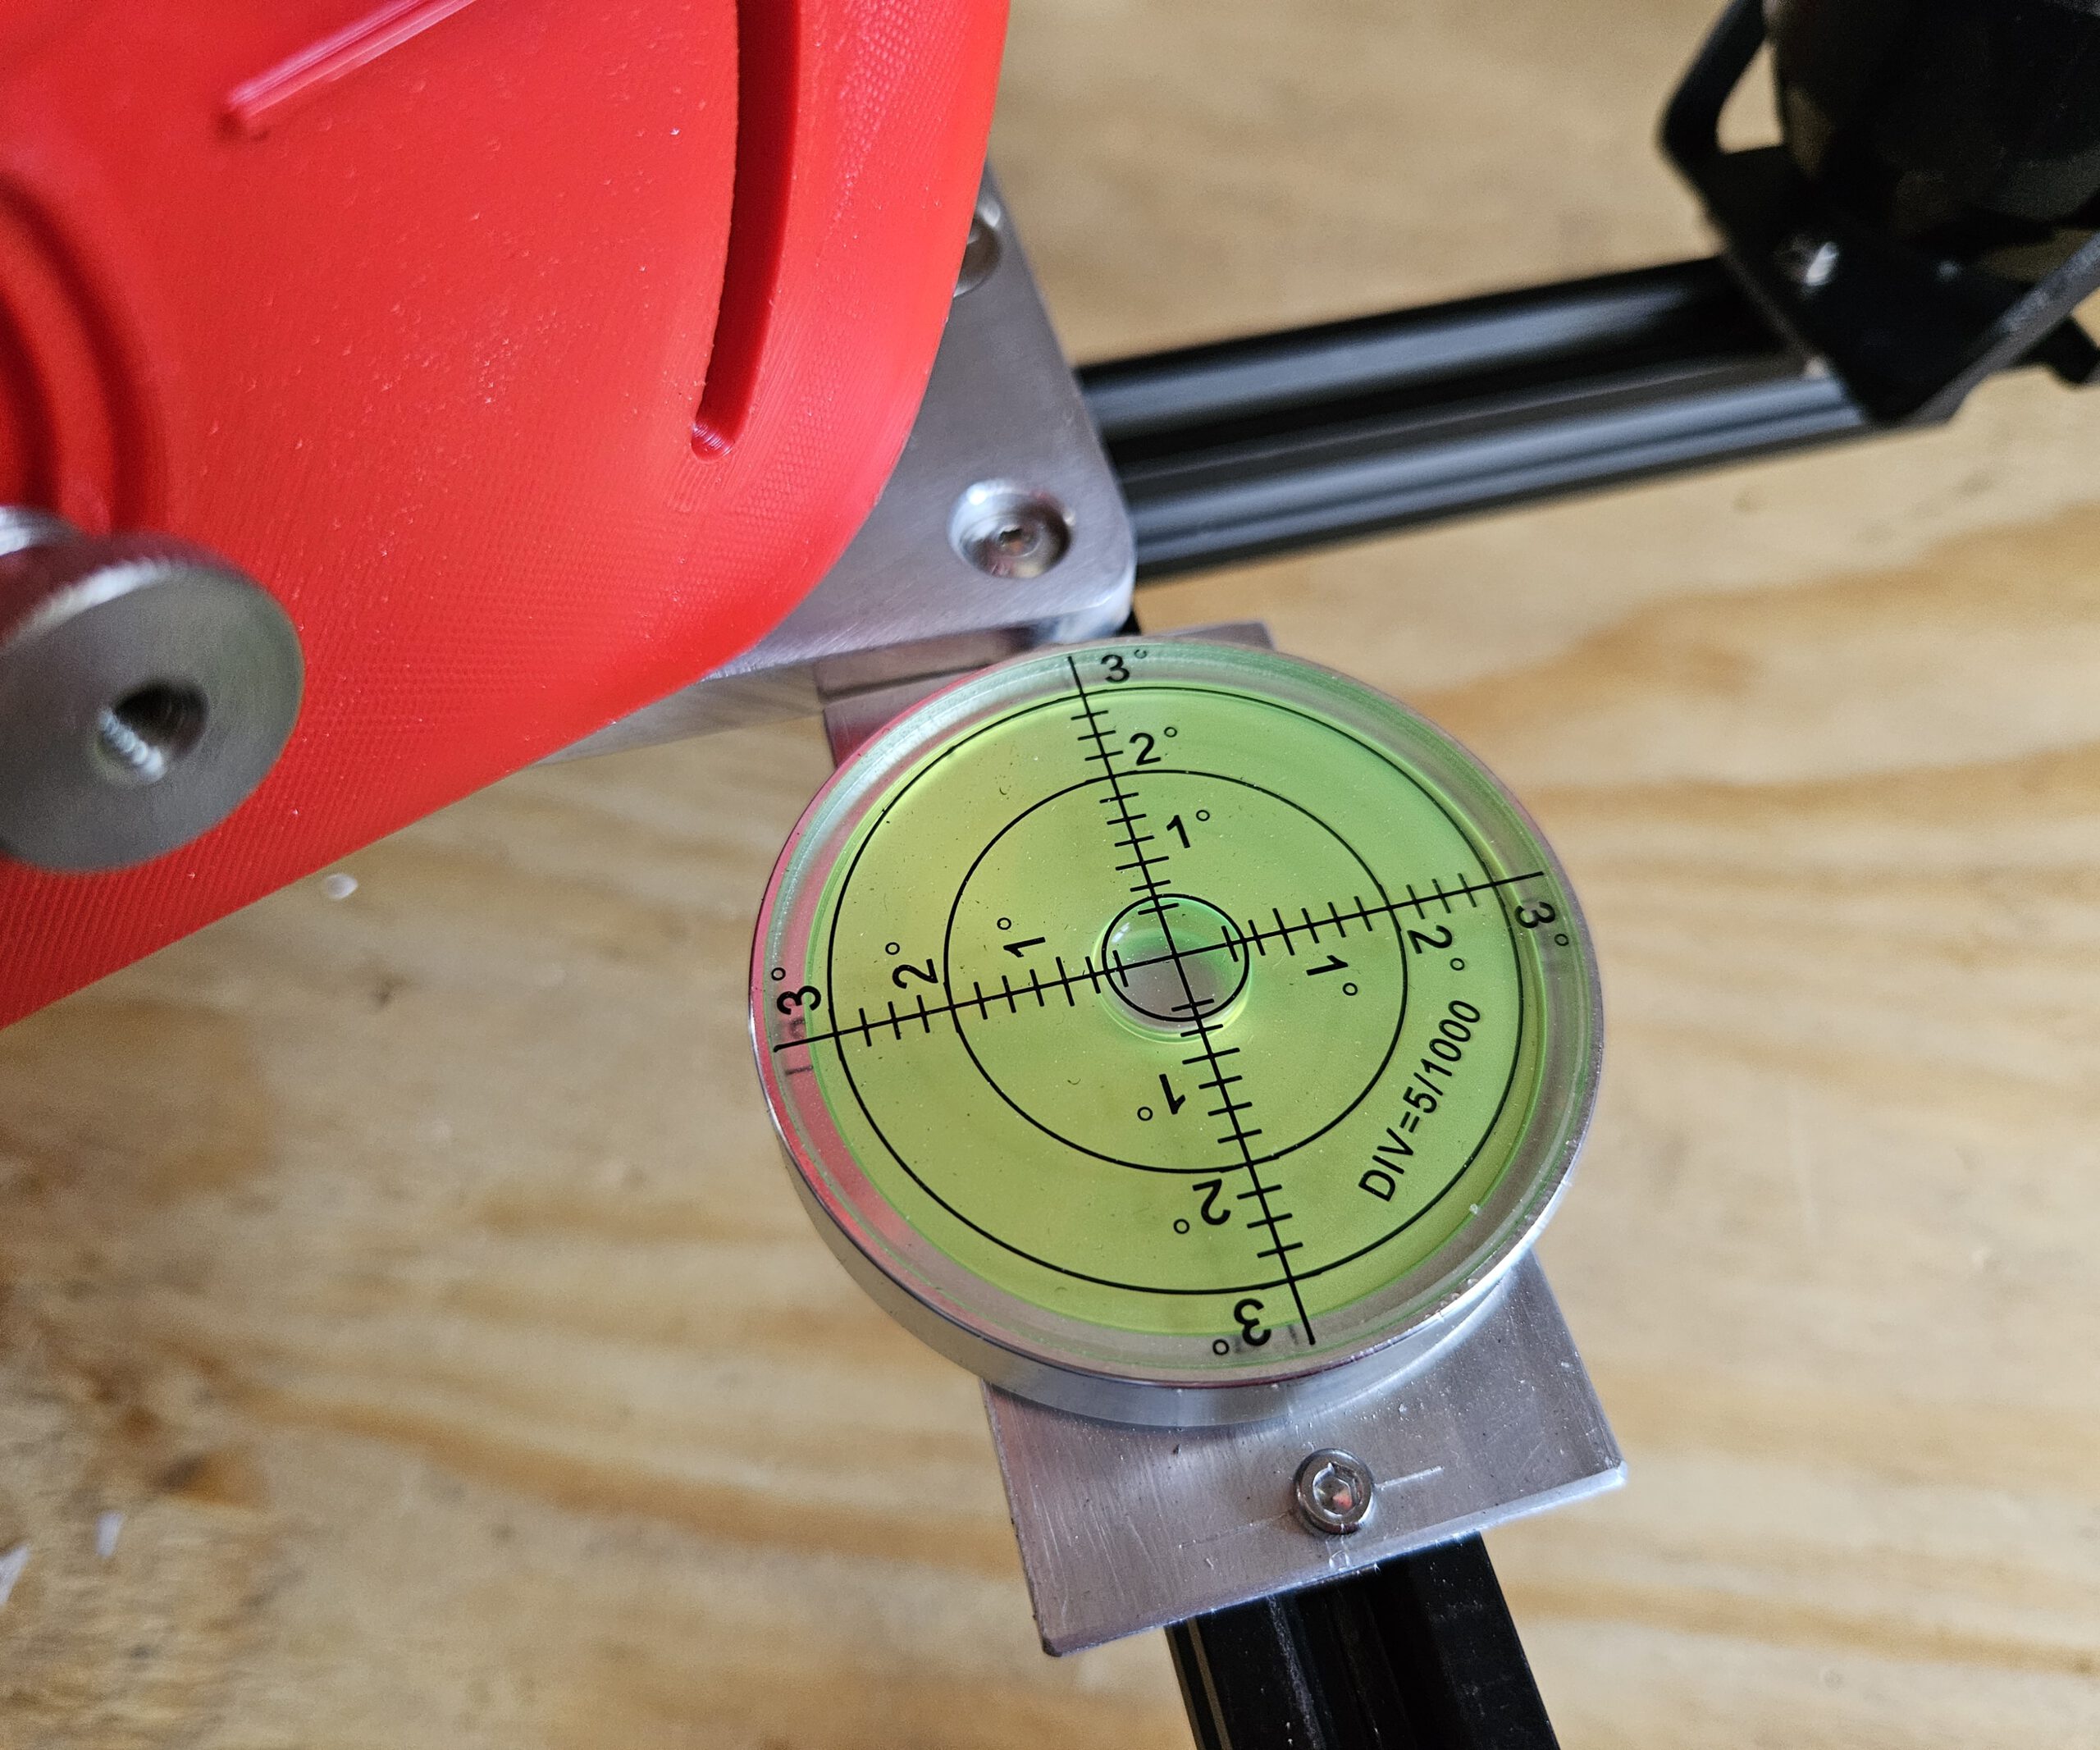
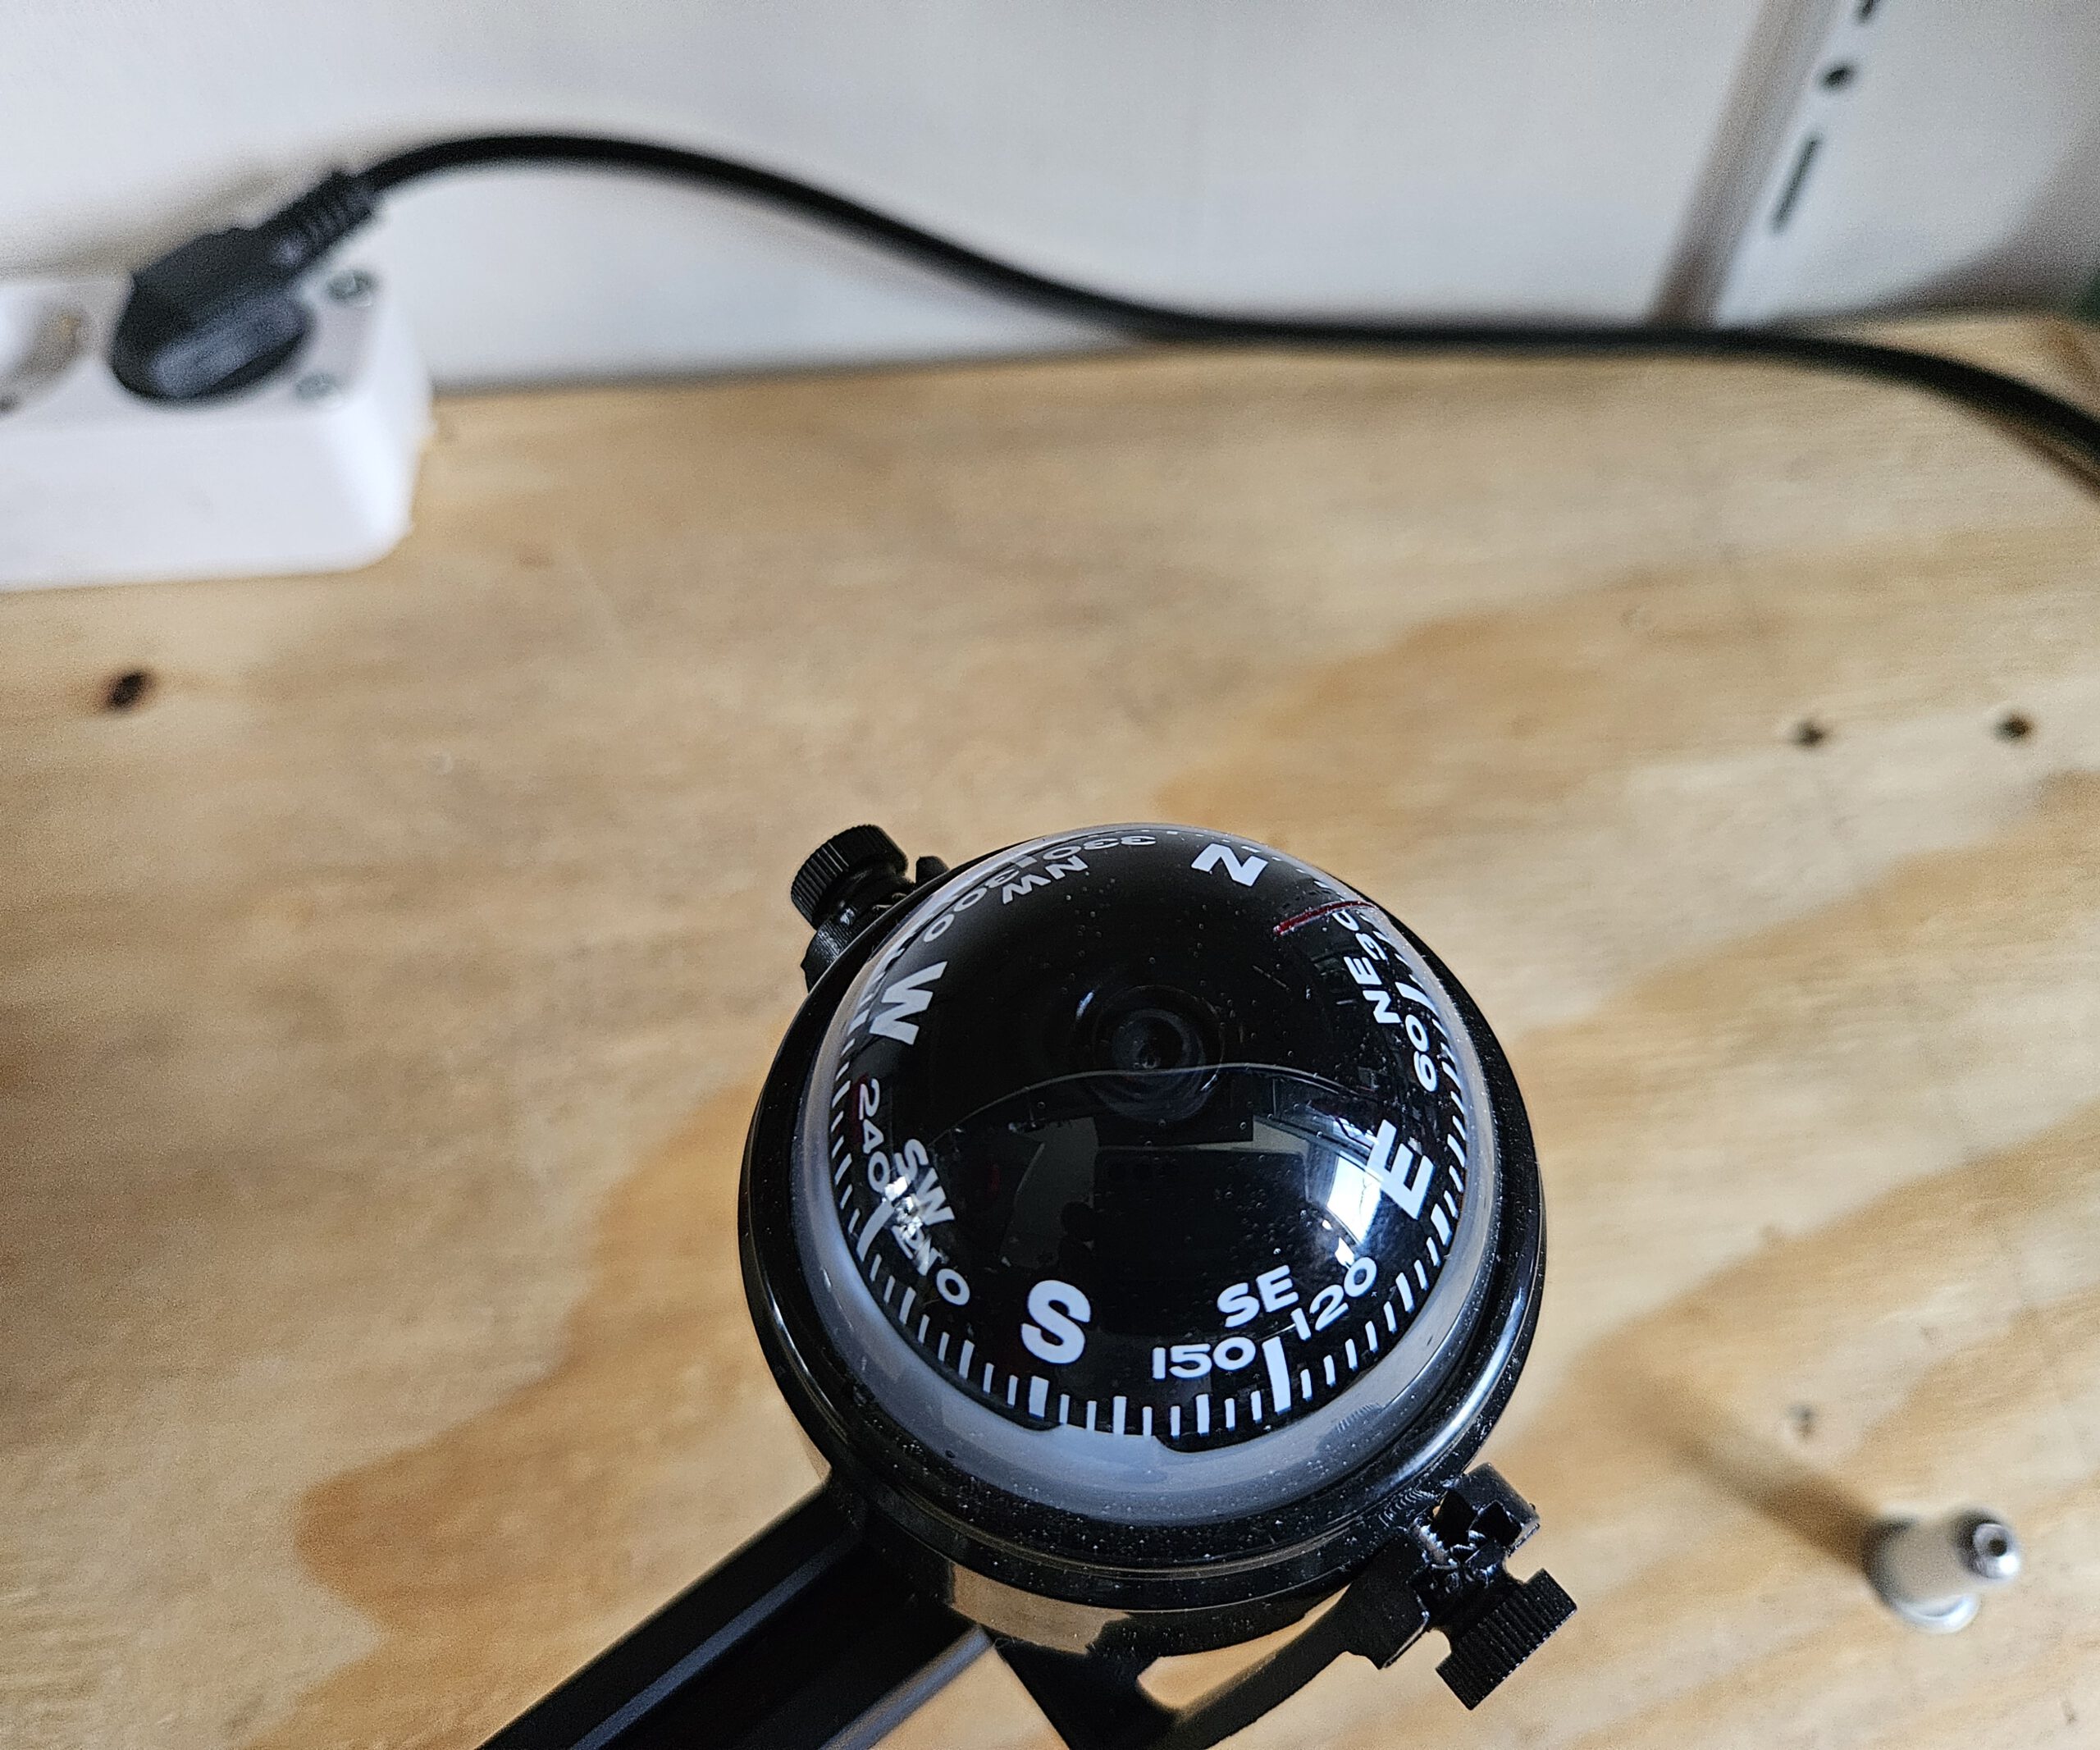
The three adjustable feet are used to level the mount first. A built-in compass and spirit level help with the initial setup, after which the altitude and azimuth controls provide the finer alignment.
Once aligned, the Seestar’s own rotation mechanism can follow the apparent movement of the sky around this axis.
Click the image for a larger version
WHY POLARIS? Polaris is almost directly above Earth’s rotational axis, making it a convenient alignment point.
WHY 51.2°? Polaris appears above the horizon at an angle equal to your latitude.
WHY TILT THE TELESCOPE? Tilting the Seestar aligns its rotation axis with Earth’s rotation axis.
WHY DOES THIS HELP? Once aligned, one rotating axis can follow the sky as Earth turns.
En eventueel bij het rijtje sterren bovenaan, omdat dát volgens mij voor een leek de grootste aha oplevert:
WHAT ARE WE SEEING? The stars only appear to circle Polaris — it is actually Earth that is rotating.
Pictures of the design
Seestar S50 Equatorial Mount
Seestar S50 Equatorial Mount
Seestar S50 Equatorial Mount
Seestar S50 Equatorial Mount
Seestar S50 Equatorial Mount
Seestar S50 Equatorial Mount
Seestar S50 Equatorial Mount
Seestar S50 Equatorial Mount
Seestar S50 Equatorial Mount
Seestar S50 Equatorial Mount
Seestar S50 Equatorial Mount
Seestar S50 Equatorial Mount
Seestar S50 Equatorial Mount
Seestar S50 Equatorial Mount
Seestar S50 Equatorial Mount
Seestar S50 Equatorial Mount
Seestar S50 Equatorial Mount
1/1
Design drawings for the Aluminium parts
The scales can be printed, but please use ABS or Nylon for stability. The other parts:
Azimuth Platform
Equatorial Mount
Rotaton Plate
Must be made from metal for stability. I used easy to work thick Aluminium plates. Back then I worked it by hand and hand tools. Nowadays I woult put it in mij CNC milling machine. But some old fashion workmanship will do too.
Quantities shown are for one tripod leg. Three identical legs are required for the complete mount.
Base Platform BOM
Qty
Component
Specification / Notes
3D printed
1
Aluminium Plate
220 × 100 × 8 mm
n/a
1
Washer
M10
n/a
1
Locknut
M10
n/a
5
Flat Head Hex Bolt
M4 × 30
n/a
1
Socket Head Bolt
M10 × 120
n/a
1
APS Lock
n/a
ABS/Nylon
1
Top Azimuth Support
n/a
ABS/Nylon
1
Bottom Azimuth Support
n/a
XABS/Nylon
Altitude Platform BOM
Qty
Component
Specification / Notes
3D printed
1
Aluminium Plate
205.2 × 100 × 8 mm
n/a
1
Lens Head Bolt
3/8″-16 × 3/4″
n/a
1
External-Tooth Lock Washer
3/4″
n/a
2
Flat Head Hex Bolt
M4 × 30
n/a
4
Flat Head Hex Bolt
M4 × 14
n/a
1
Hex Bolt
M4 × 15
n/a
1
Hex Bolt
M4 × 40
n/a
1
Socket Head Bolt
M4 × 30
n/a
4
Socket Head Bolt
M4 × 13
n/a
3
Hex Nut
M4
n/a
15
Washer
M4
n/a
1
Steel Axle
Ø8 mm × 100 mm
n/a
1
Steel Axle
Ø8 mm × 30 mm
n/a
1
Shaft Collar
ID 8 mm, OD 14 mm, H 8 mm
n/a
1
Cup Point Hex Set Screw
M4 × 3
n/a
2
SK8 Axle Support
42 × 32 × 14 mm, ID 8 mm
n/a
1
Adjustable Handle Block Alt
n/a
ABS/Nylon
1
Alt Grip
n/a
ABS/Nylon
1
Aluminium Turning Base
n/a
ABS/Nylon
1
Alt Platform 0 Degree Support
n/a
ABS/Nylon
1
Scale Pointer
n/a
Any
1
Thumb Screw
n/a
Any
1
Placeholder for Lens Head Bolt
n/a
Any
Azimuth Platform BOM
Qty
Component
Specification / Notes
3D printed
4
Flat Head Bolt
M4 × 20
n/a
3
Roll Bearing Block
42 × 32 × 14 mm, ID 8 mm
n/a
8
Socket Head Bolt
M4 × 13
n/a
8
Washer
M4
n/a
2
Socket Head Bolt
M4 × 13, additional hardware
n/a
2
Nut
M3
n/a
2
SKF 51203 Thrust Bearing
51203 / S1203 XC
n/a
1
Azimuth Scale & Lock
n/a
ABS/Nylon
1
Altitude Lock Plate V5
n/a
ABS Nylon
1
Lockable Home Altitude Pointer
n/a
Any
1
Adjustable Handle Block Azi
n/a
ABS/Nylon
And then came the ultimate field test: a solar eclipse.
With the mount polar-aligned and the Seestar tracking the Sun, I could leave the telescope to follow the event instead of repeatedly repositioning it by hand. The result was a complete time-lapse of the eclipse — and, more importantly from a maker’s perspective, proof that the design actually worked outside Fusion 360.
Towards the end of the solar eclipse clip, the image starts to shift. This happened because the telescope eventually ran into the window frame without me noticing. A bit unfortunate, but it is what it is. Apart from that, the recording was successful and the mount did exactly what it was supposed to do.
For now, the images below are presented as a preview of what is coming. A complete write-up covering the design process, reverse engineering techniques, challenges and lessons learned will be added in the near future.
All STL files used to create the model will eventually be made available for download, allowing others to build their own version.
CONCEPT, soon to arrive. Already built and tested, busy publishing.
Design and Development
From Reference Photos to a Digital Launch Complex
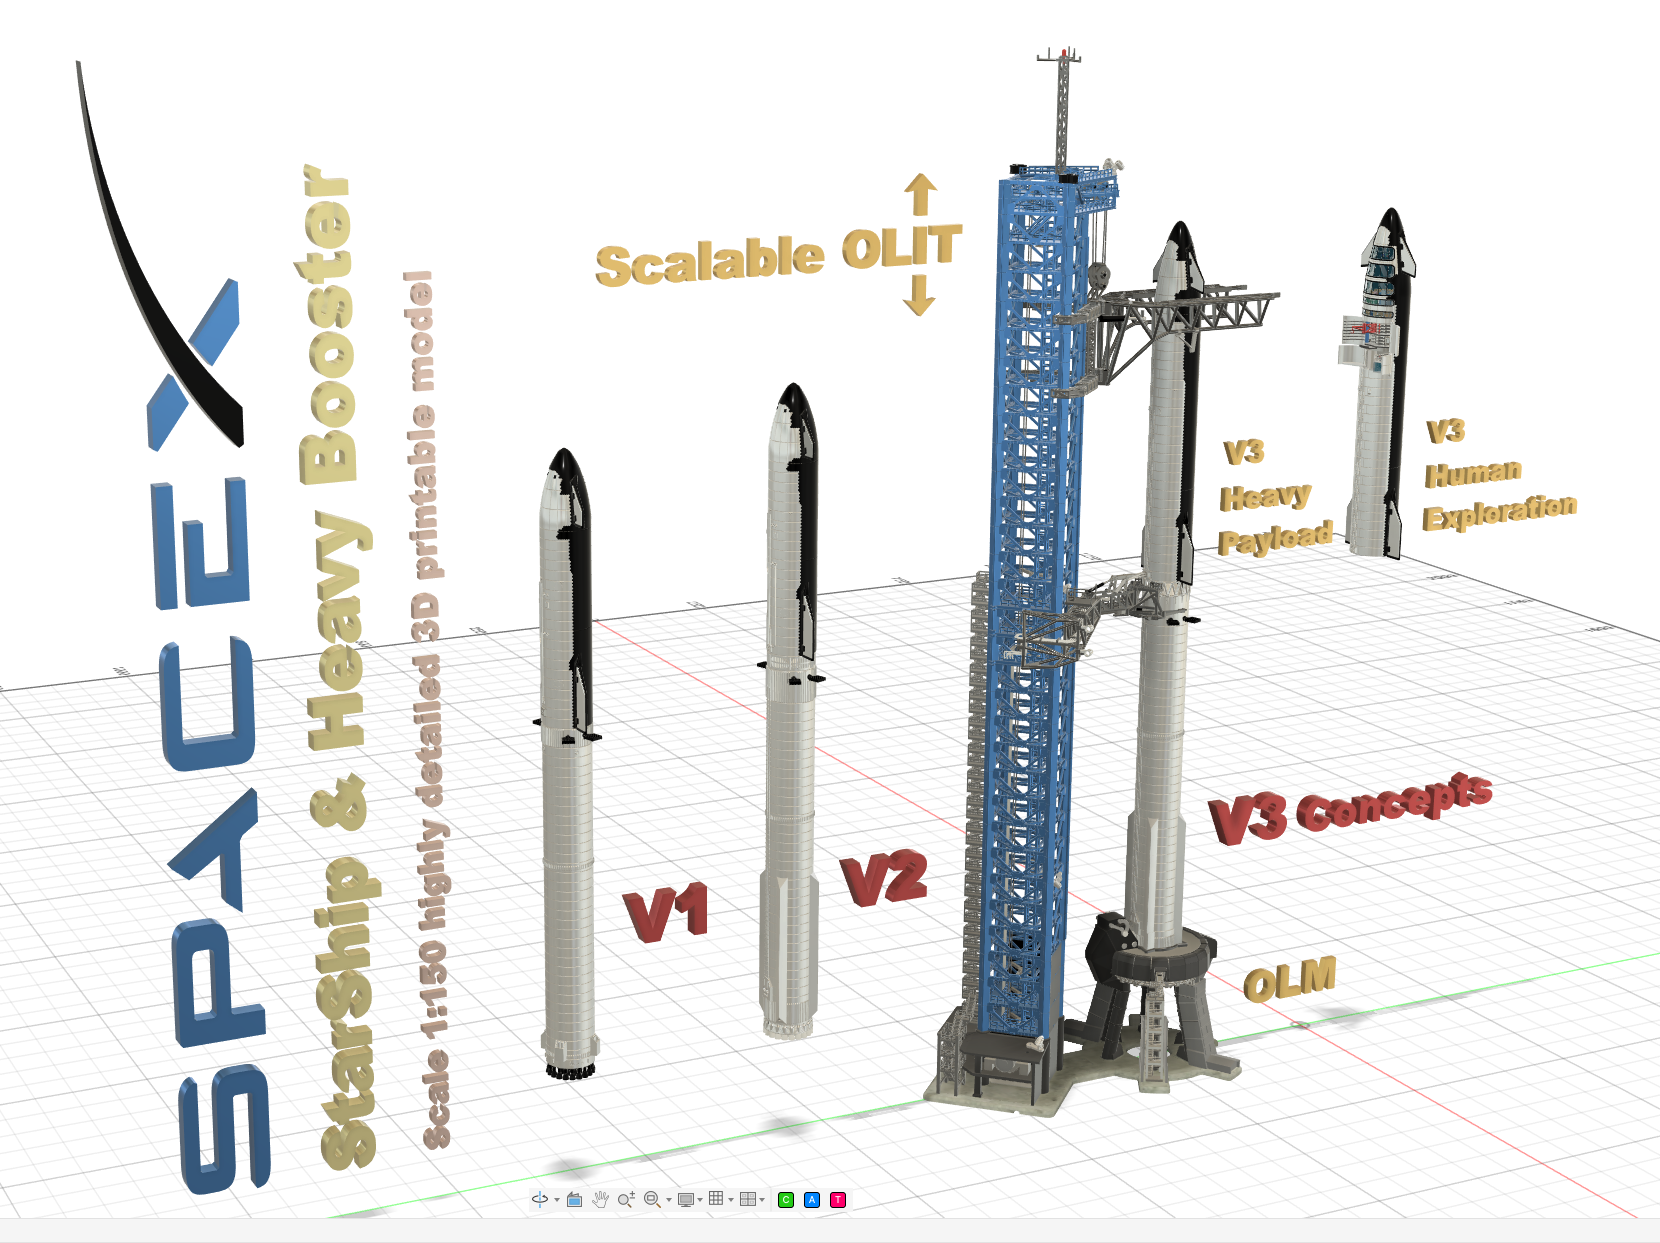
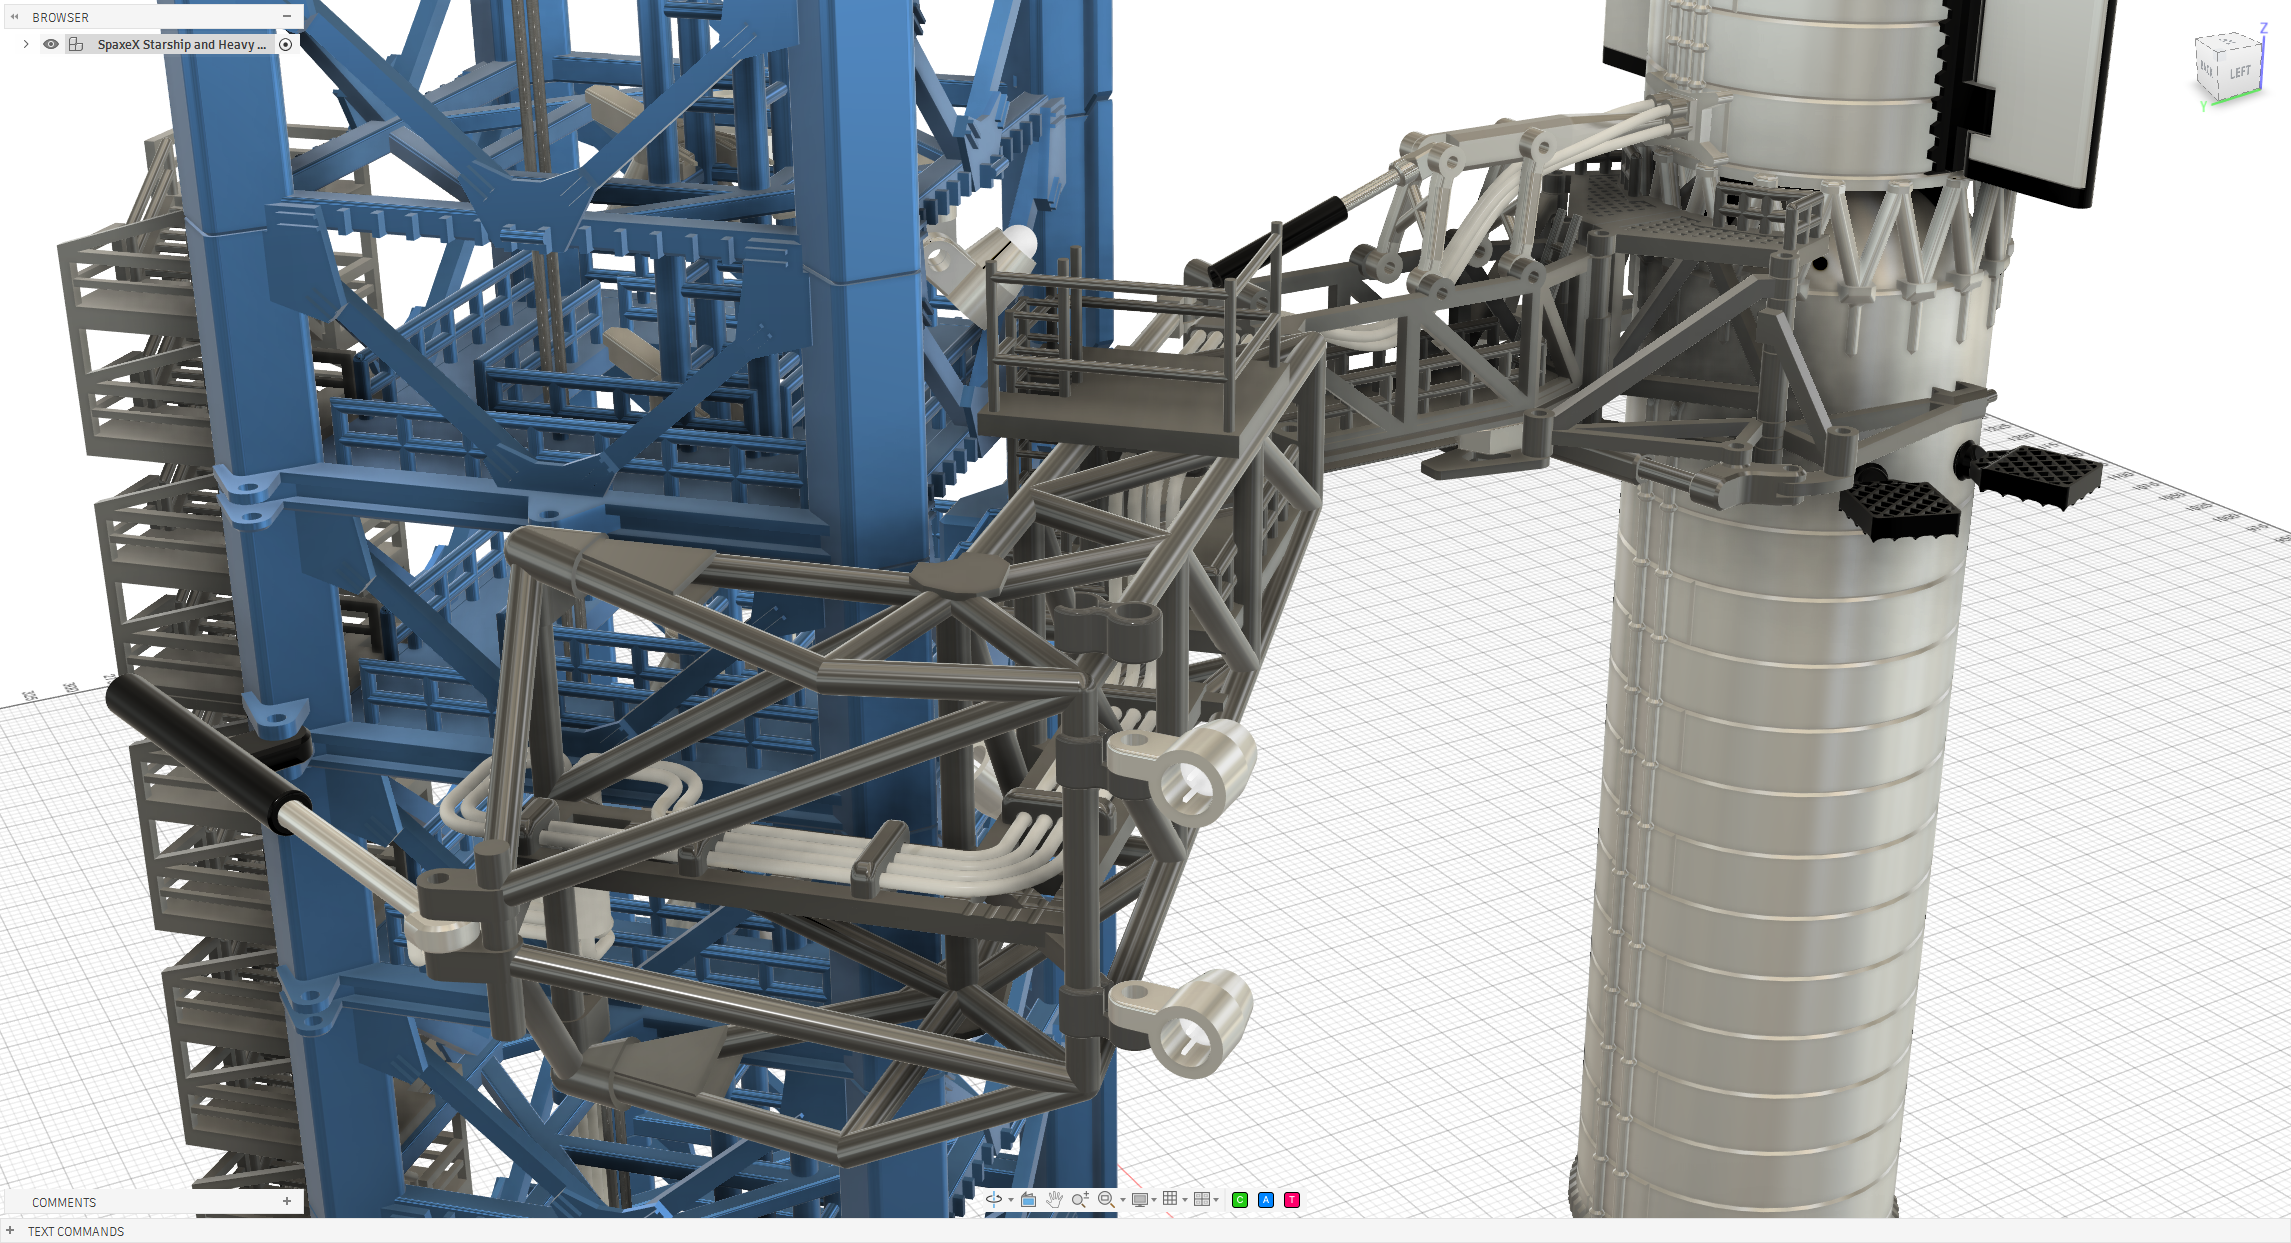
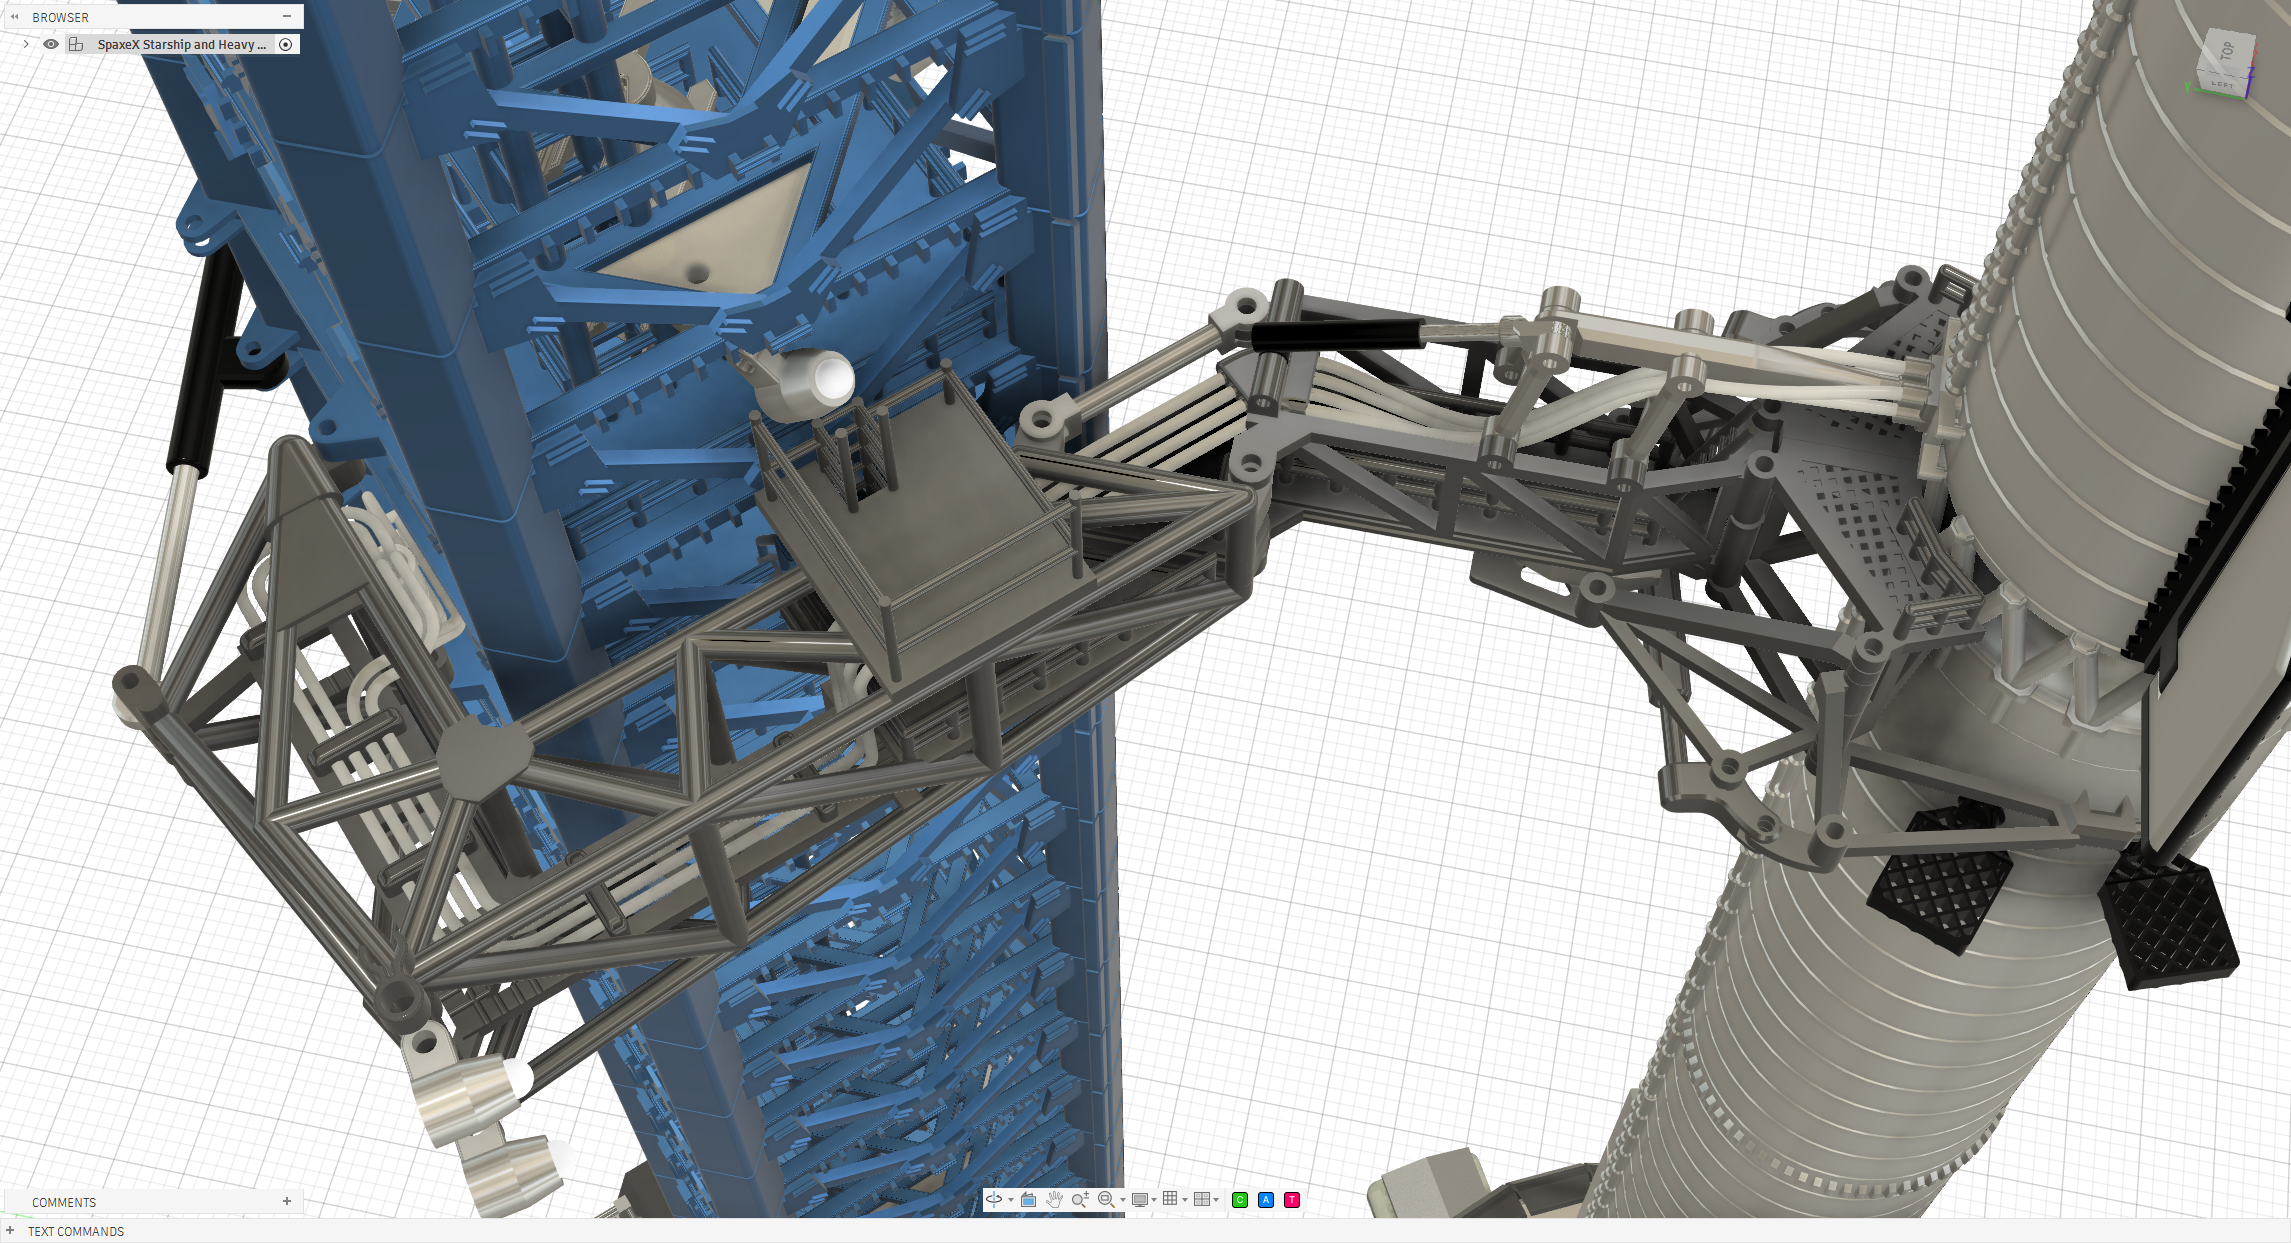
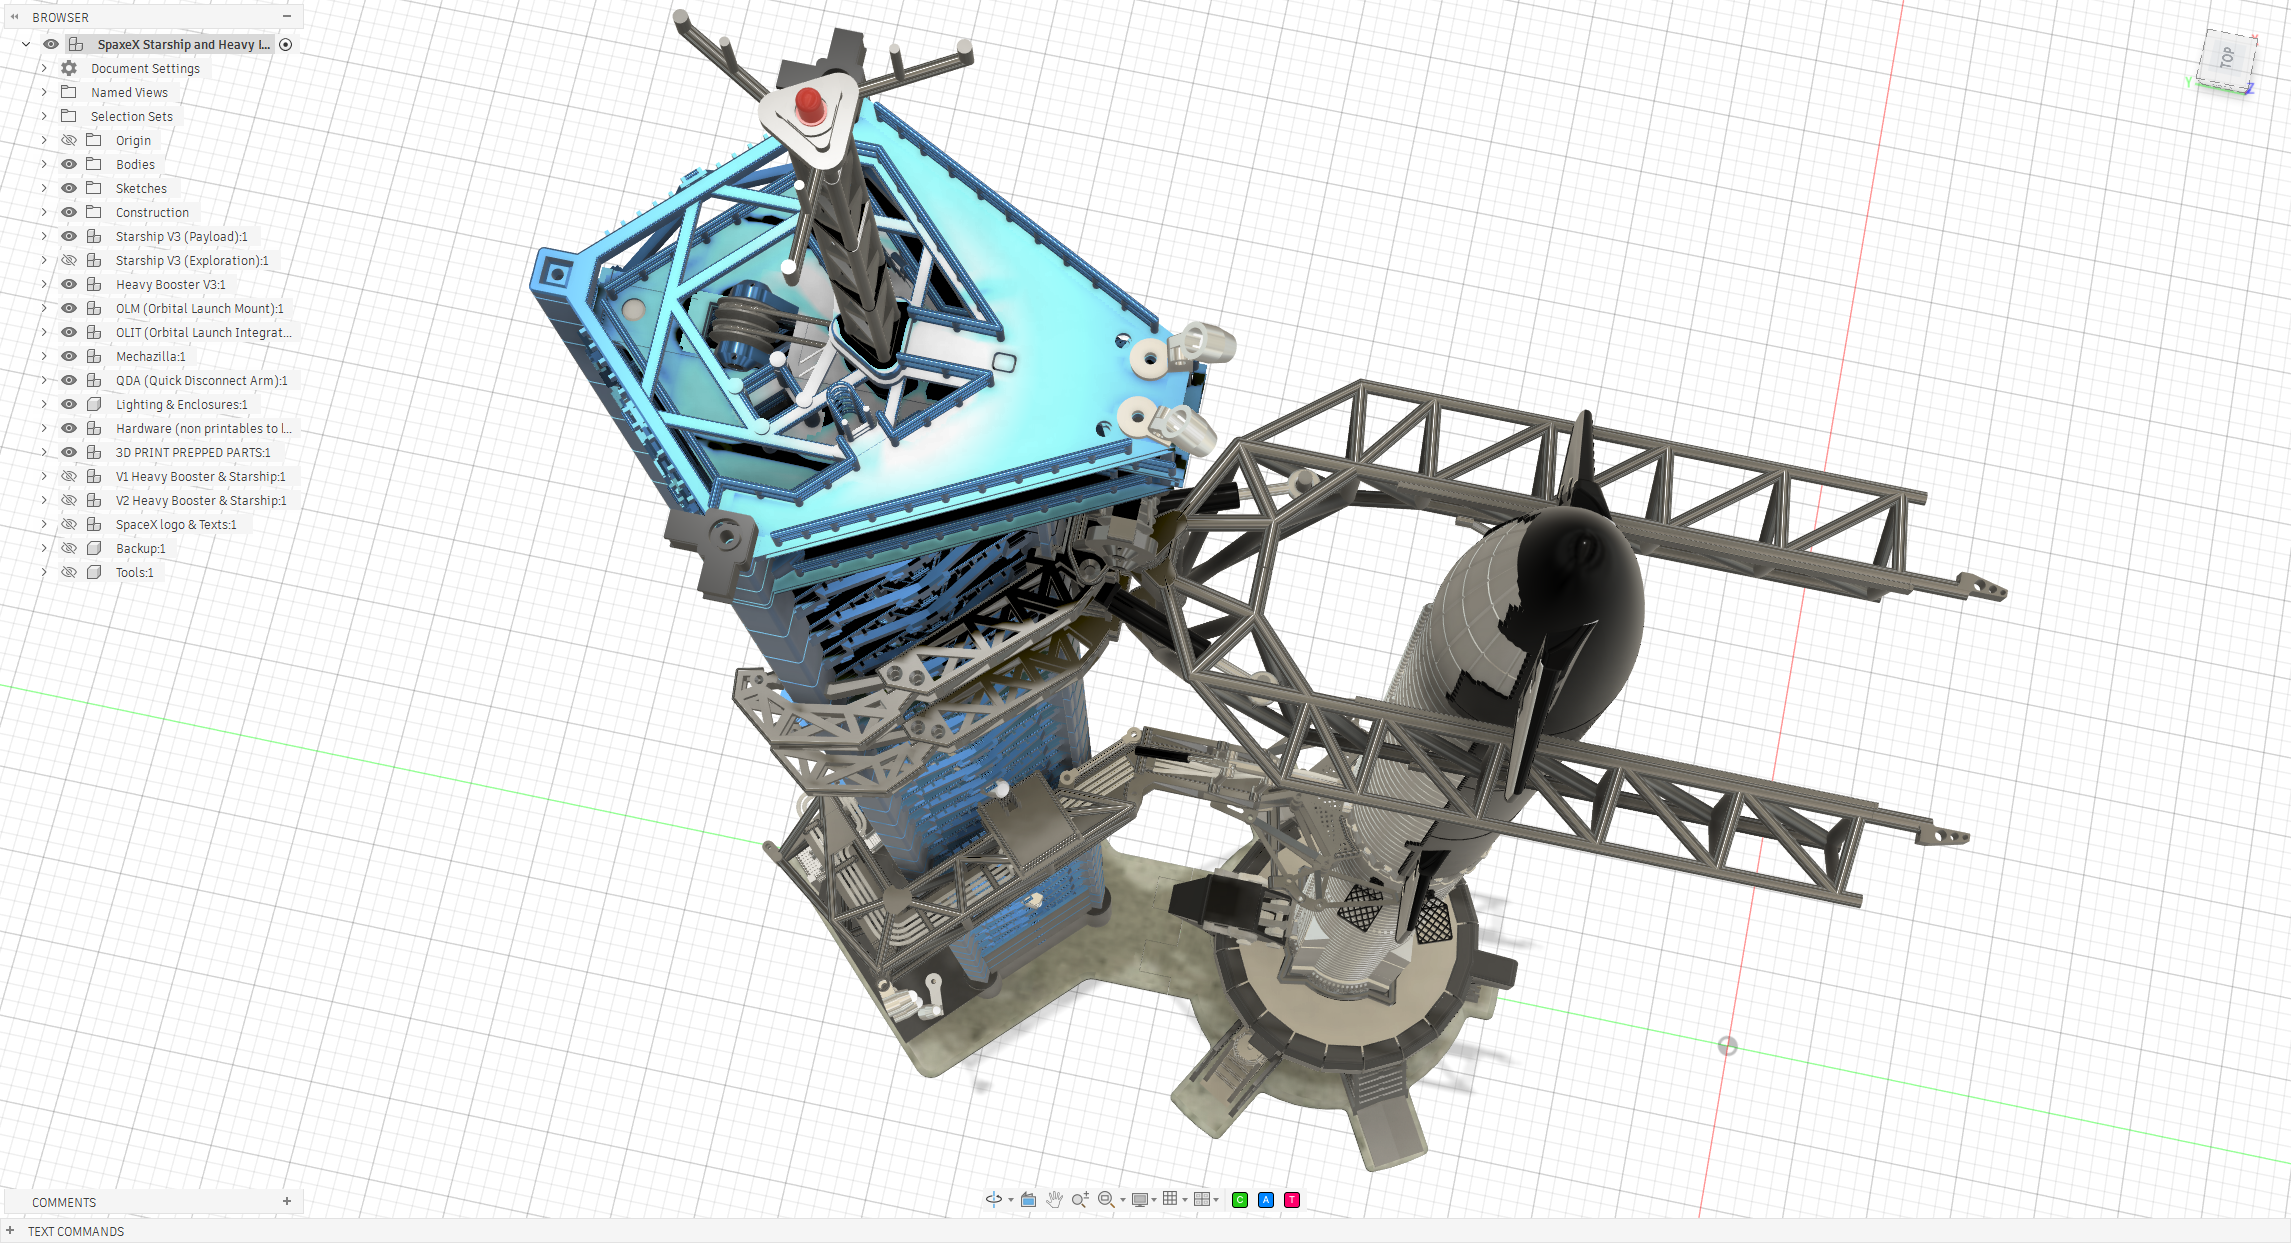
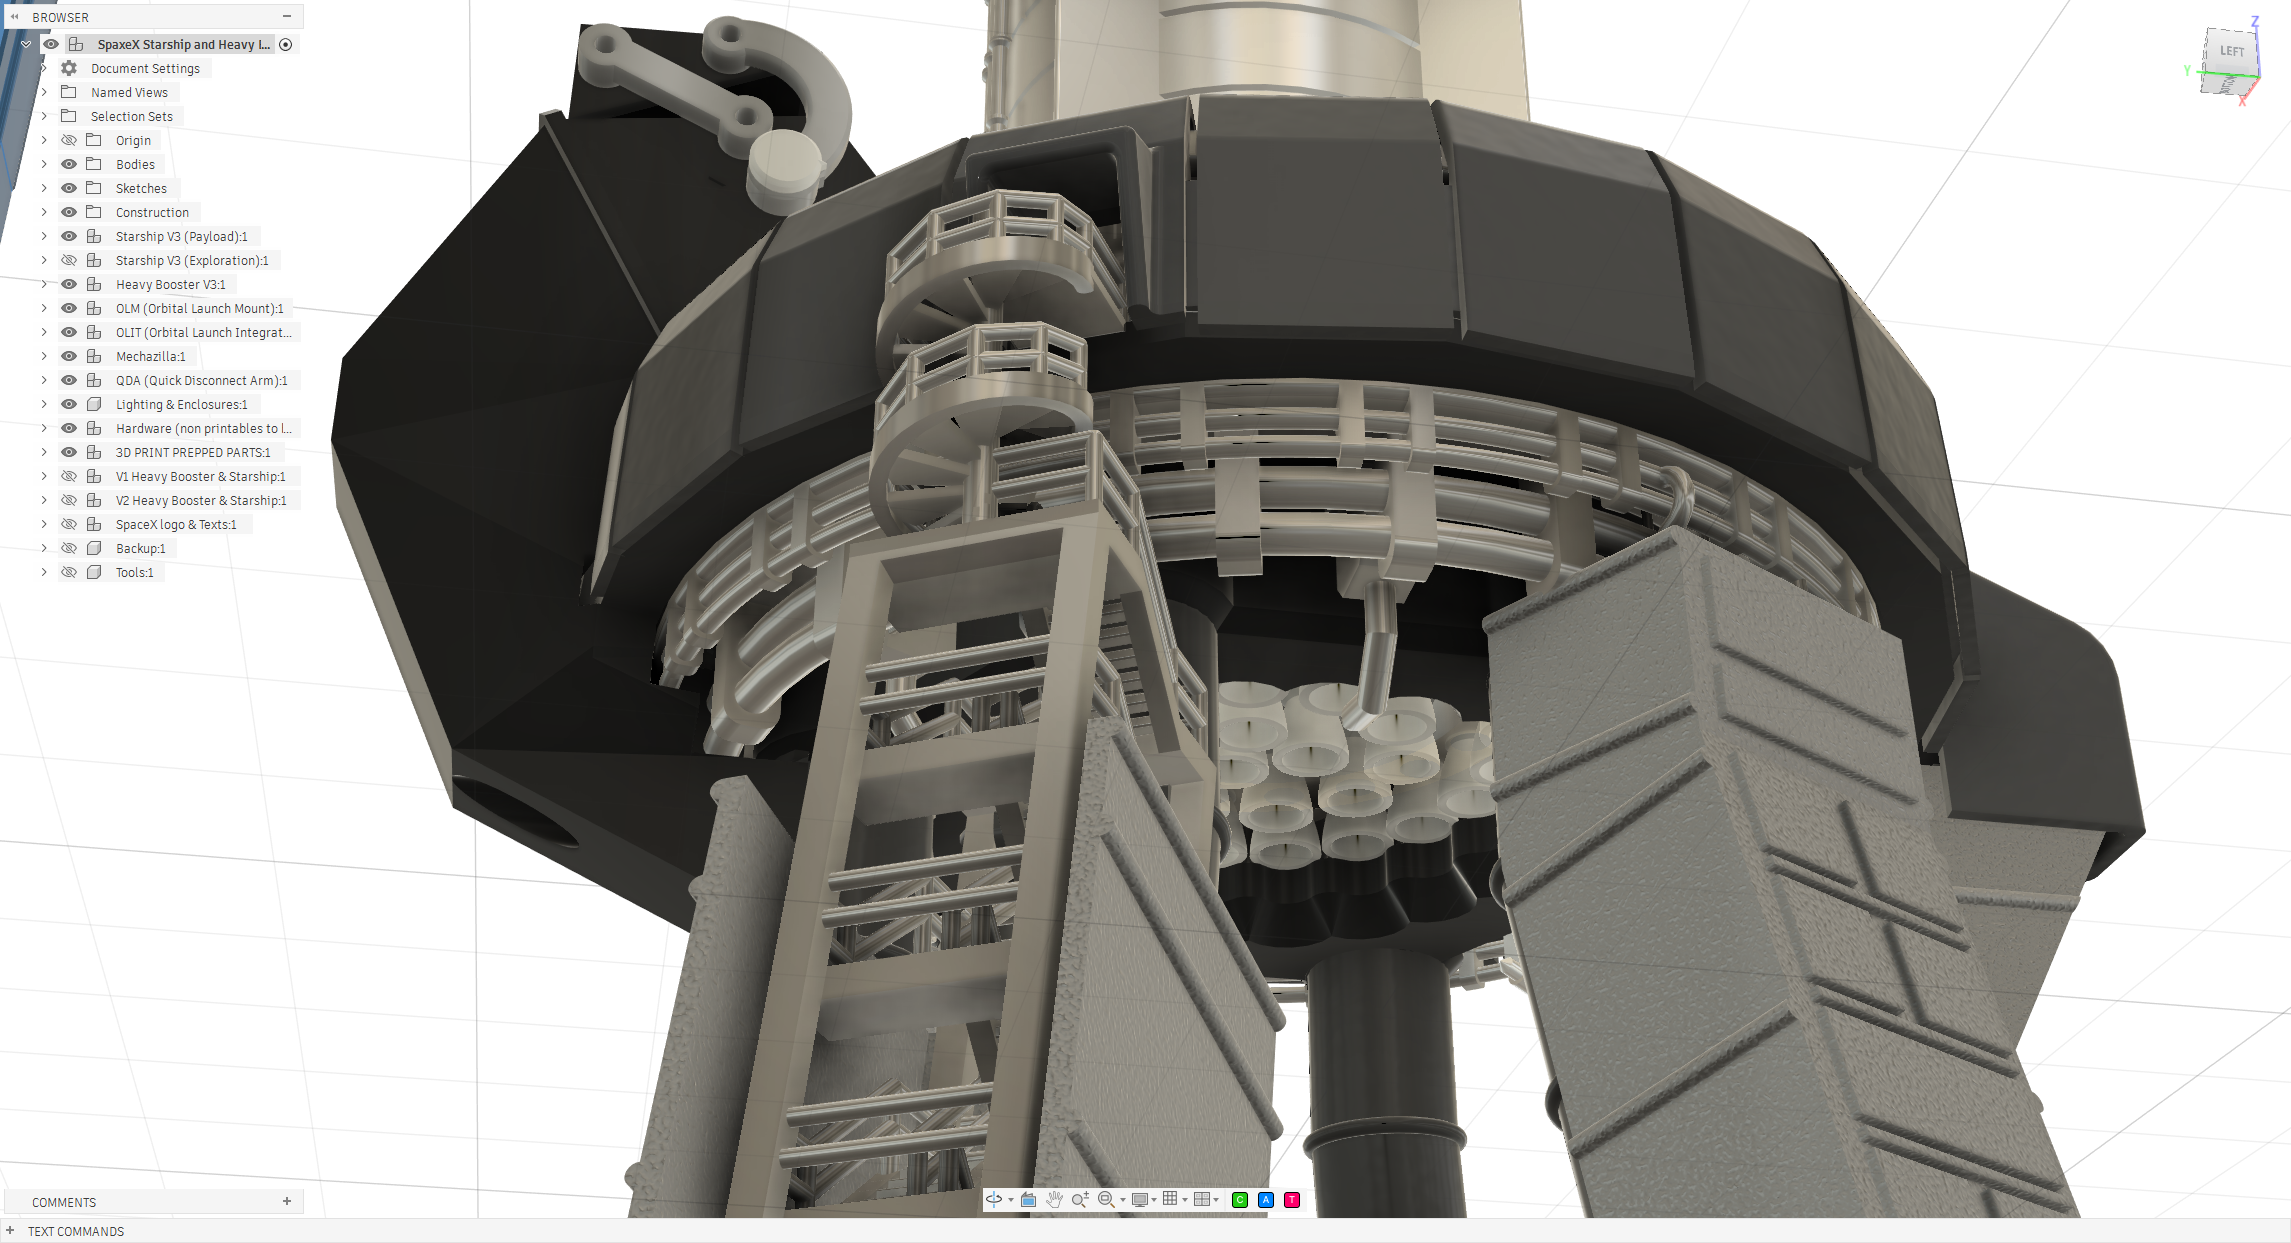
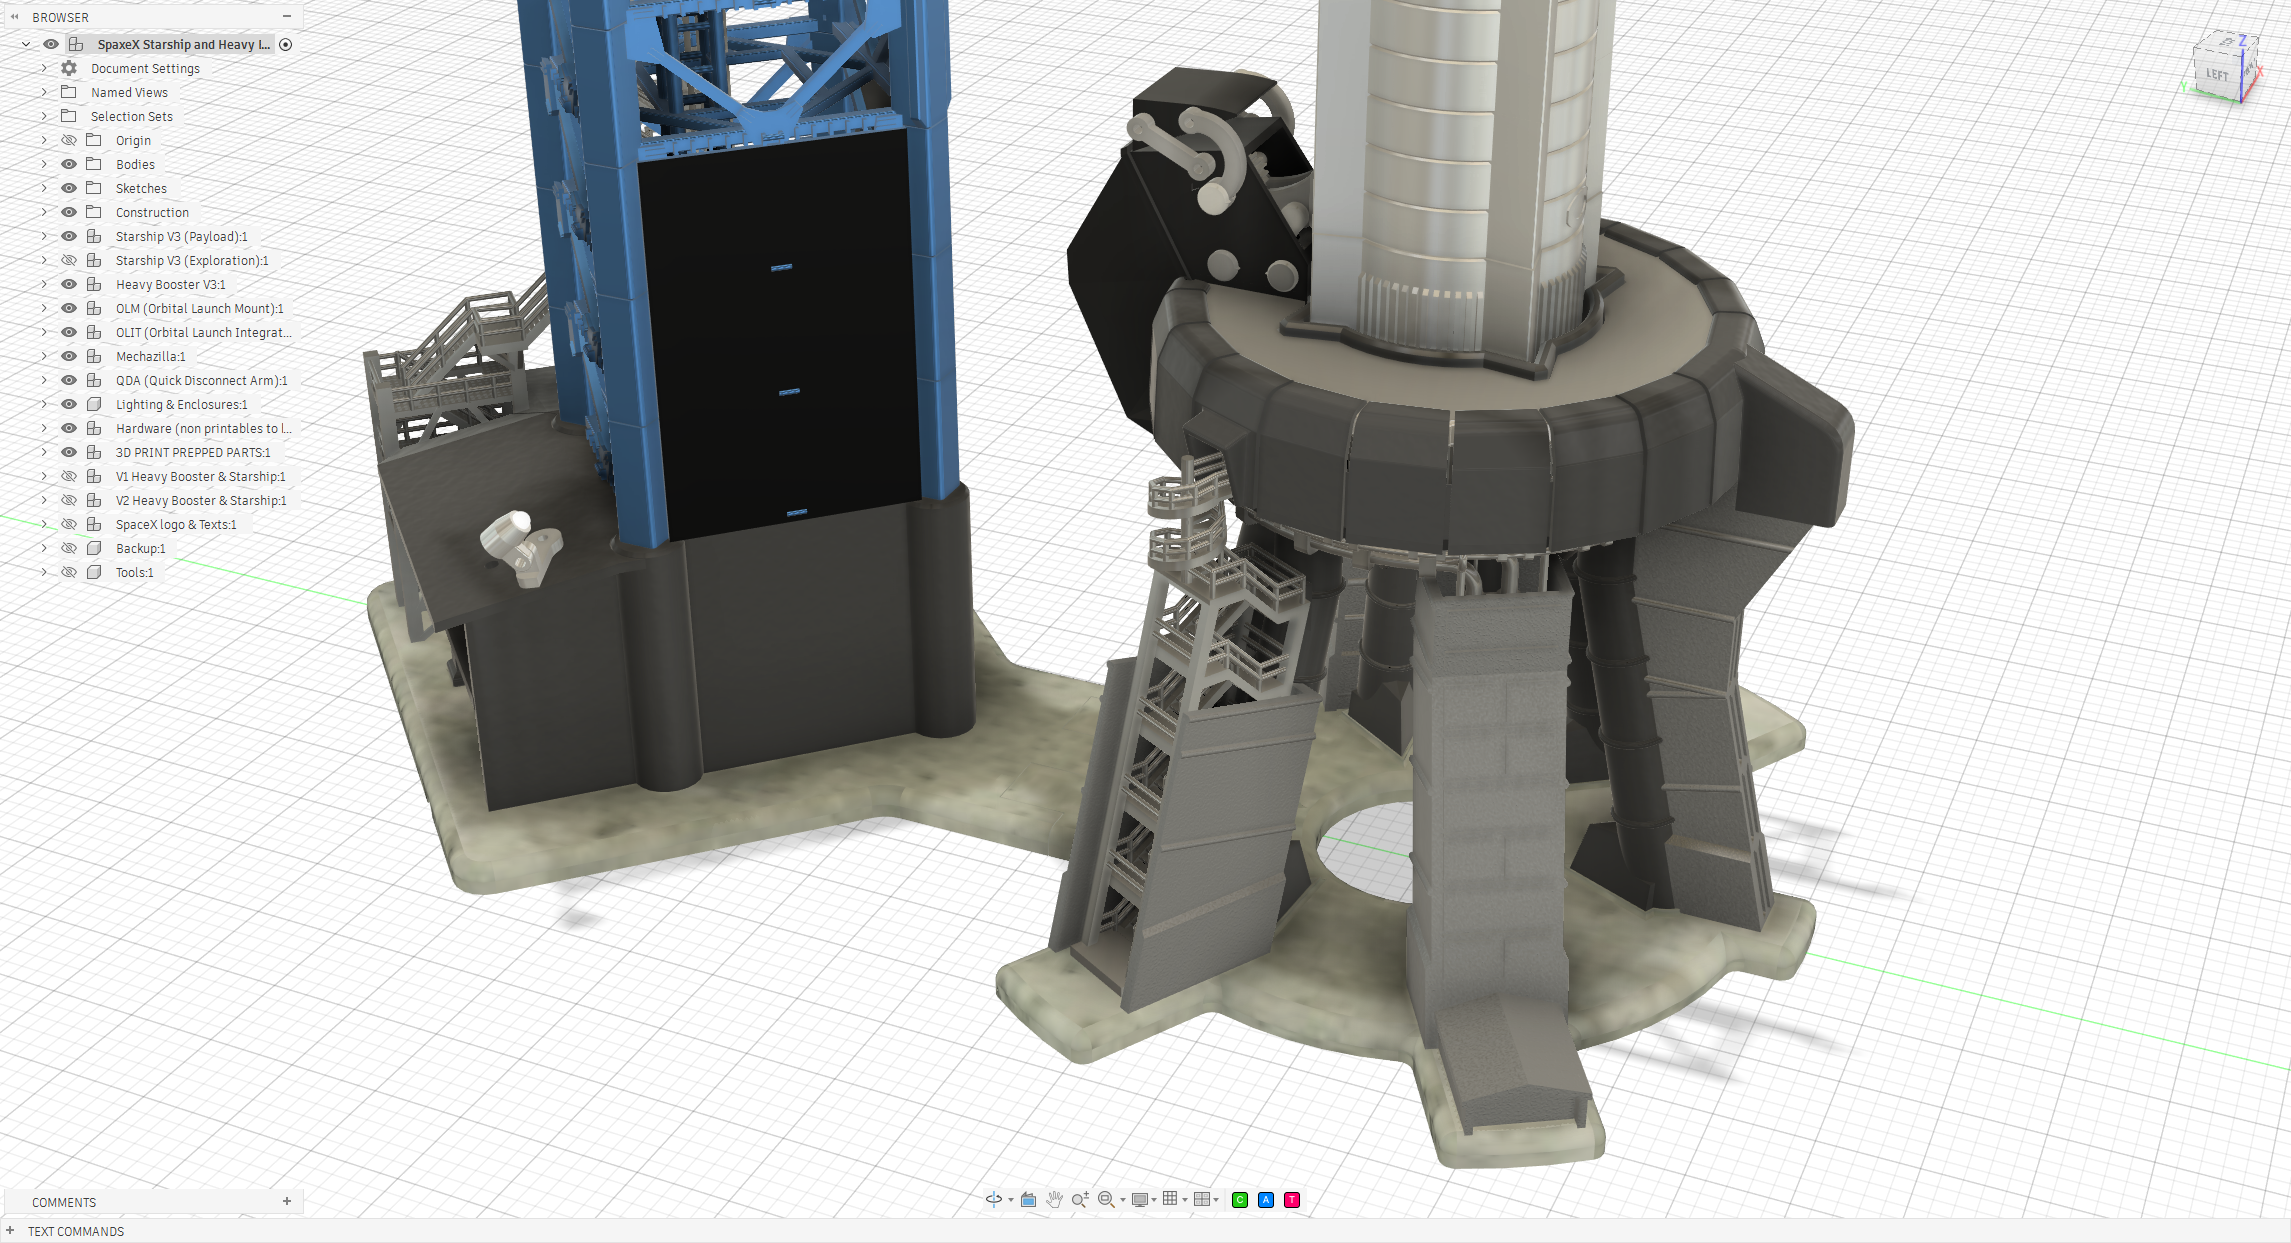
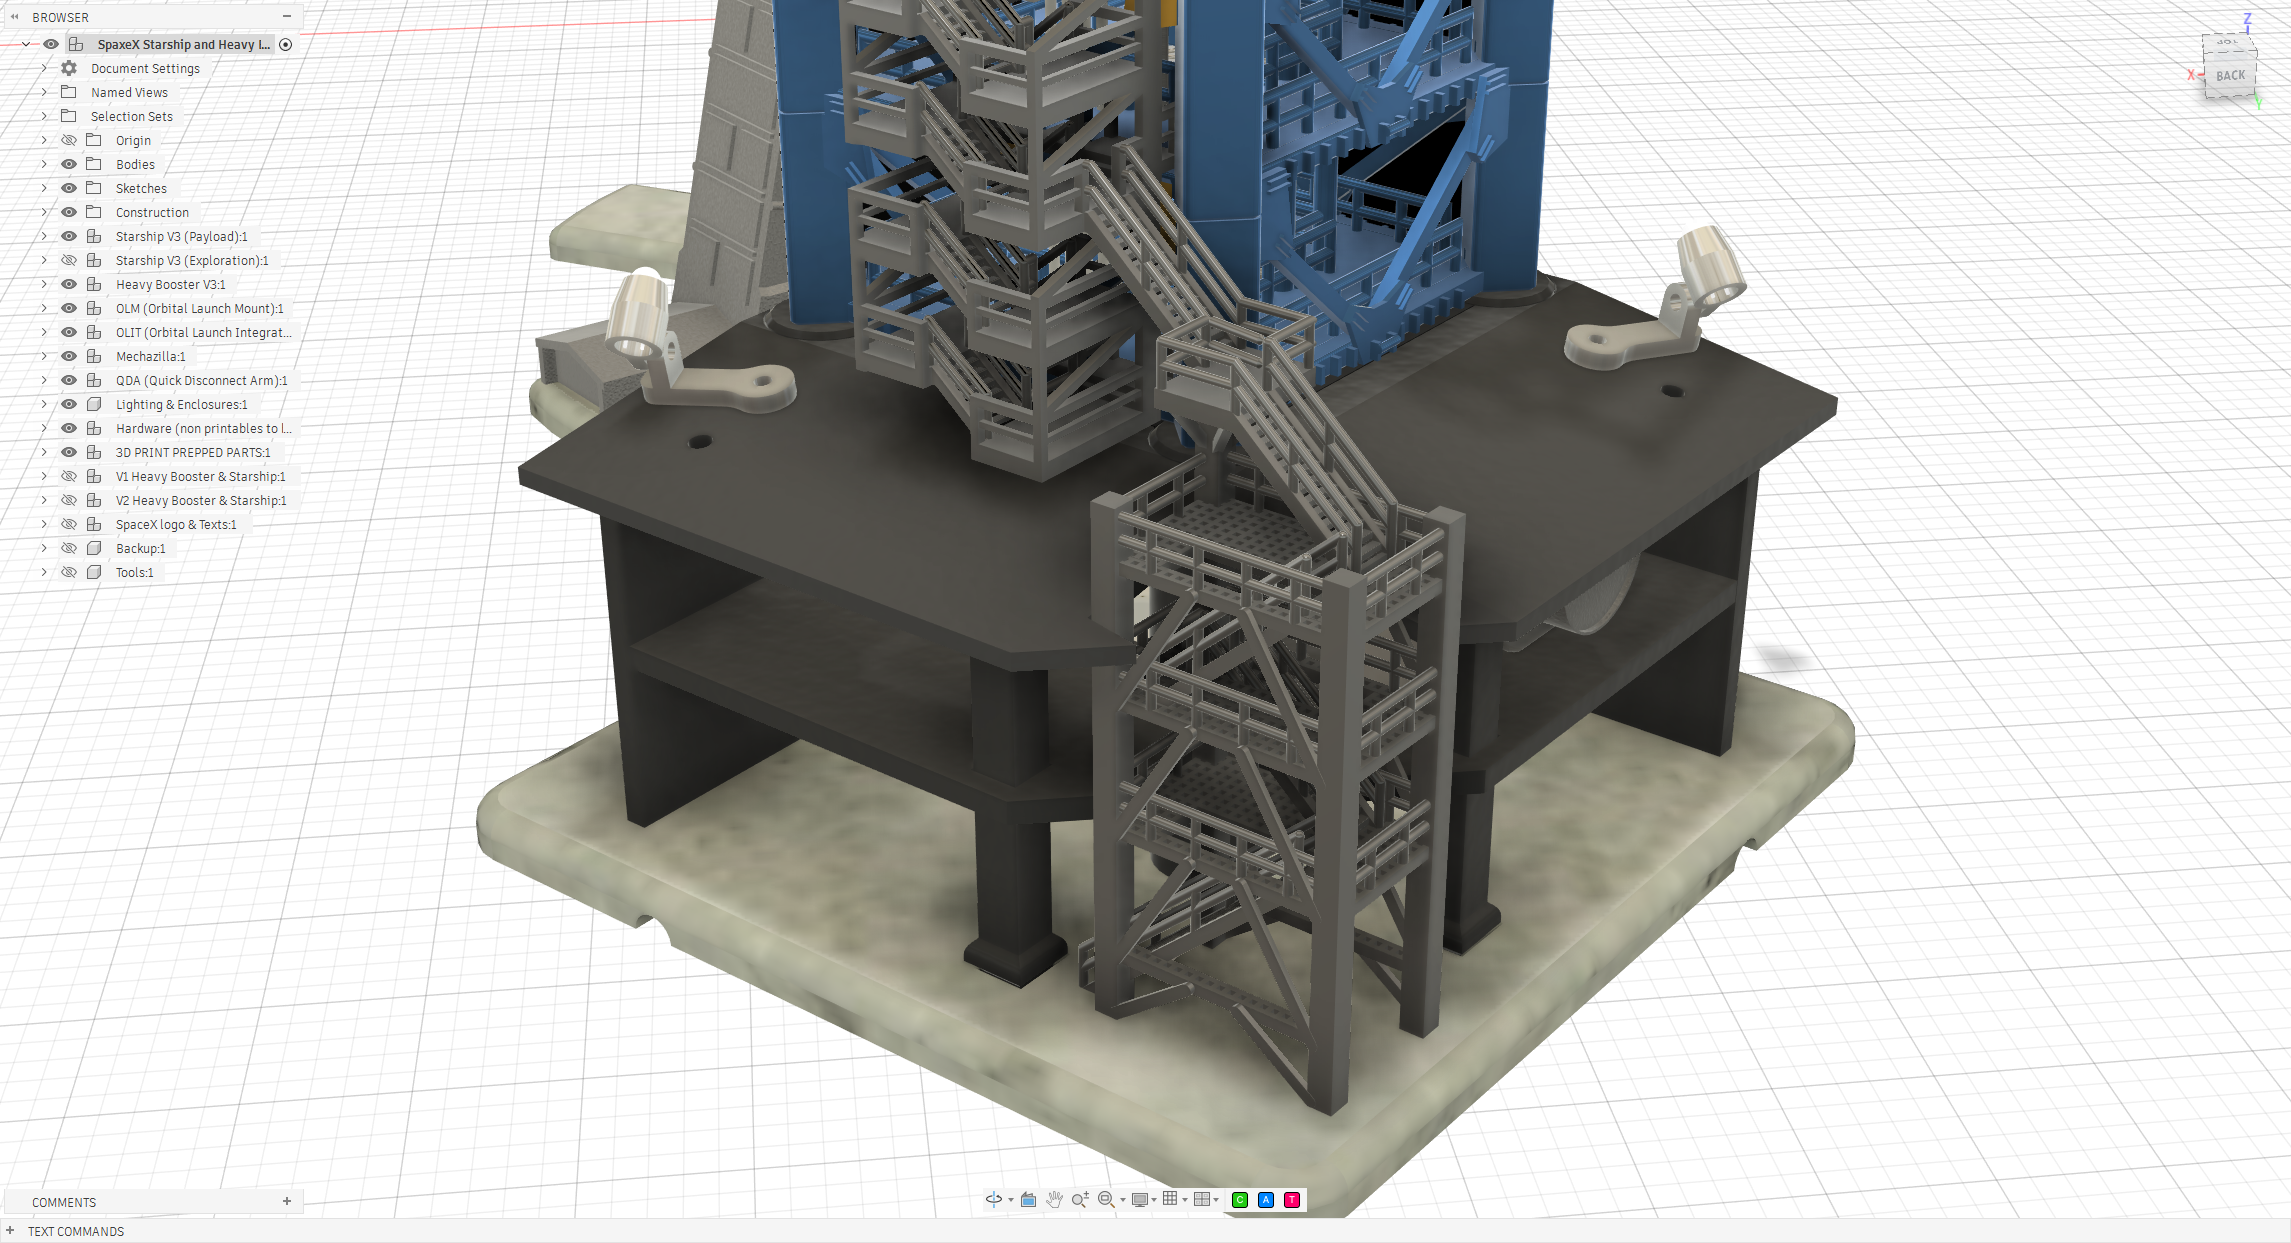
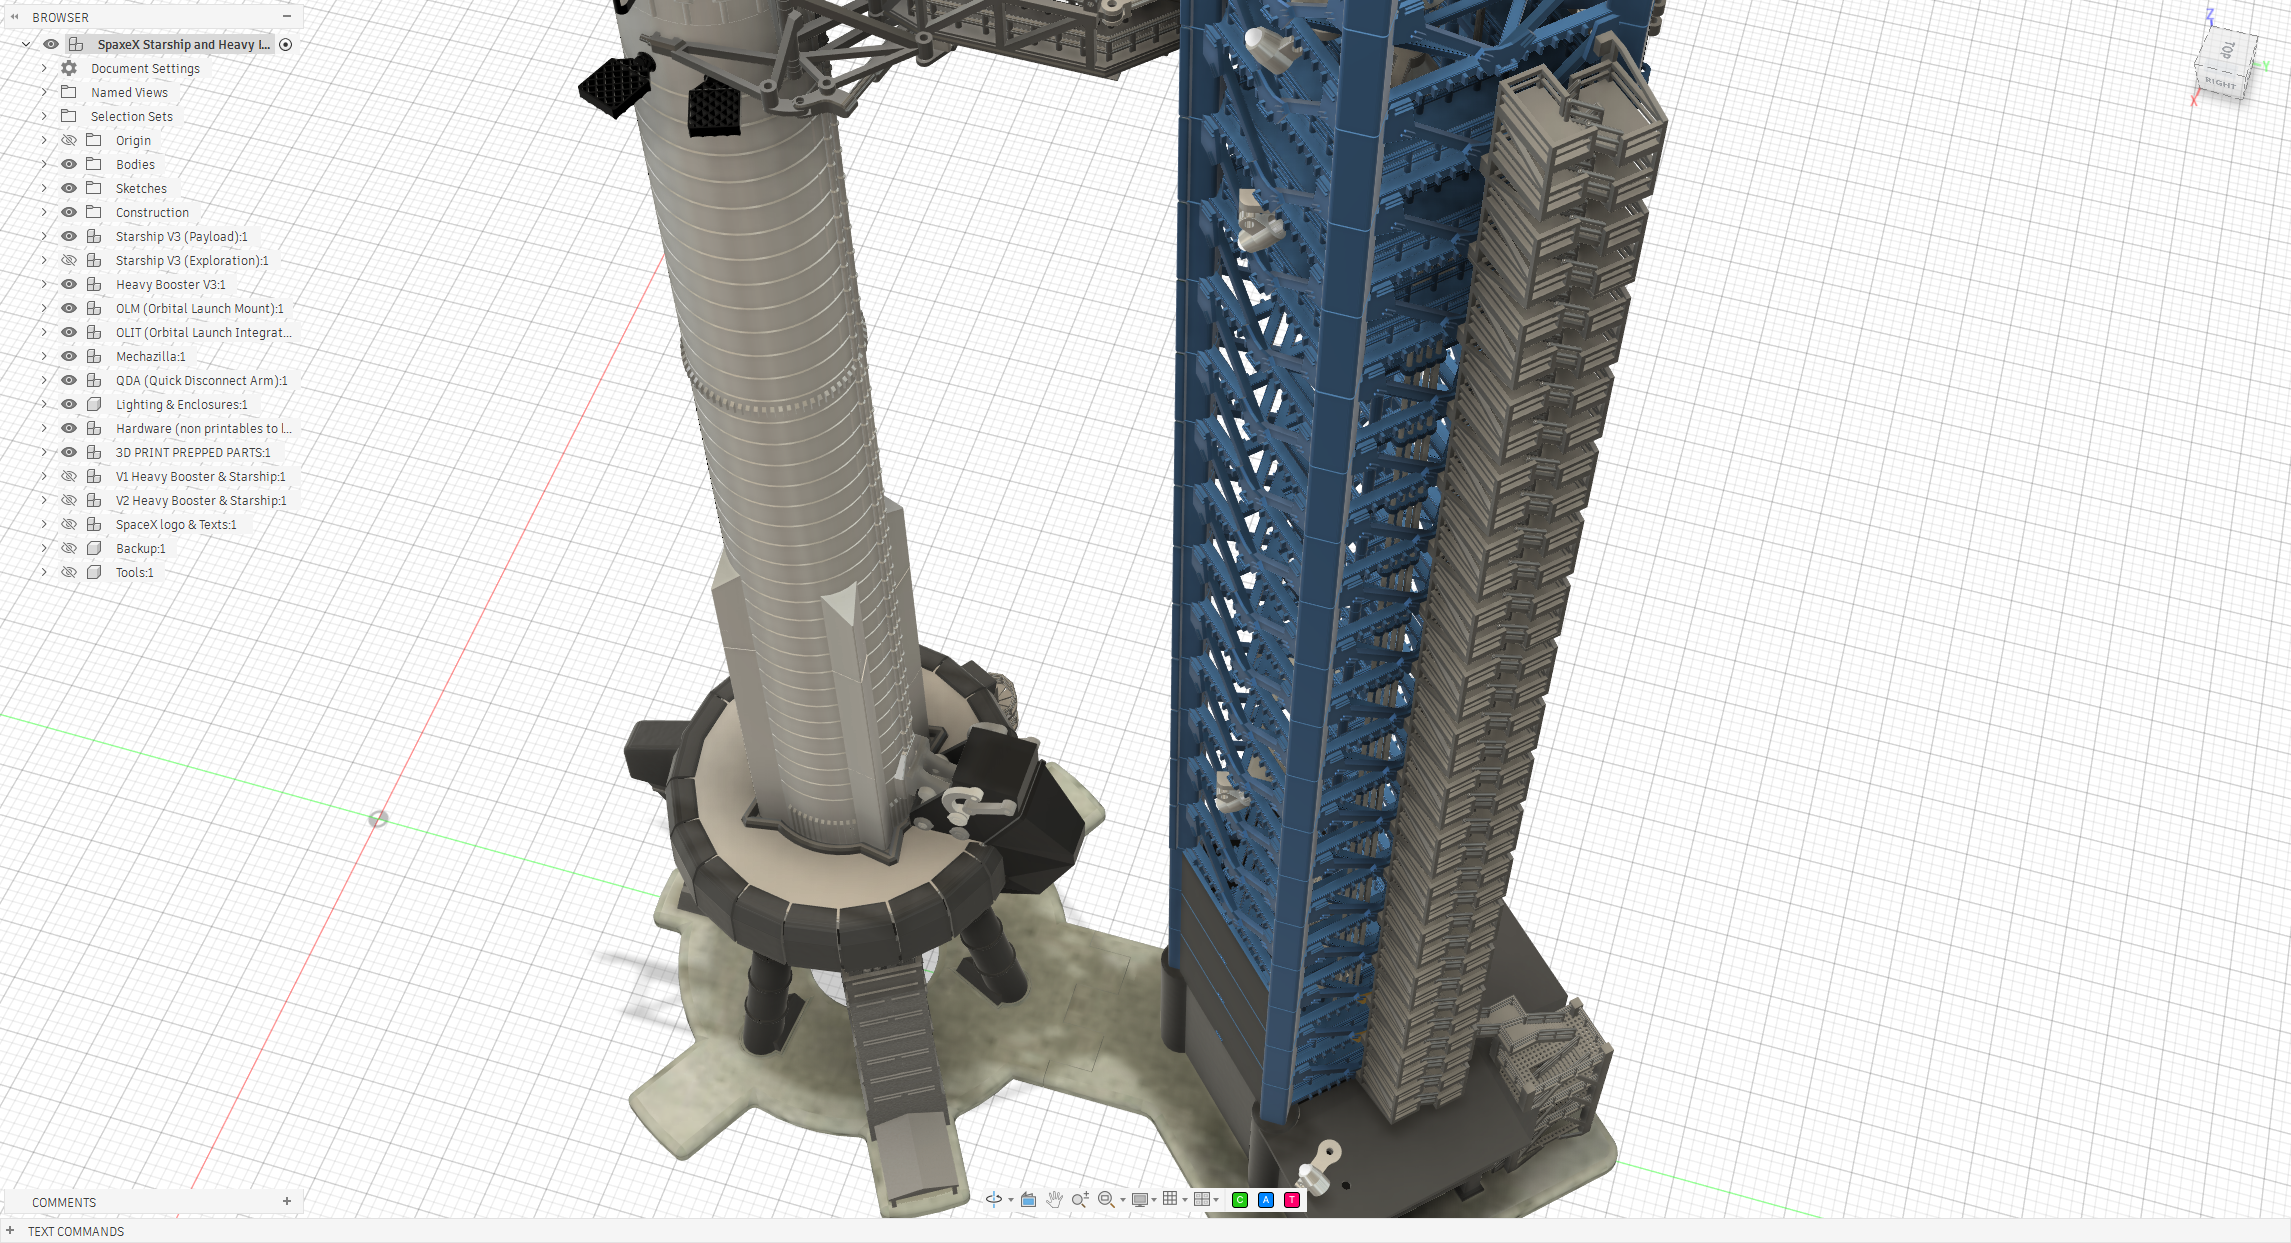
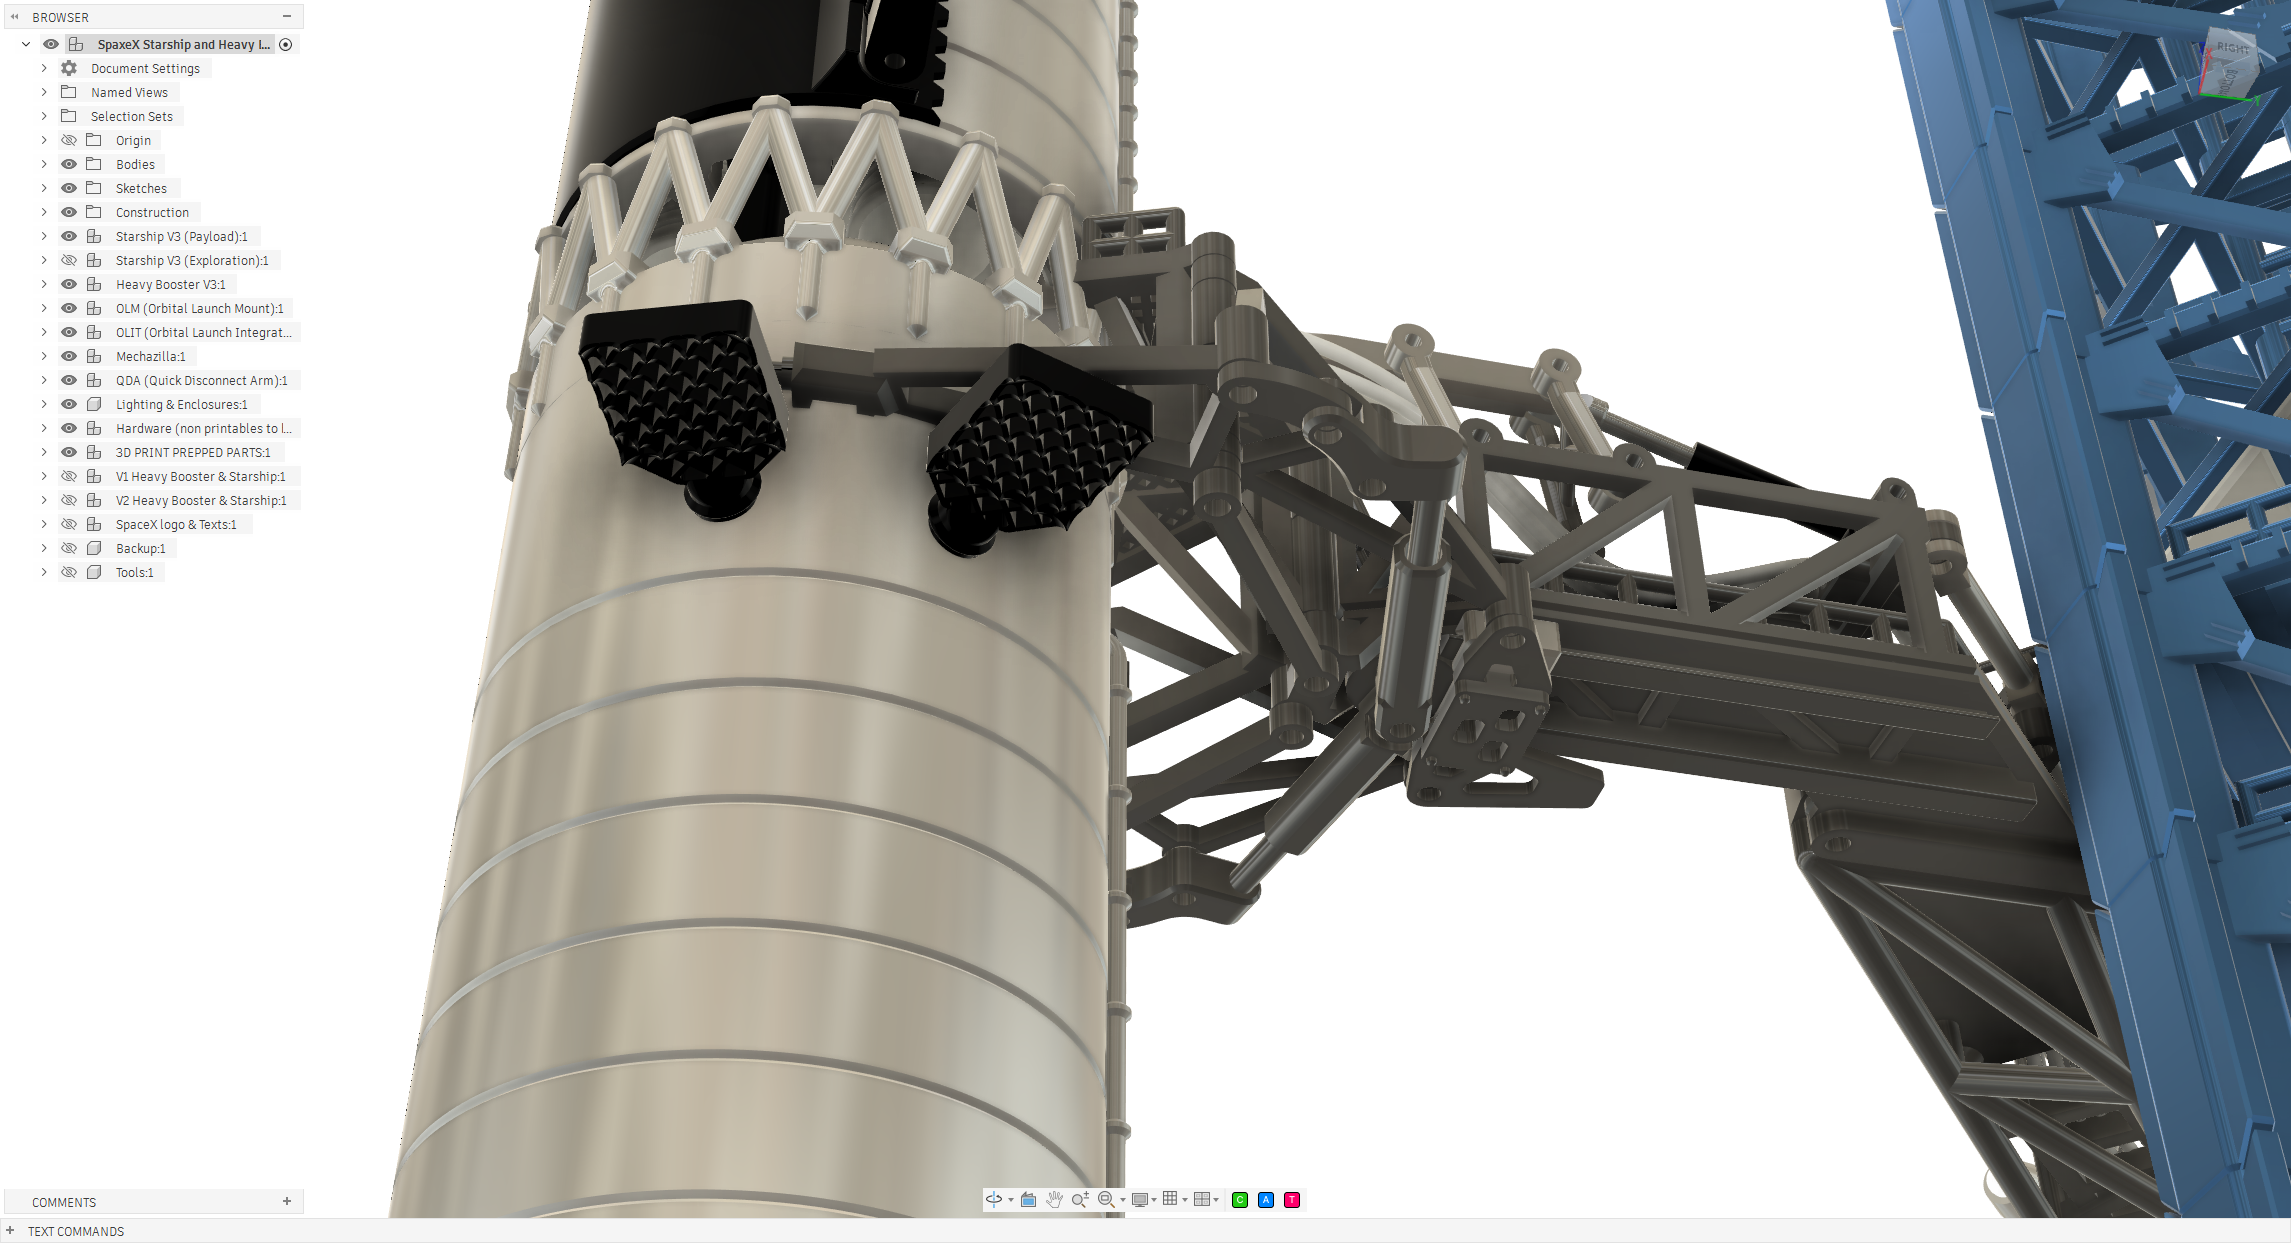
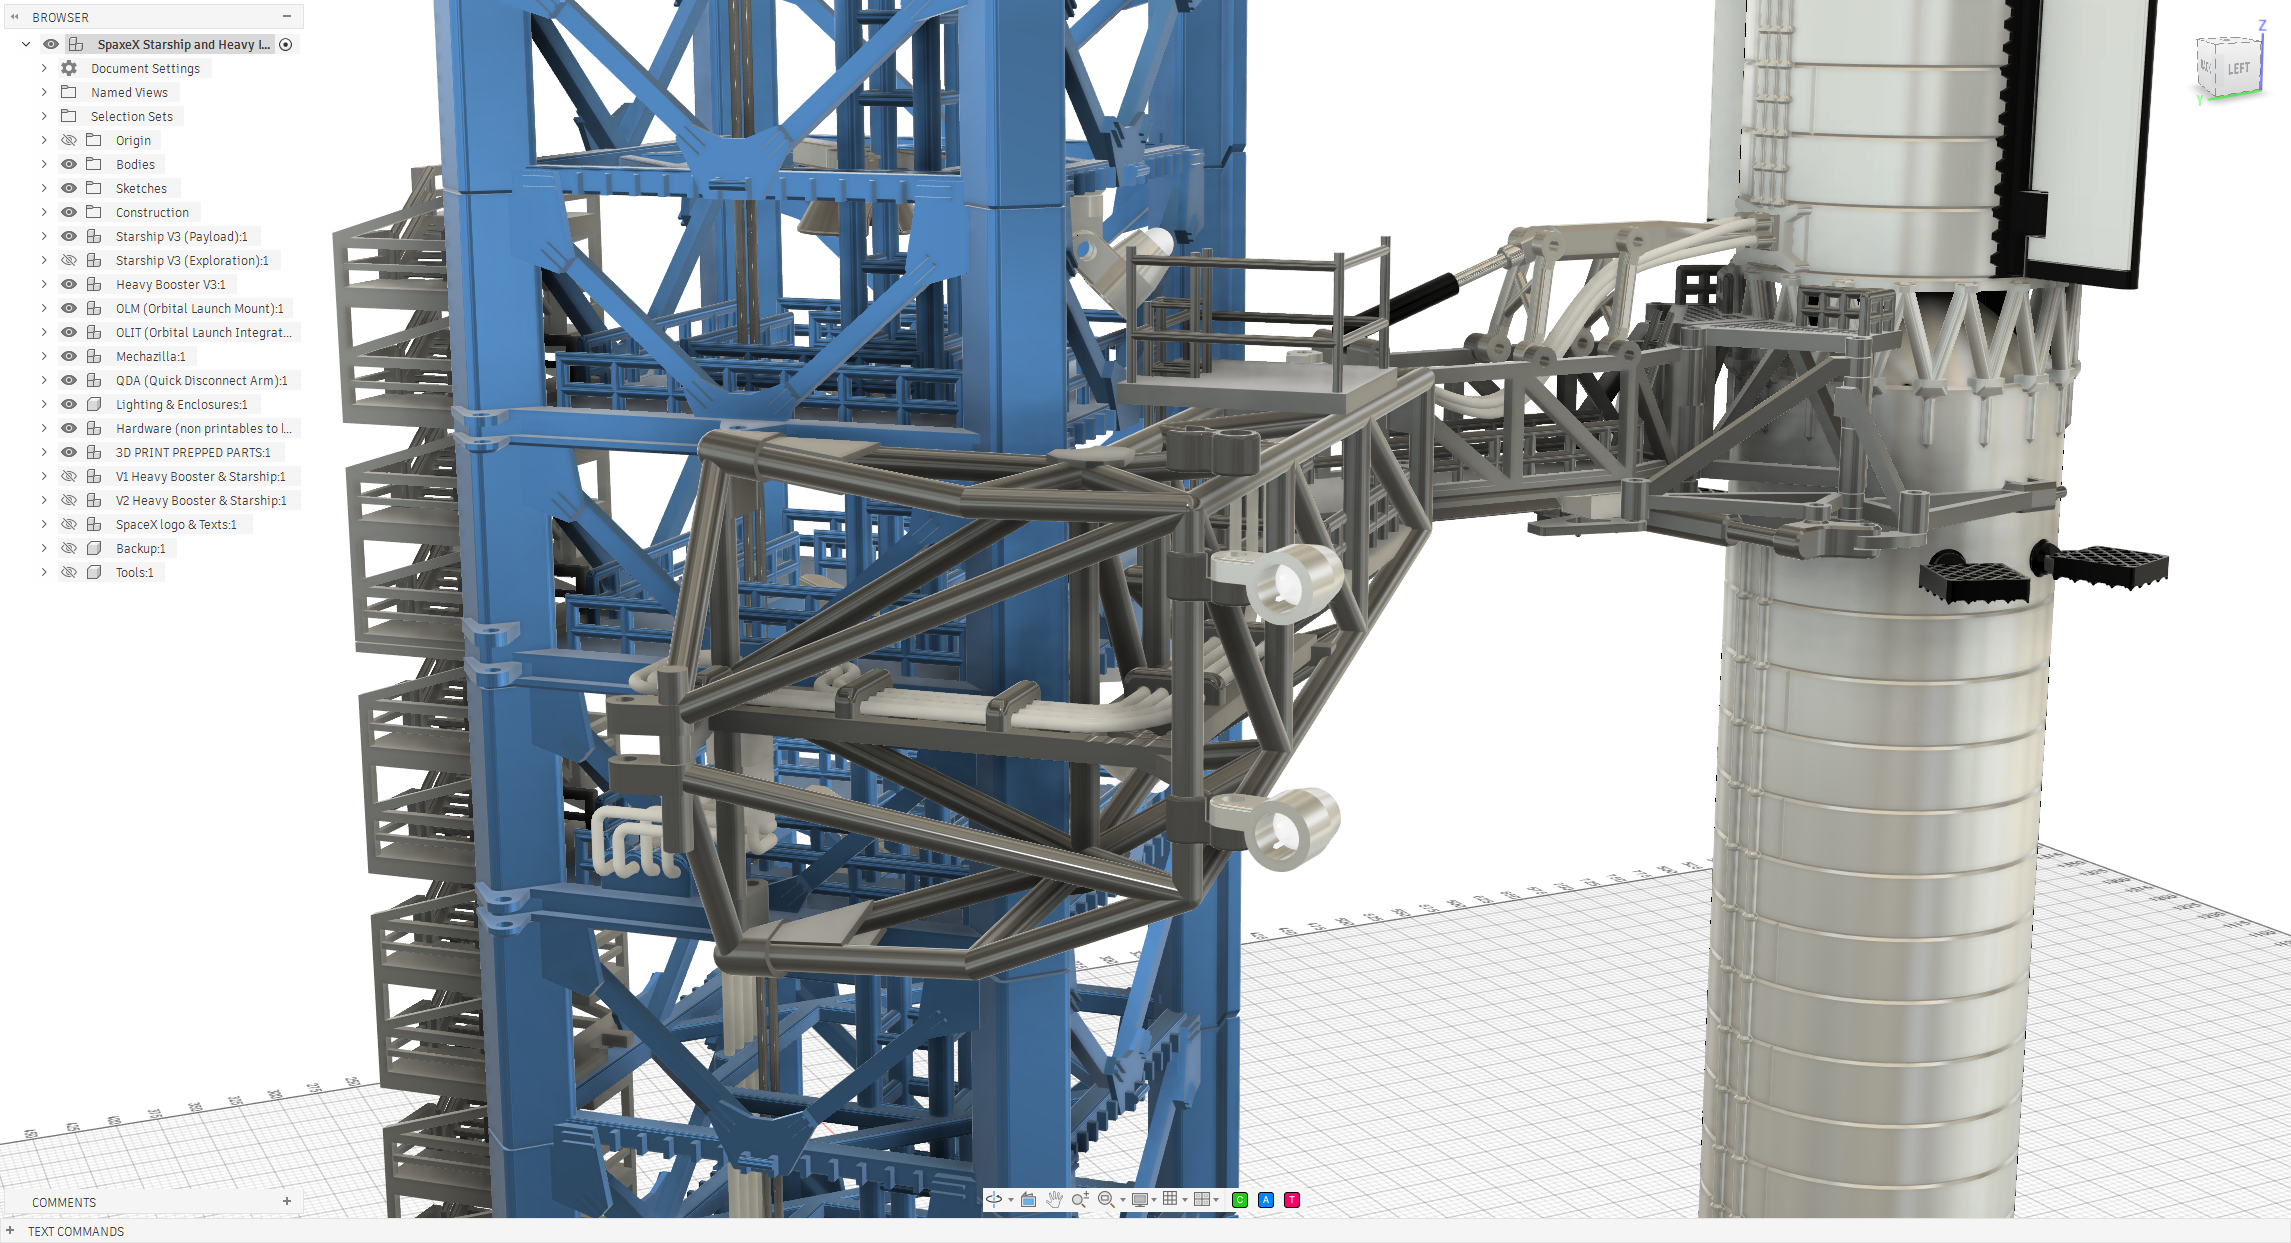
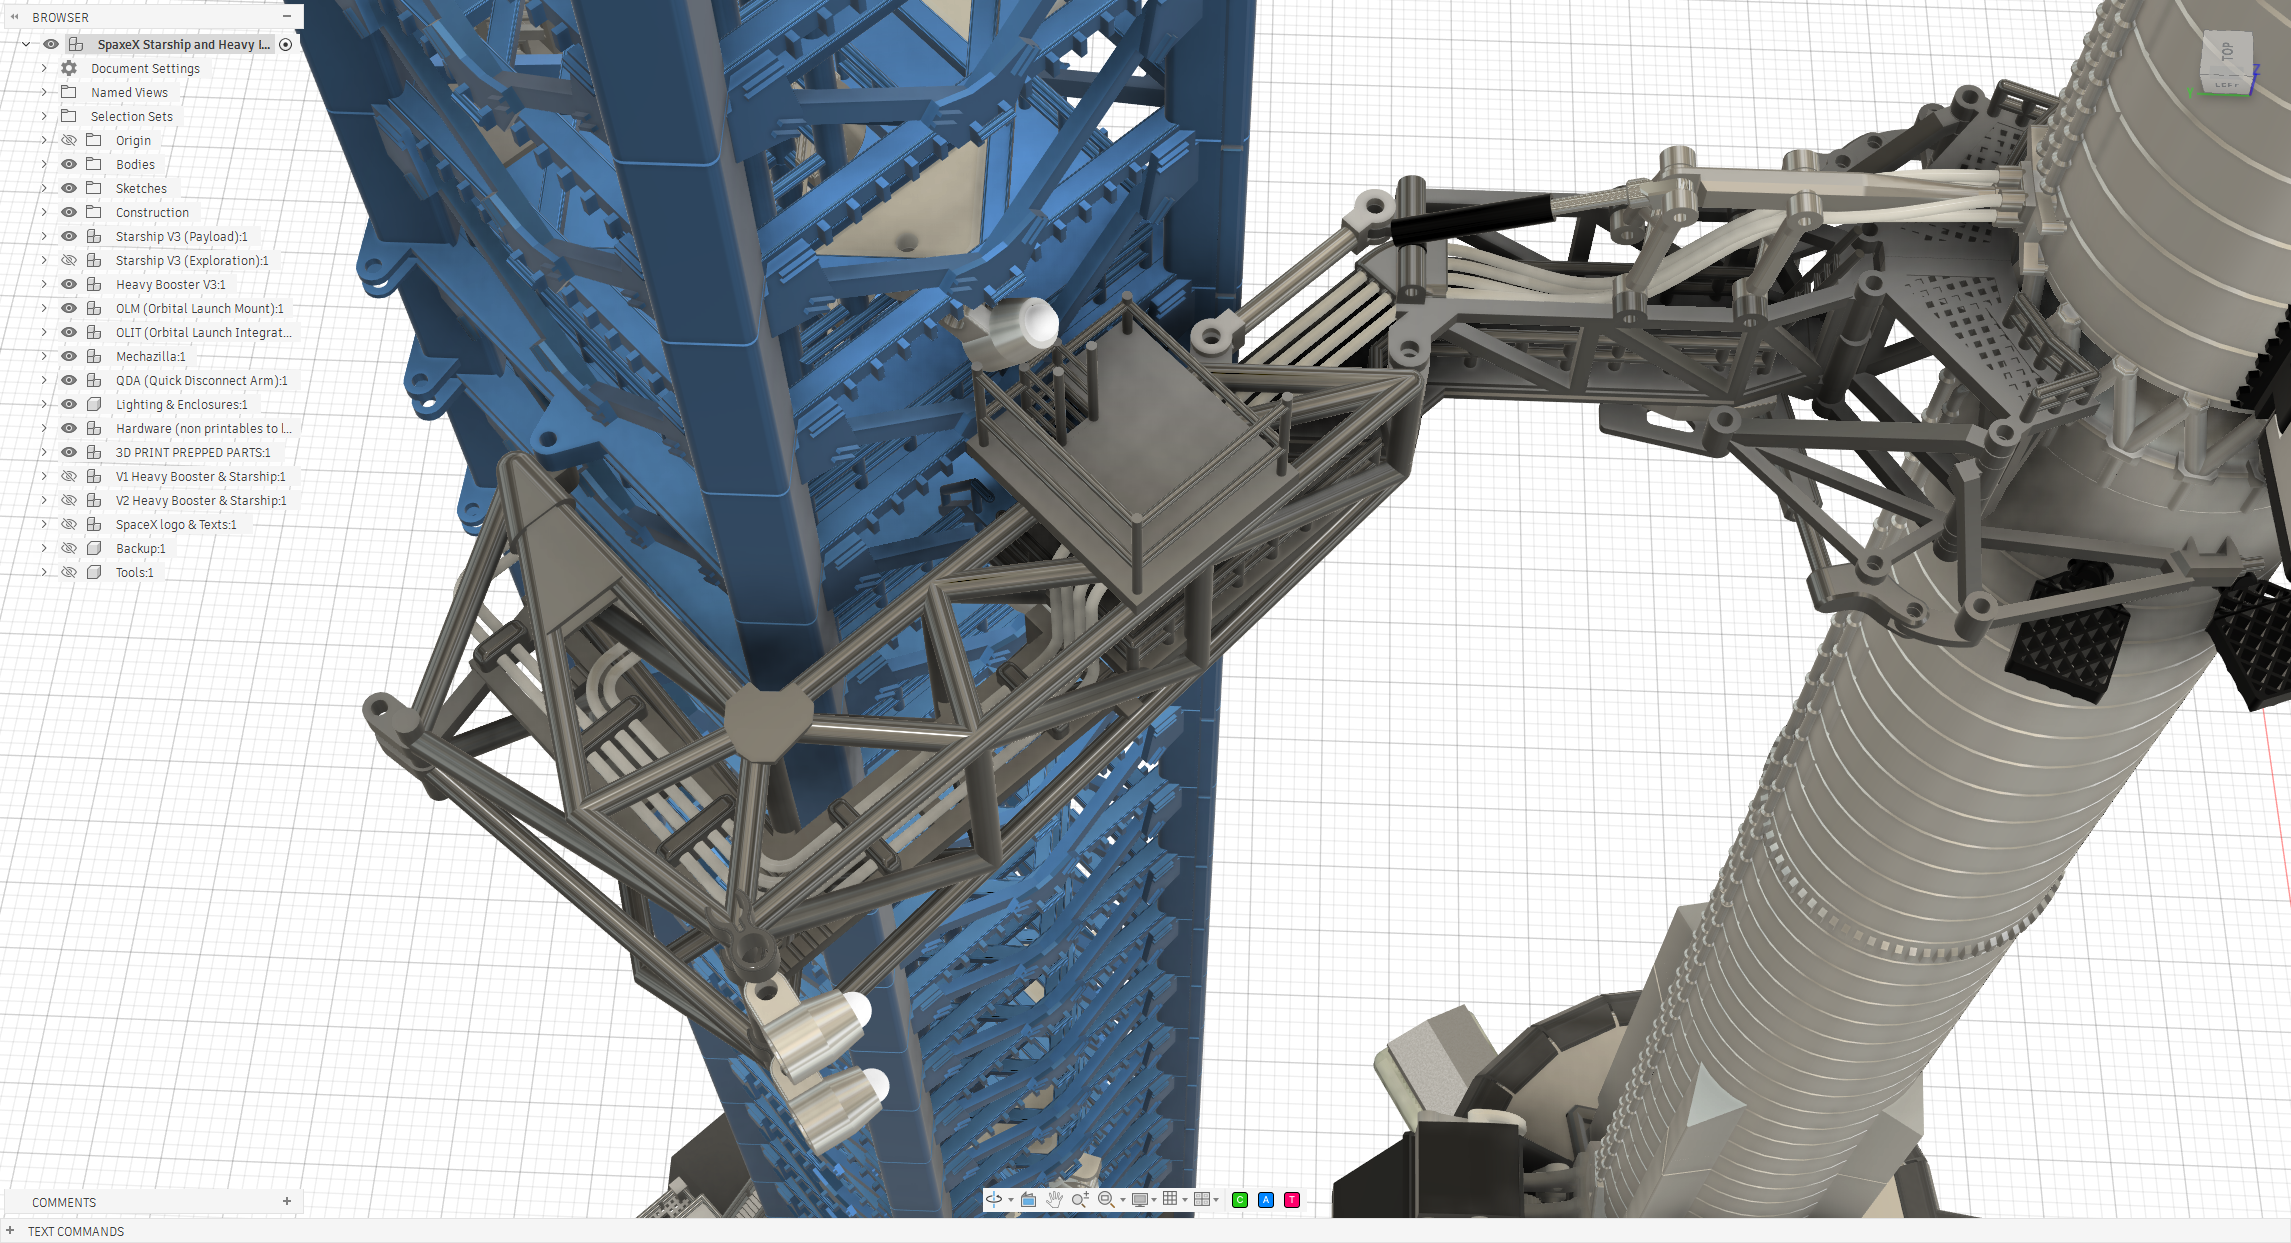
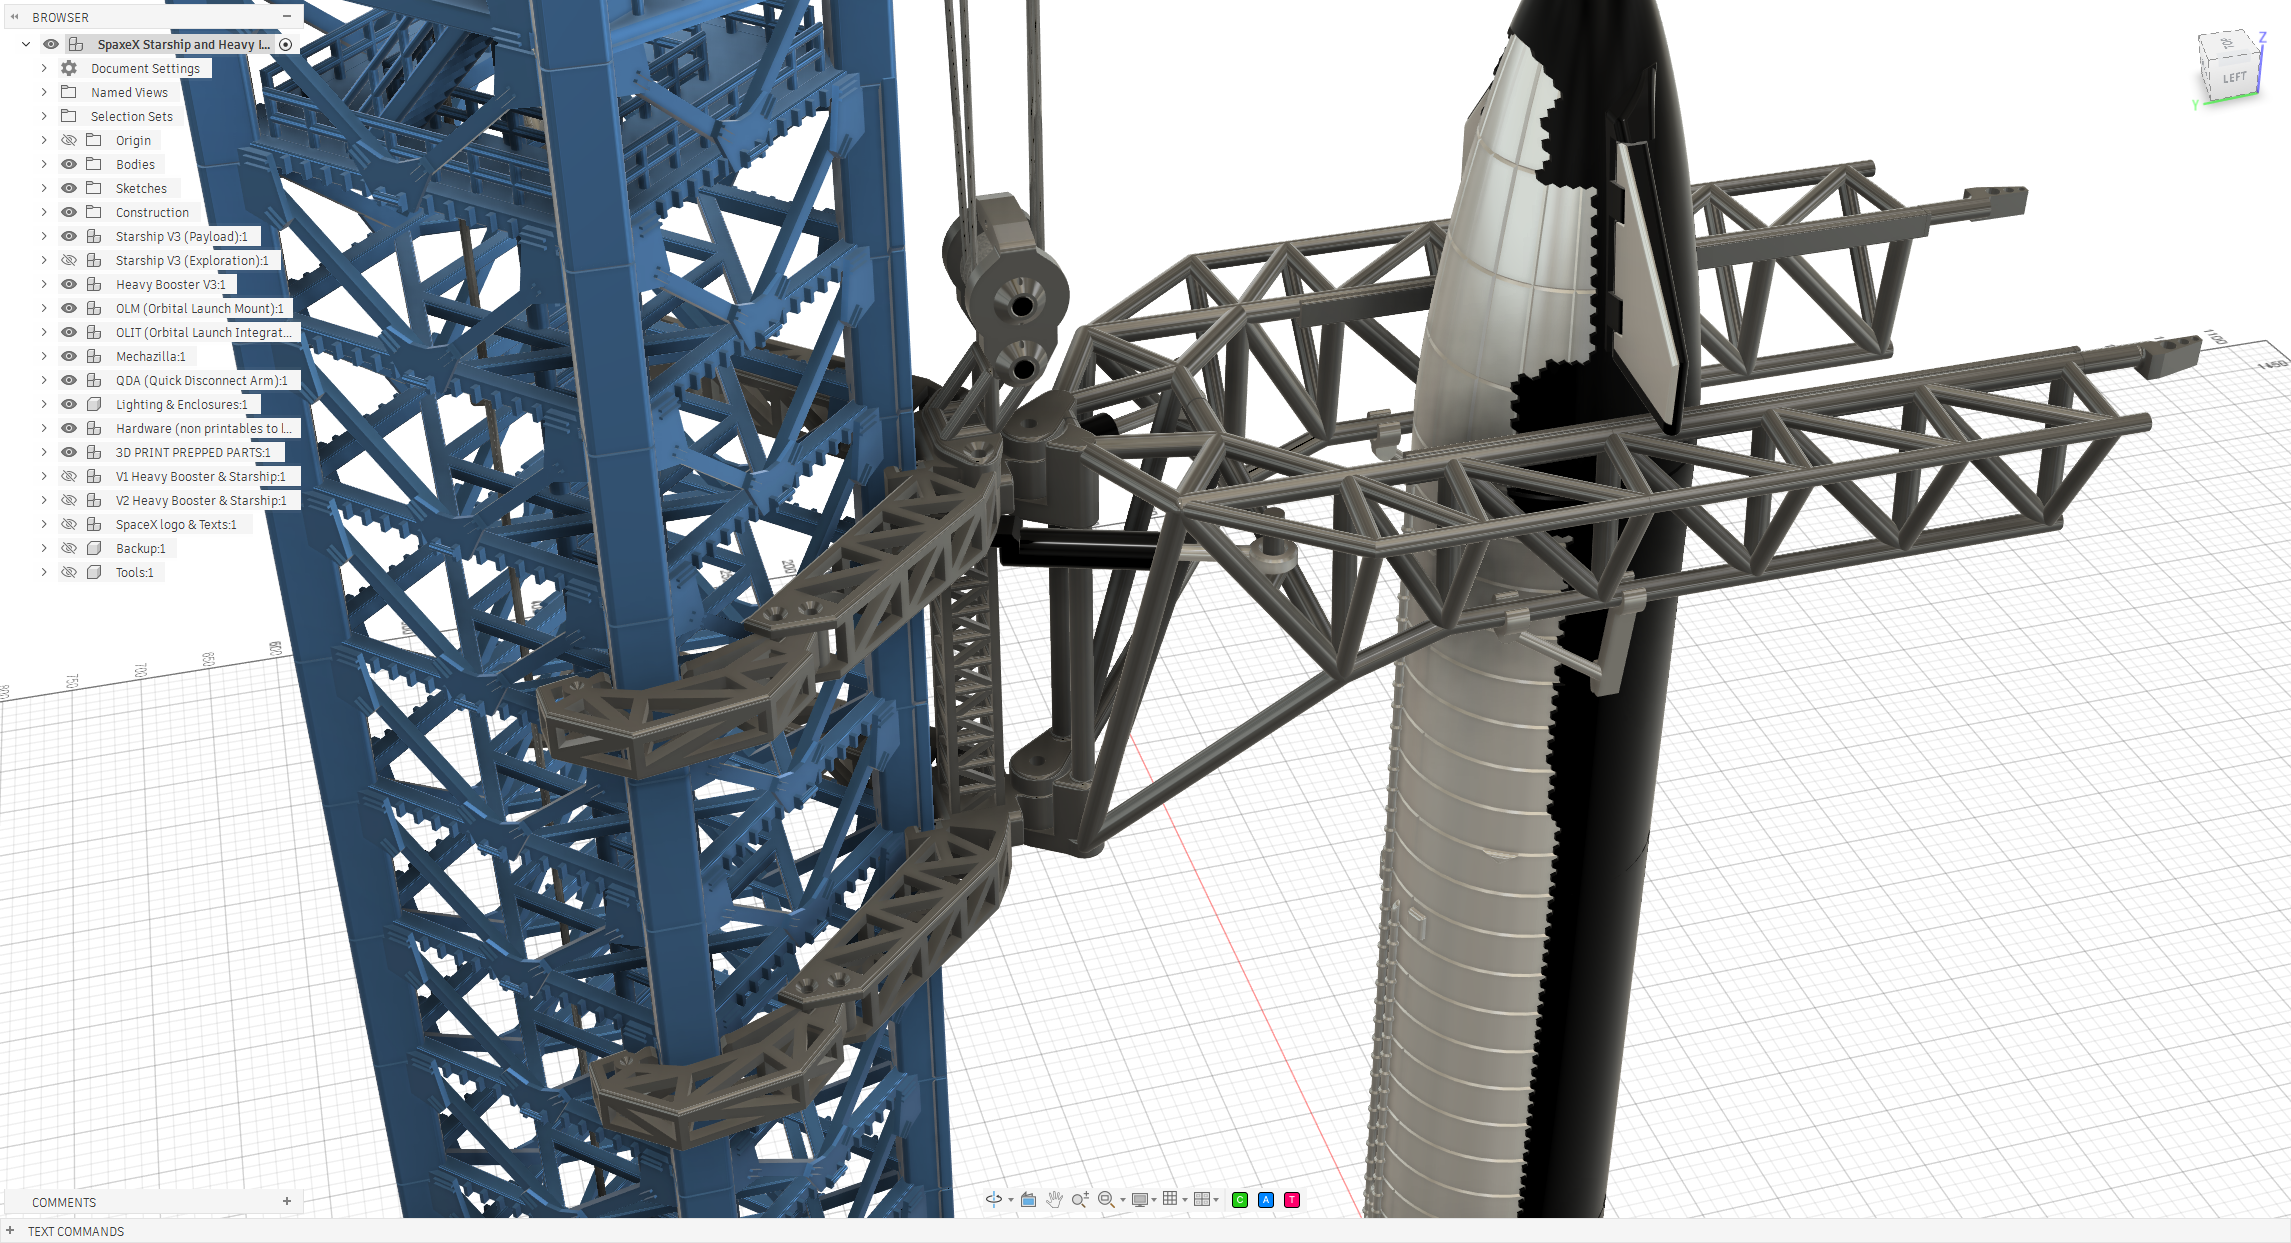
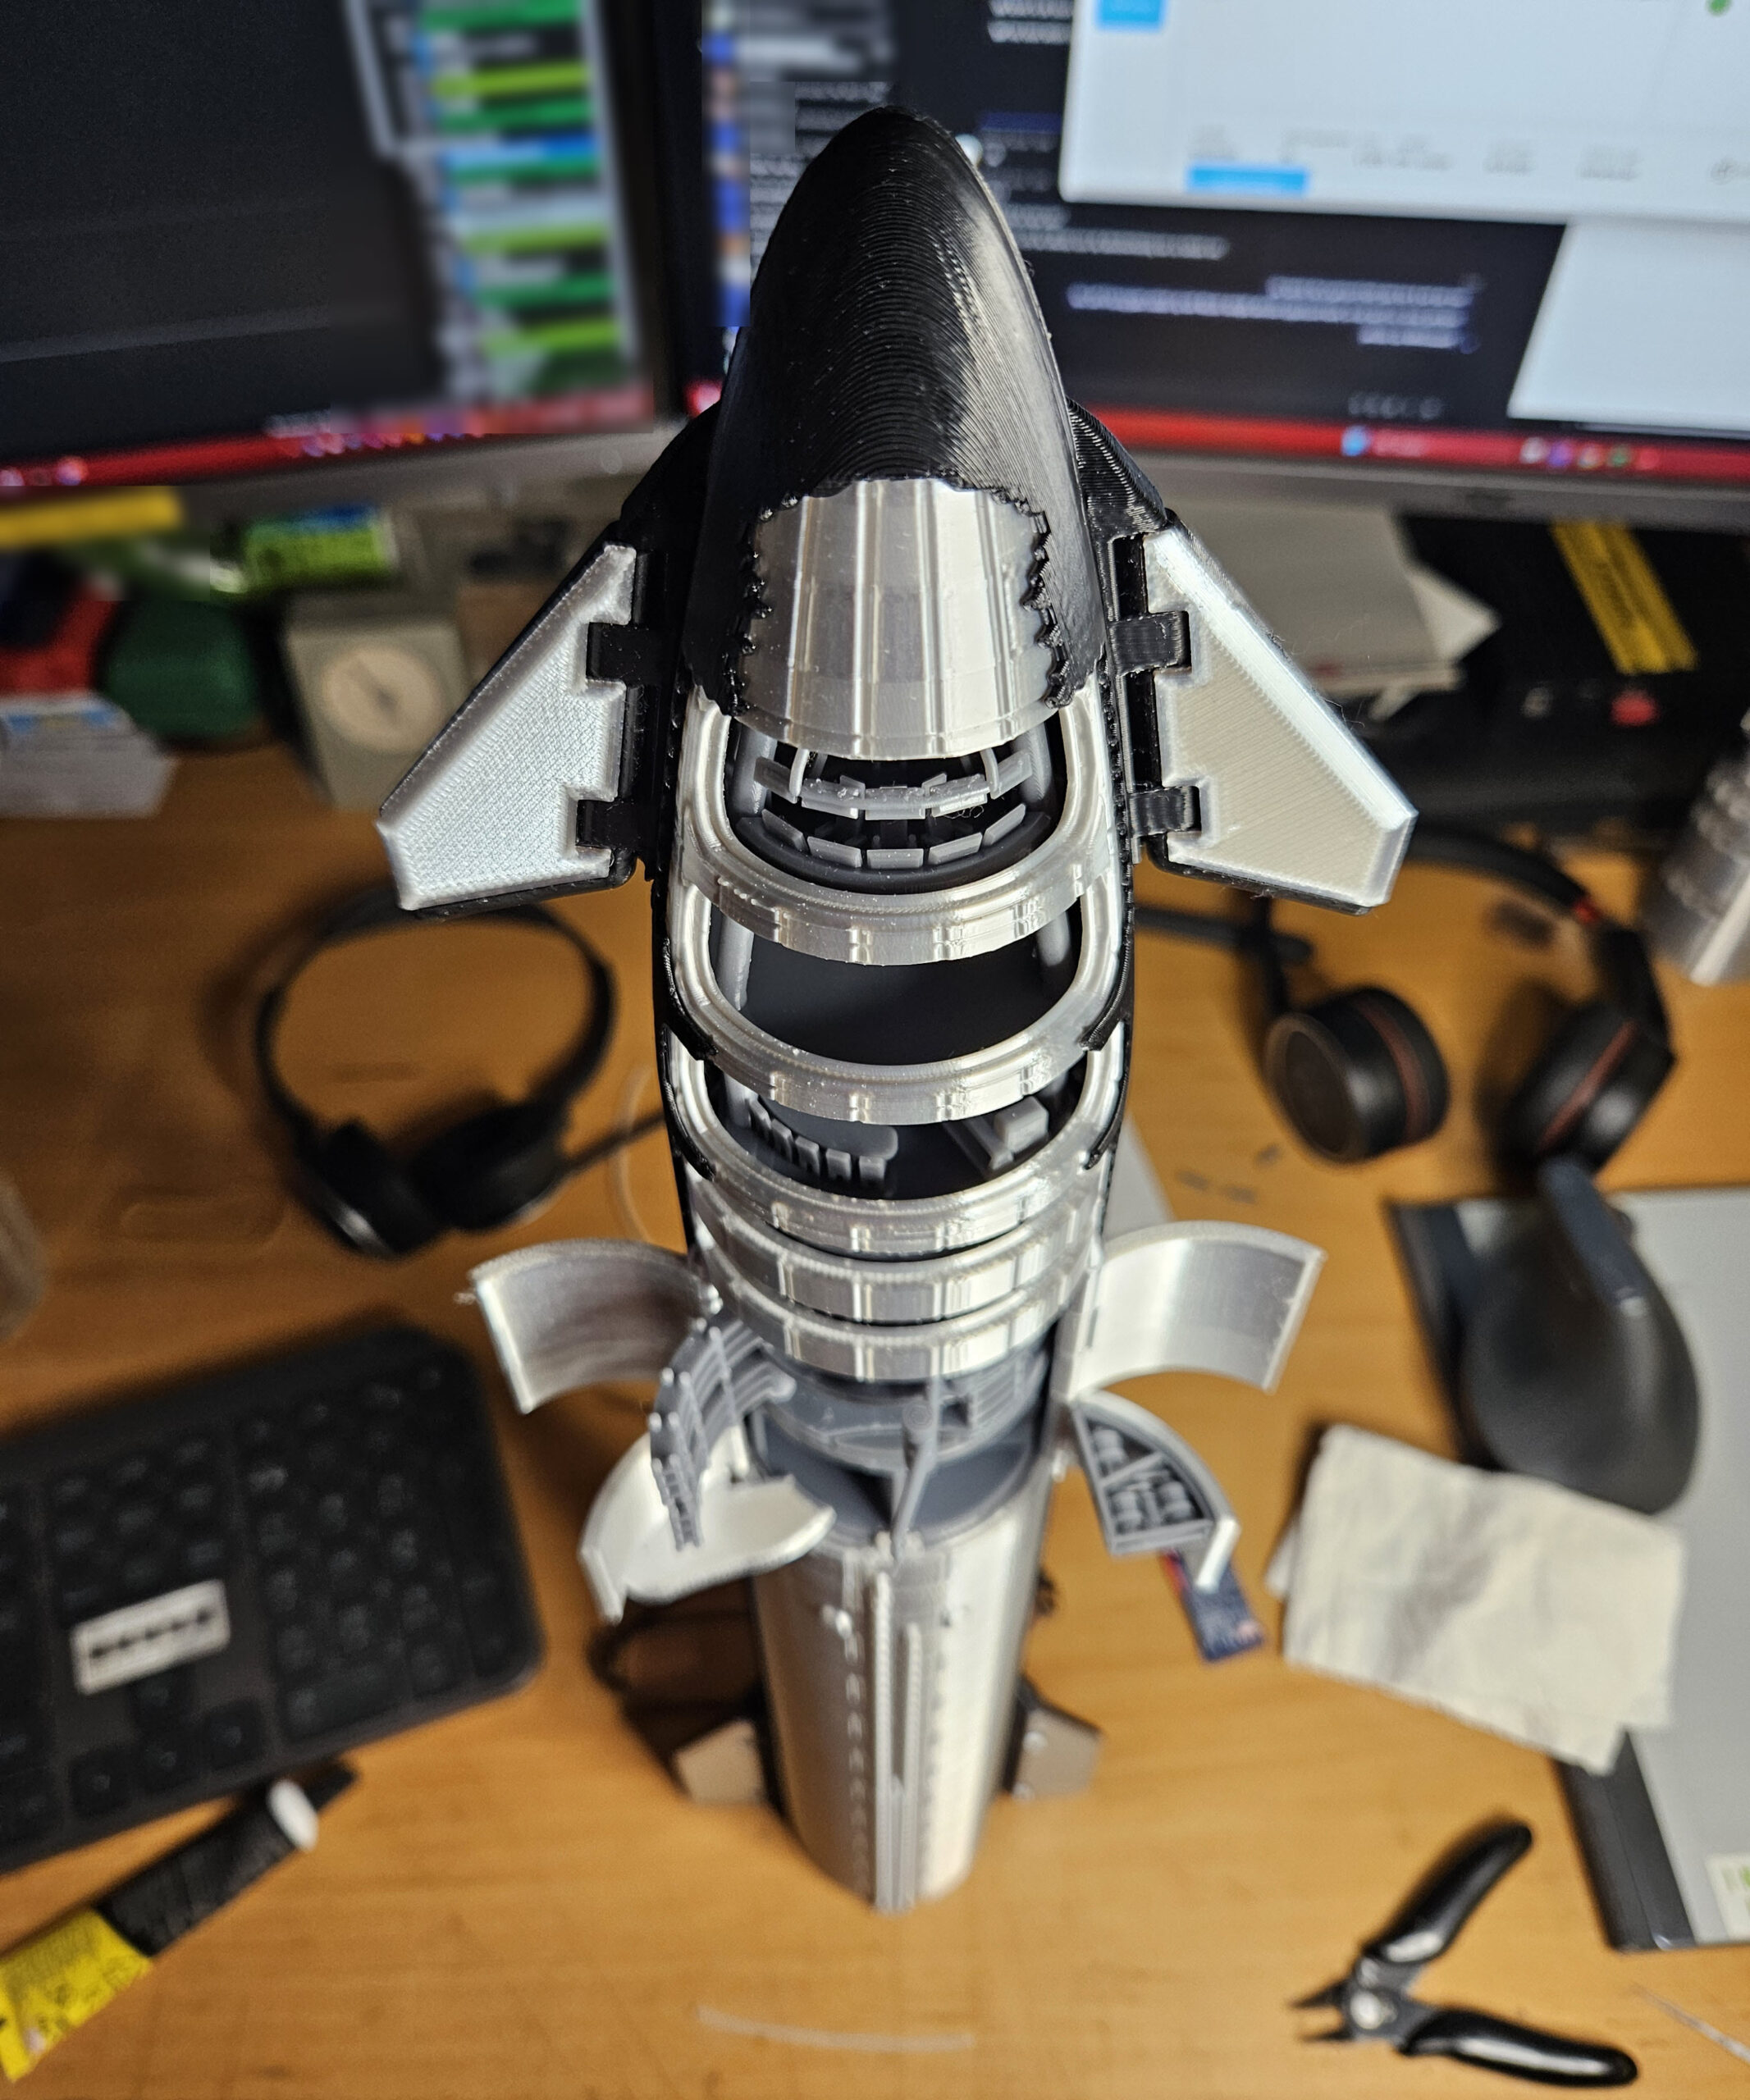
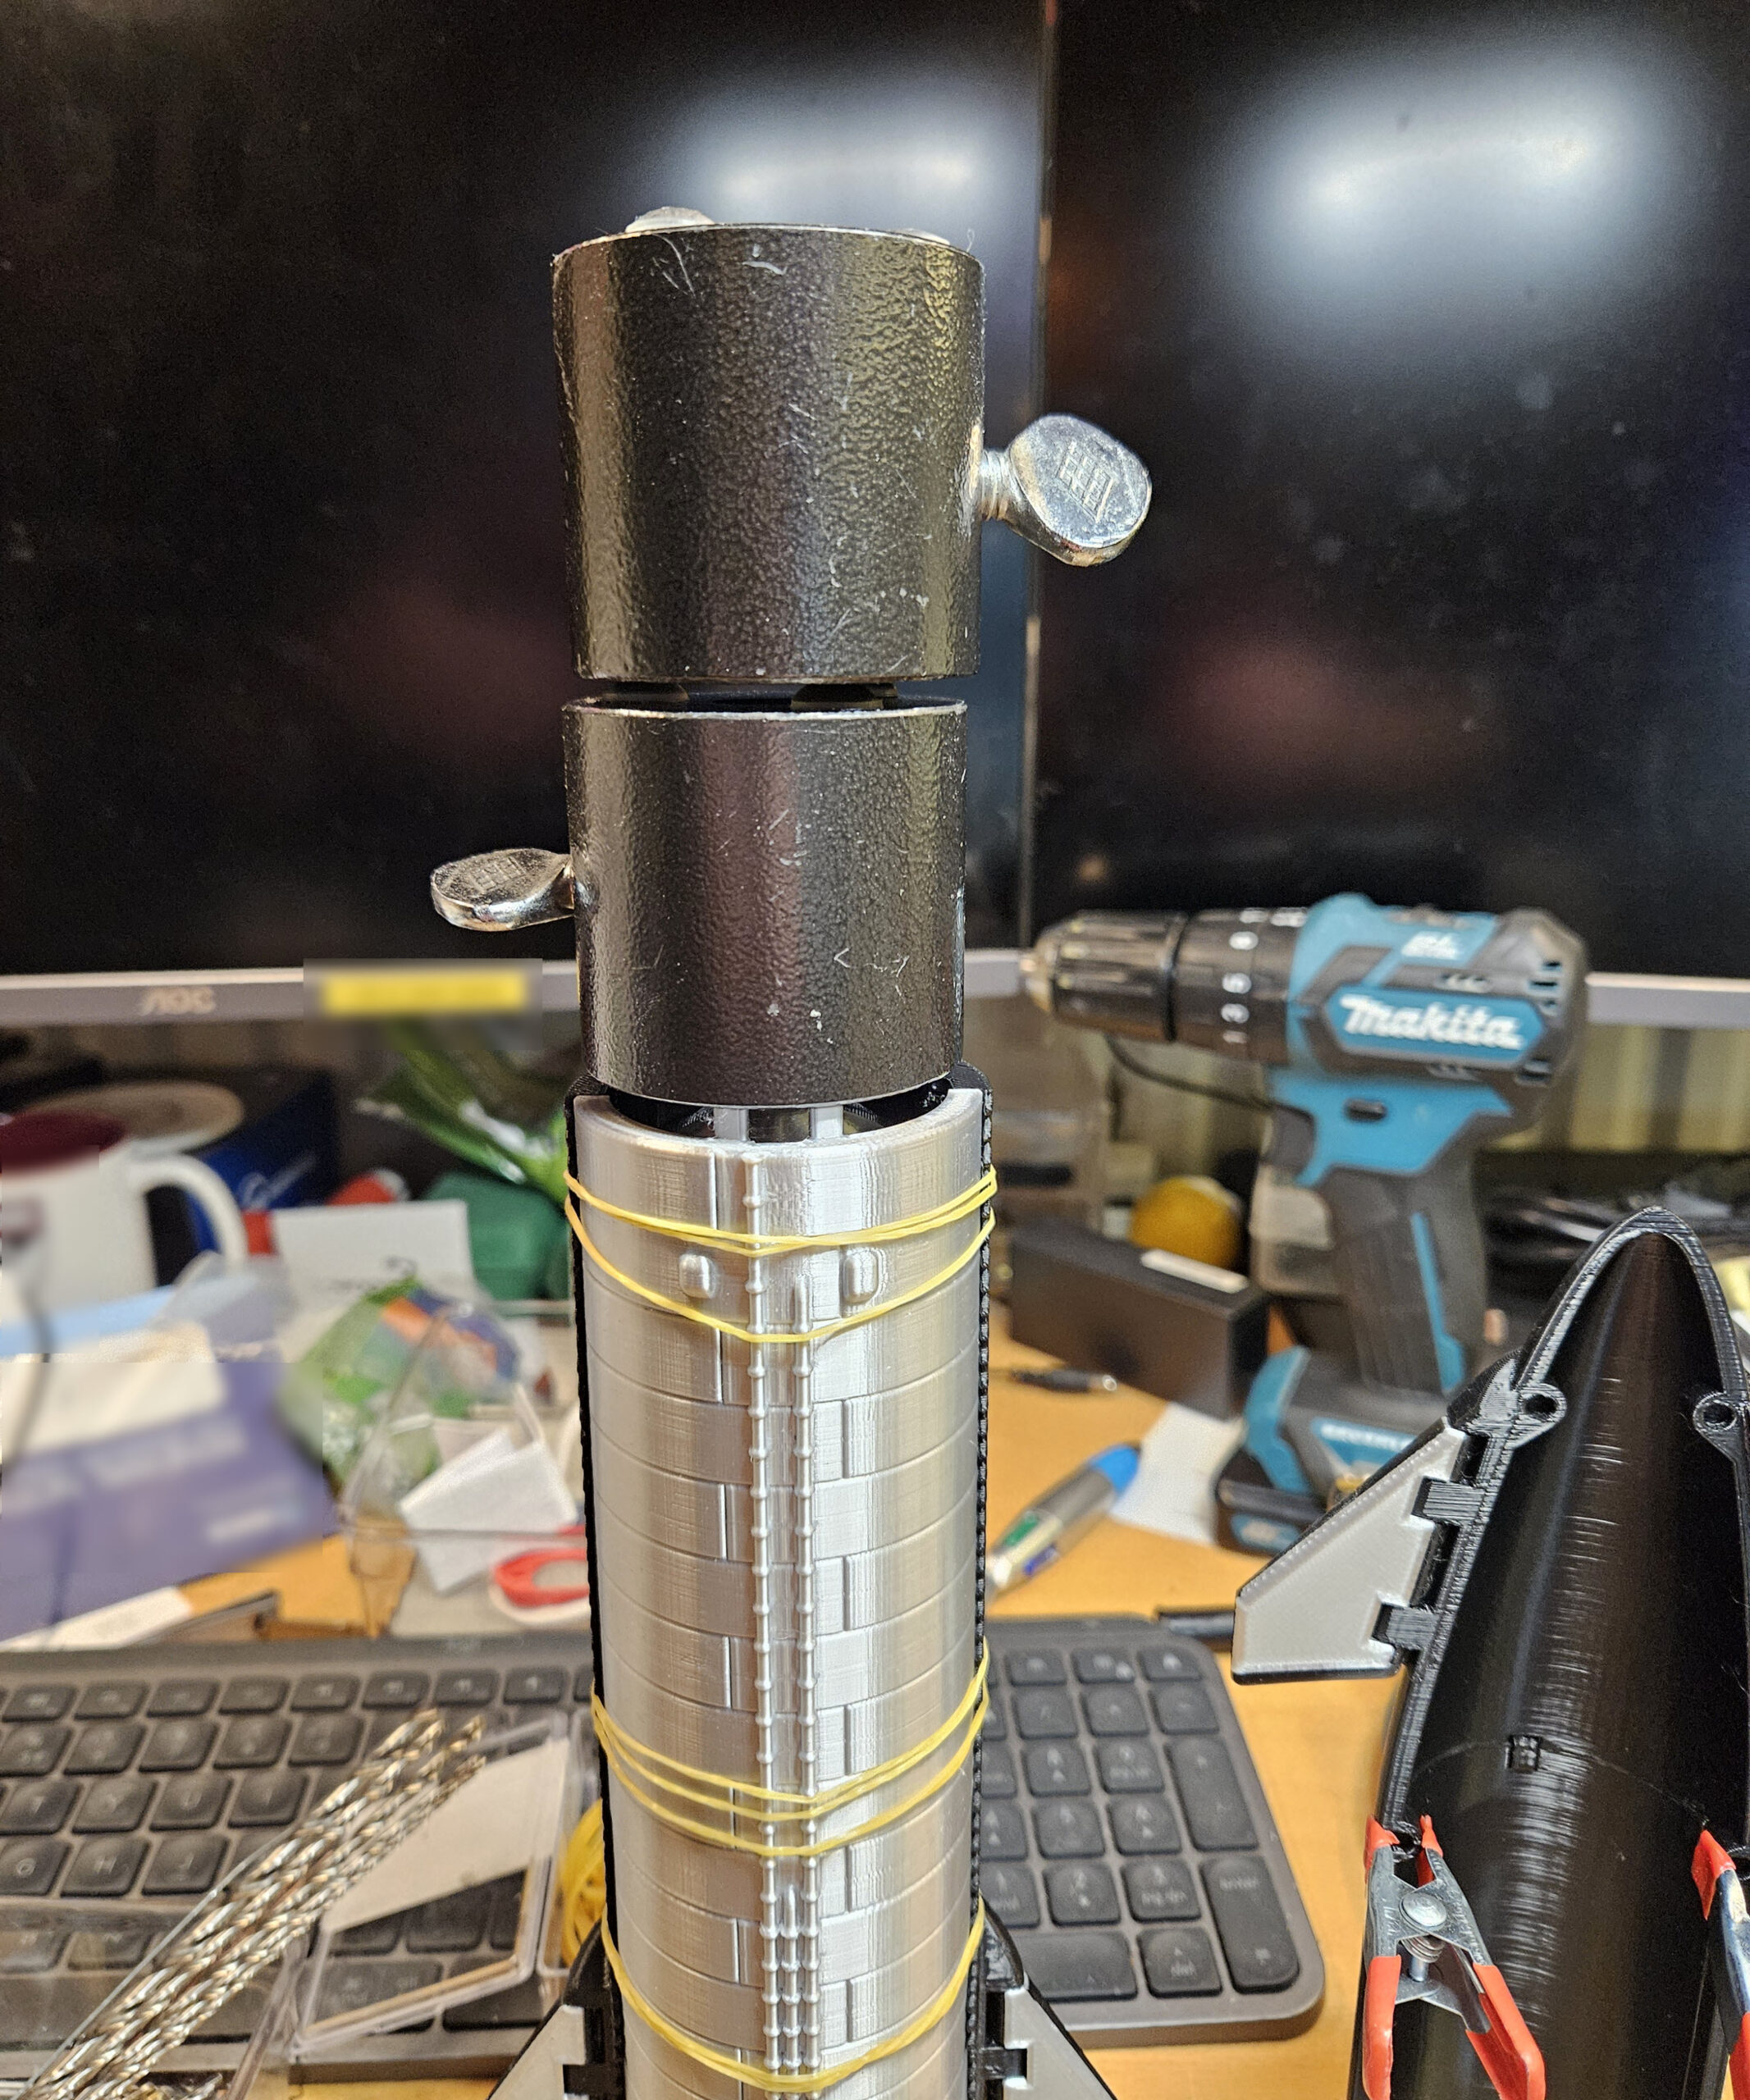
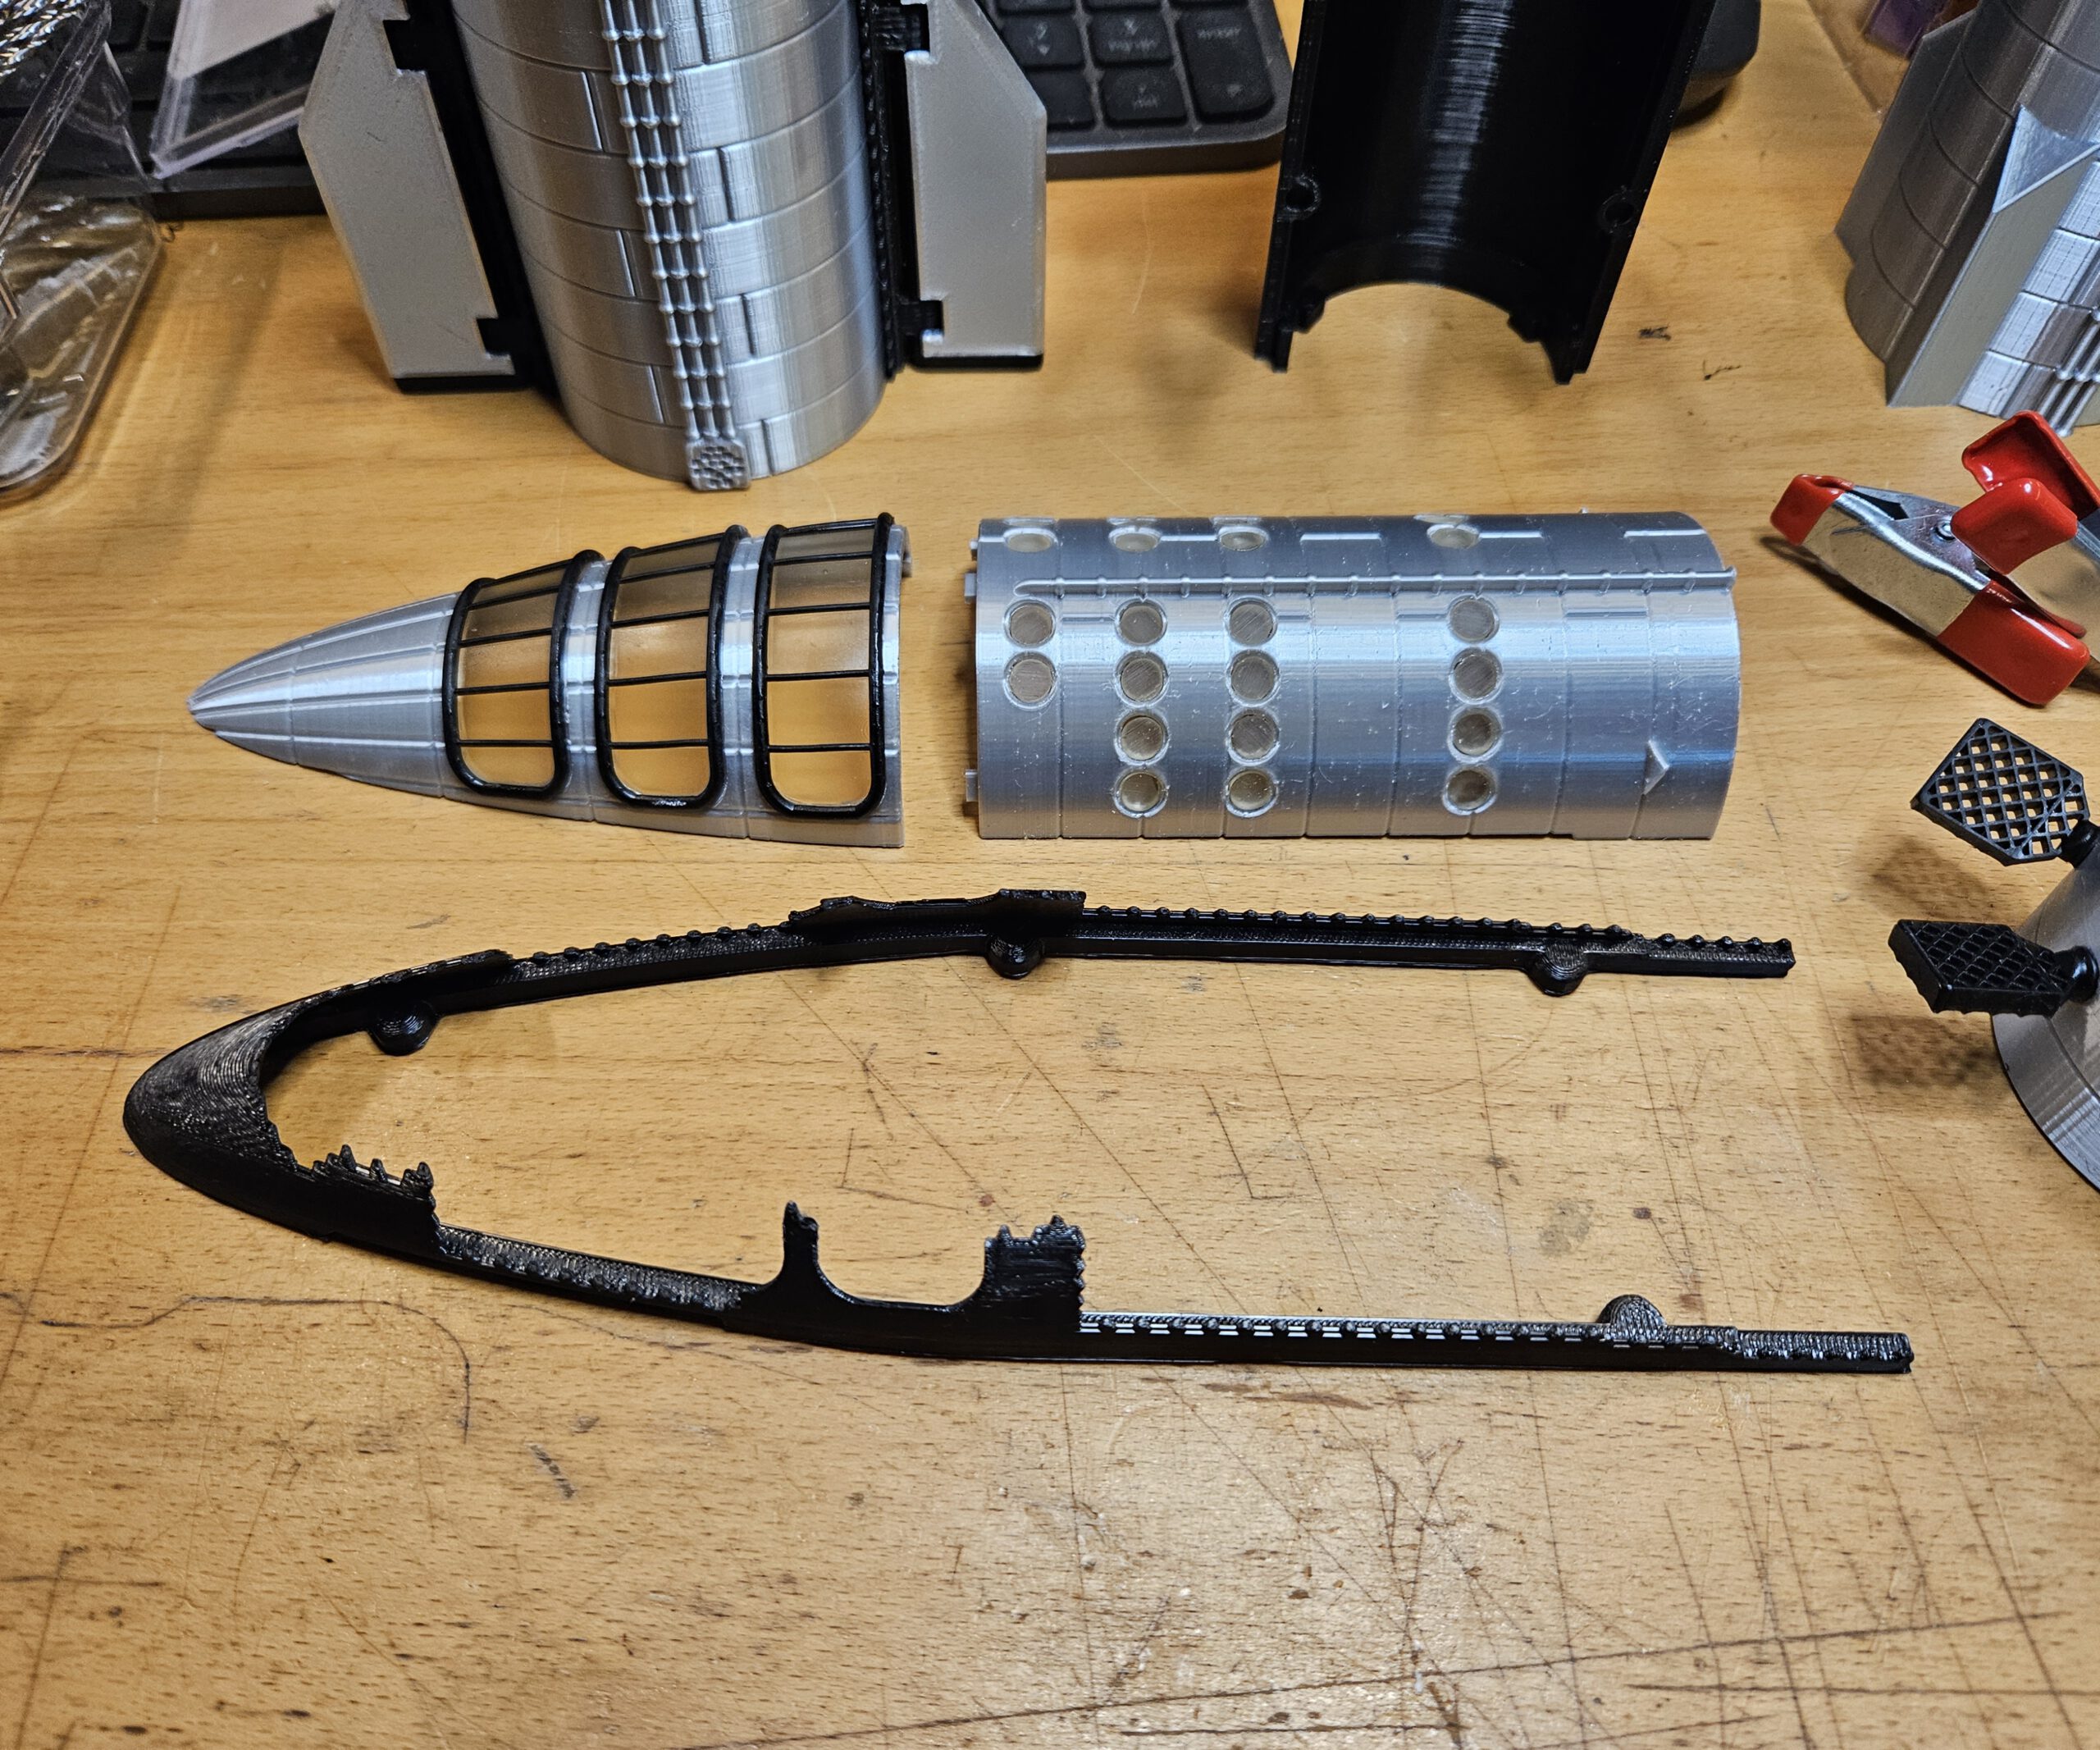
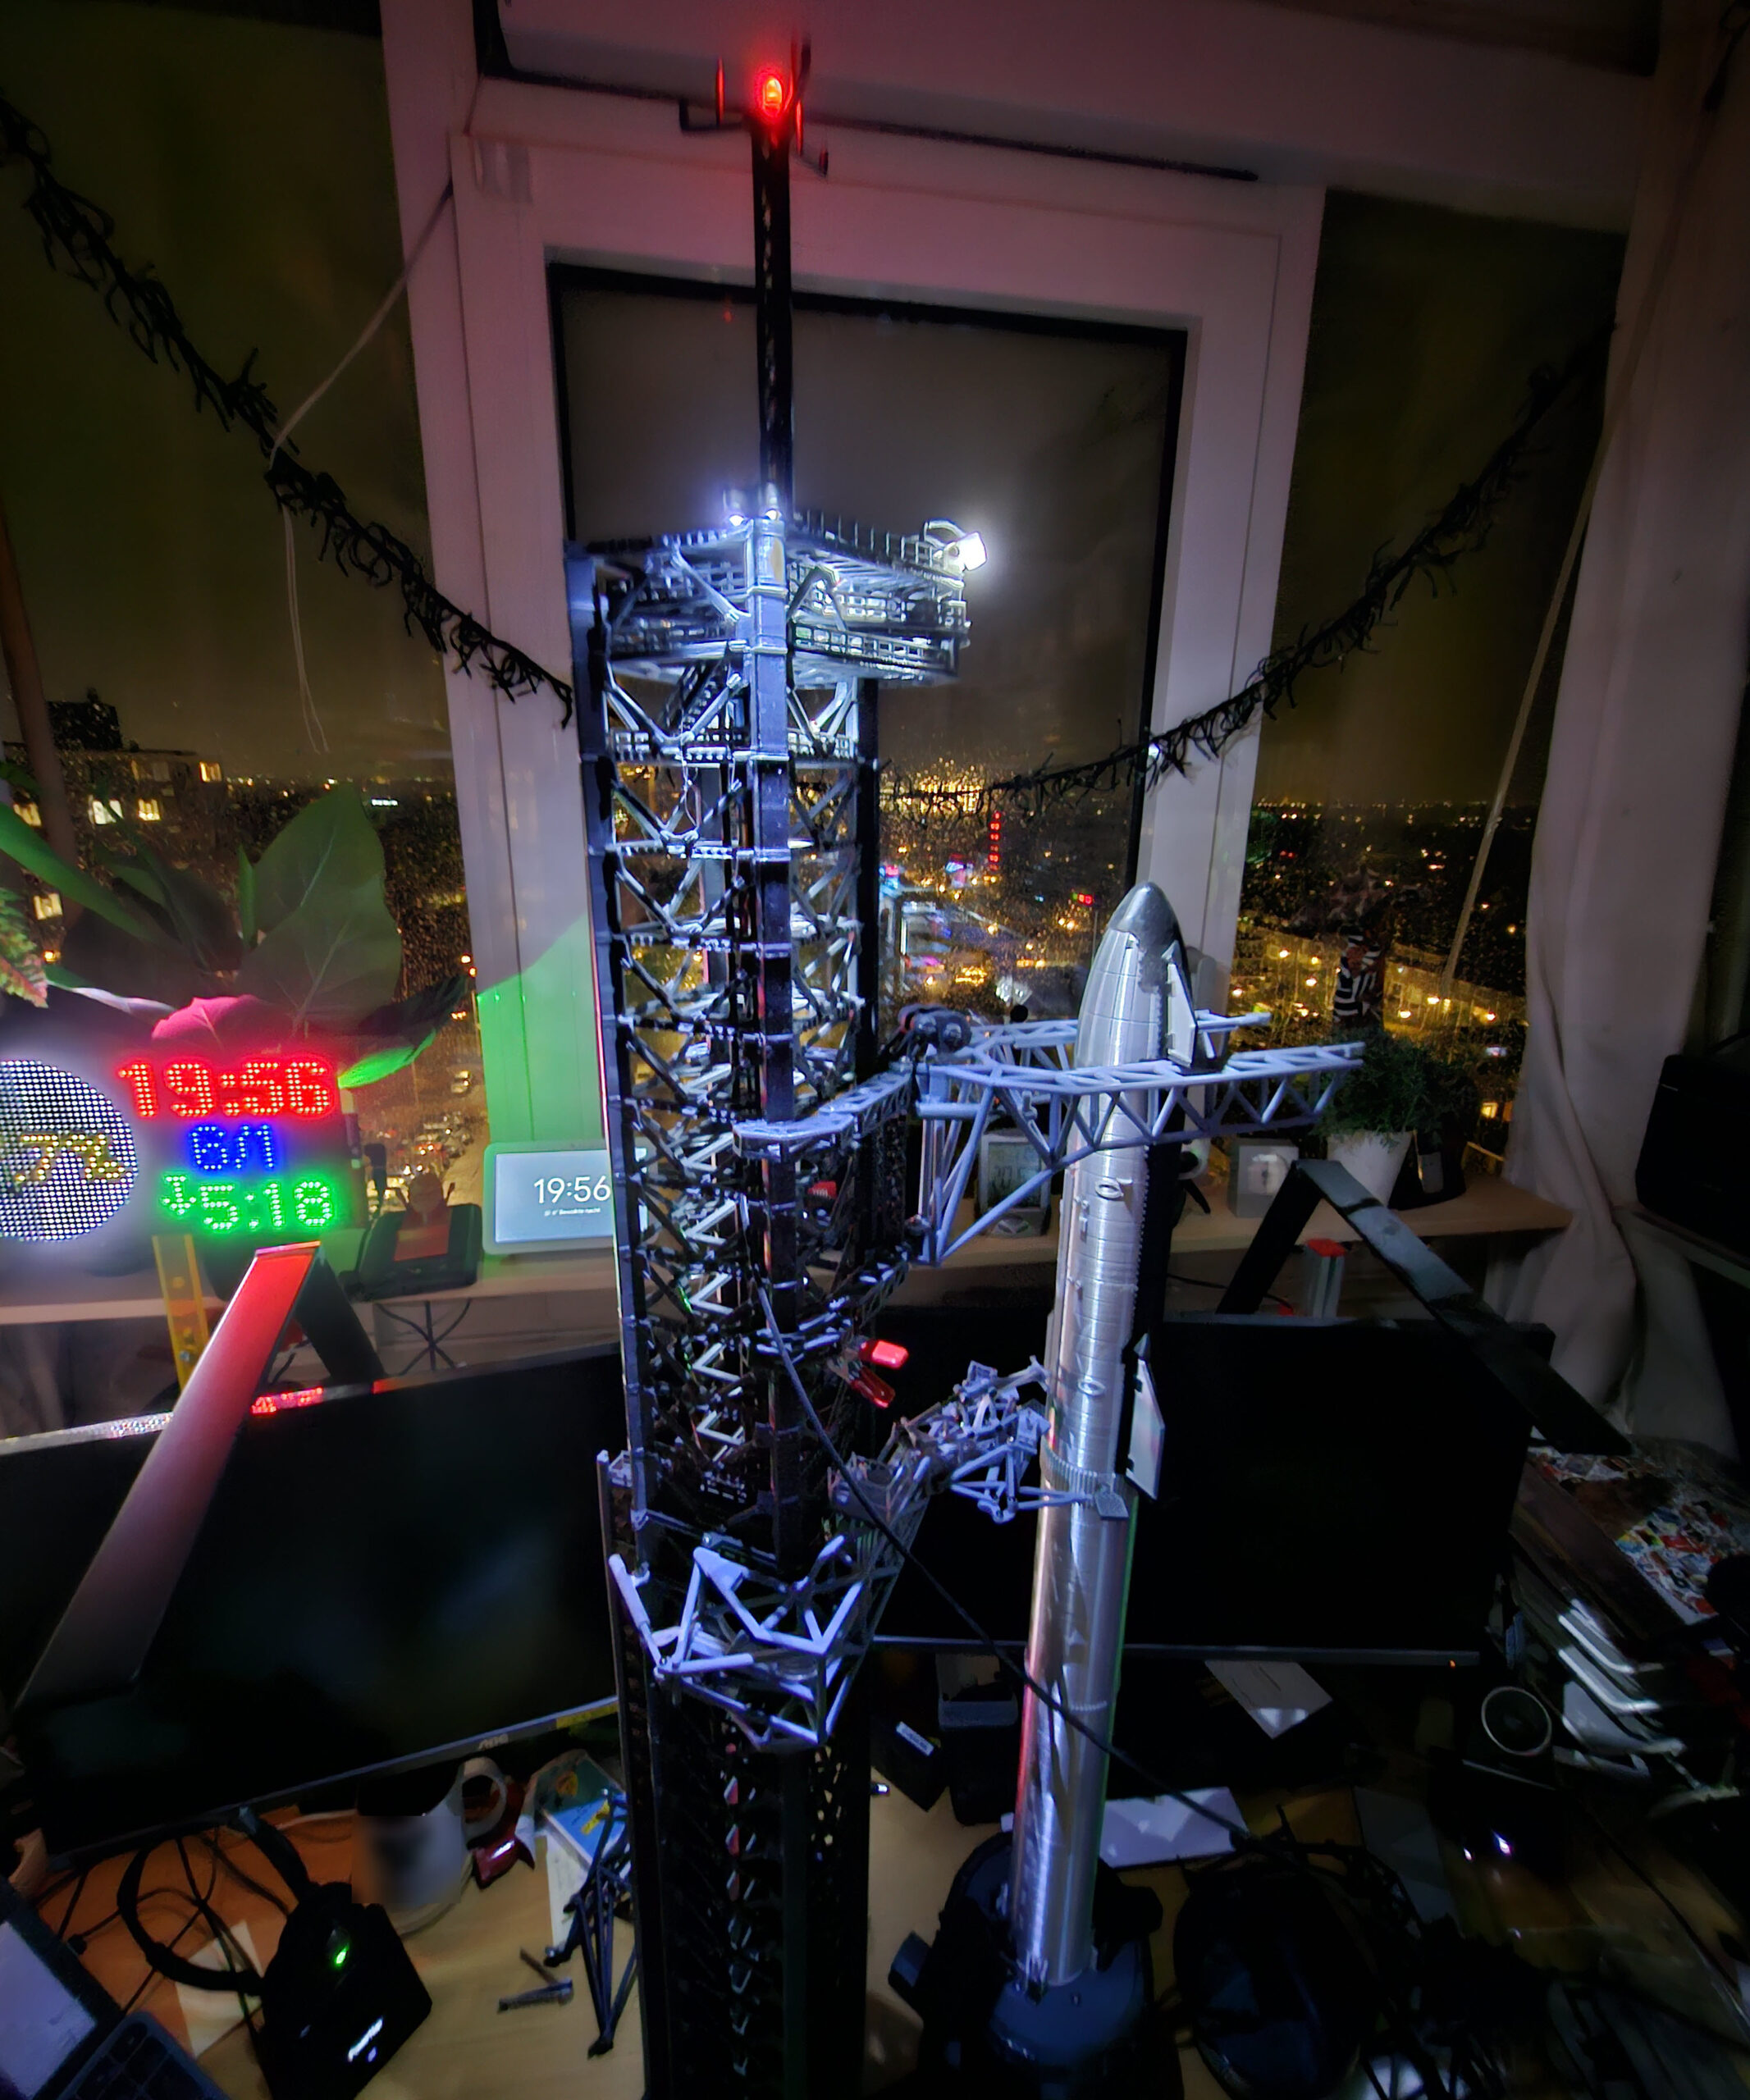
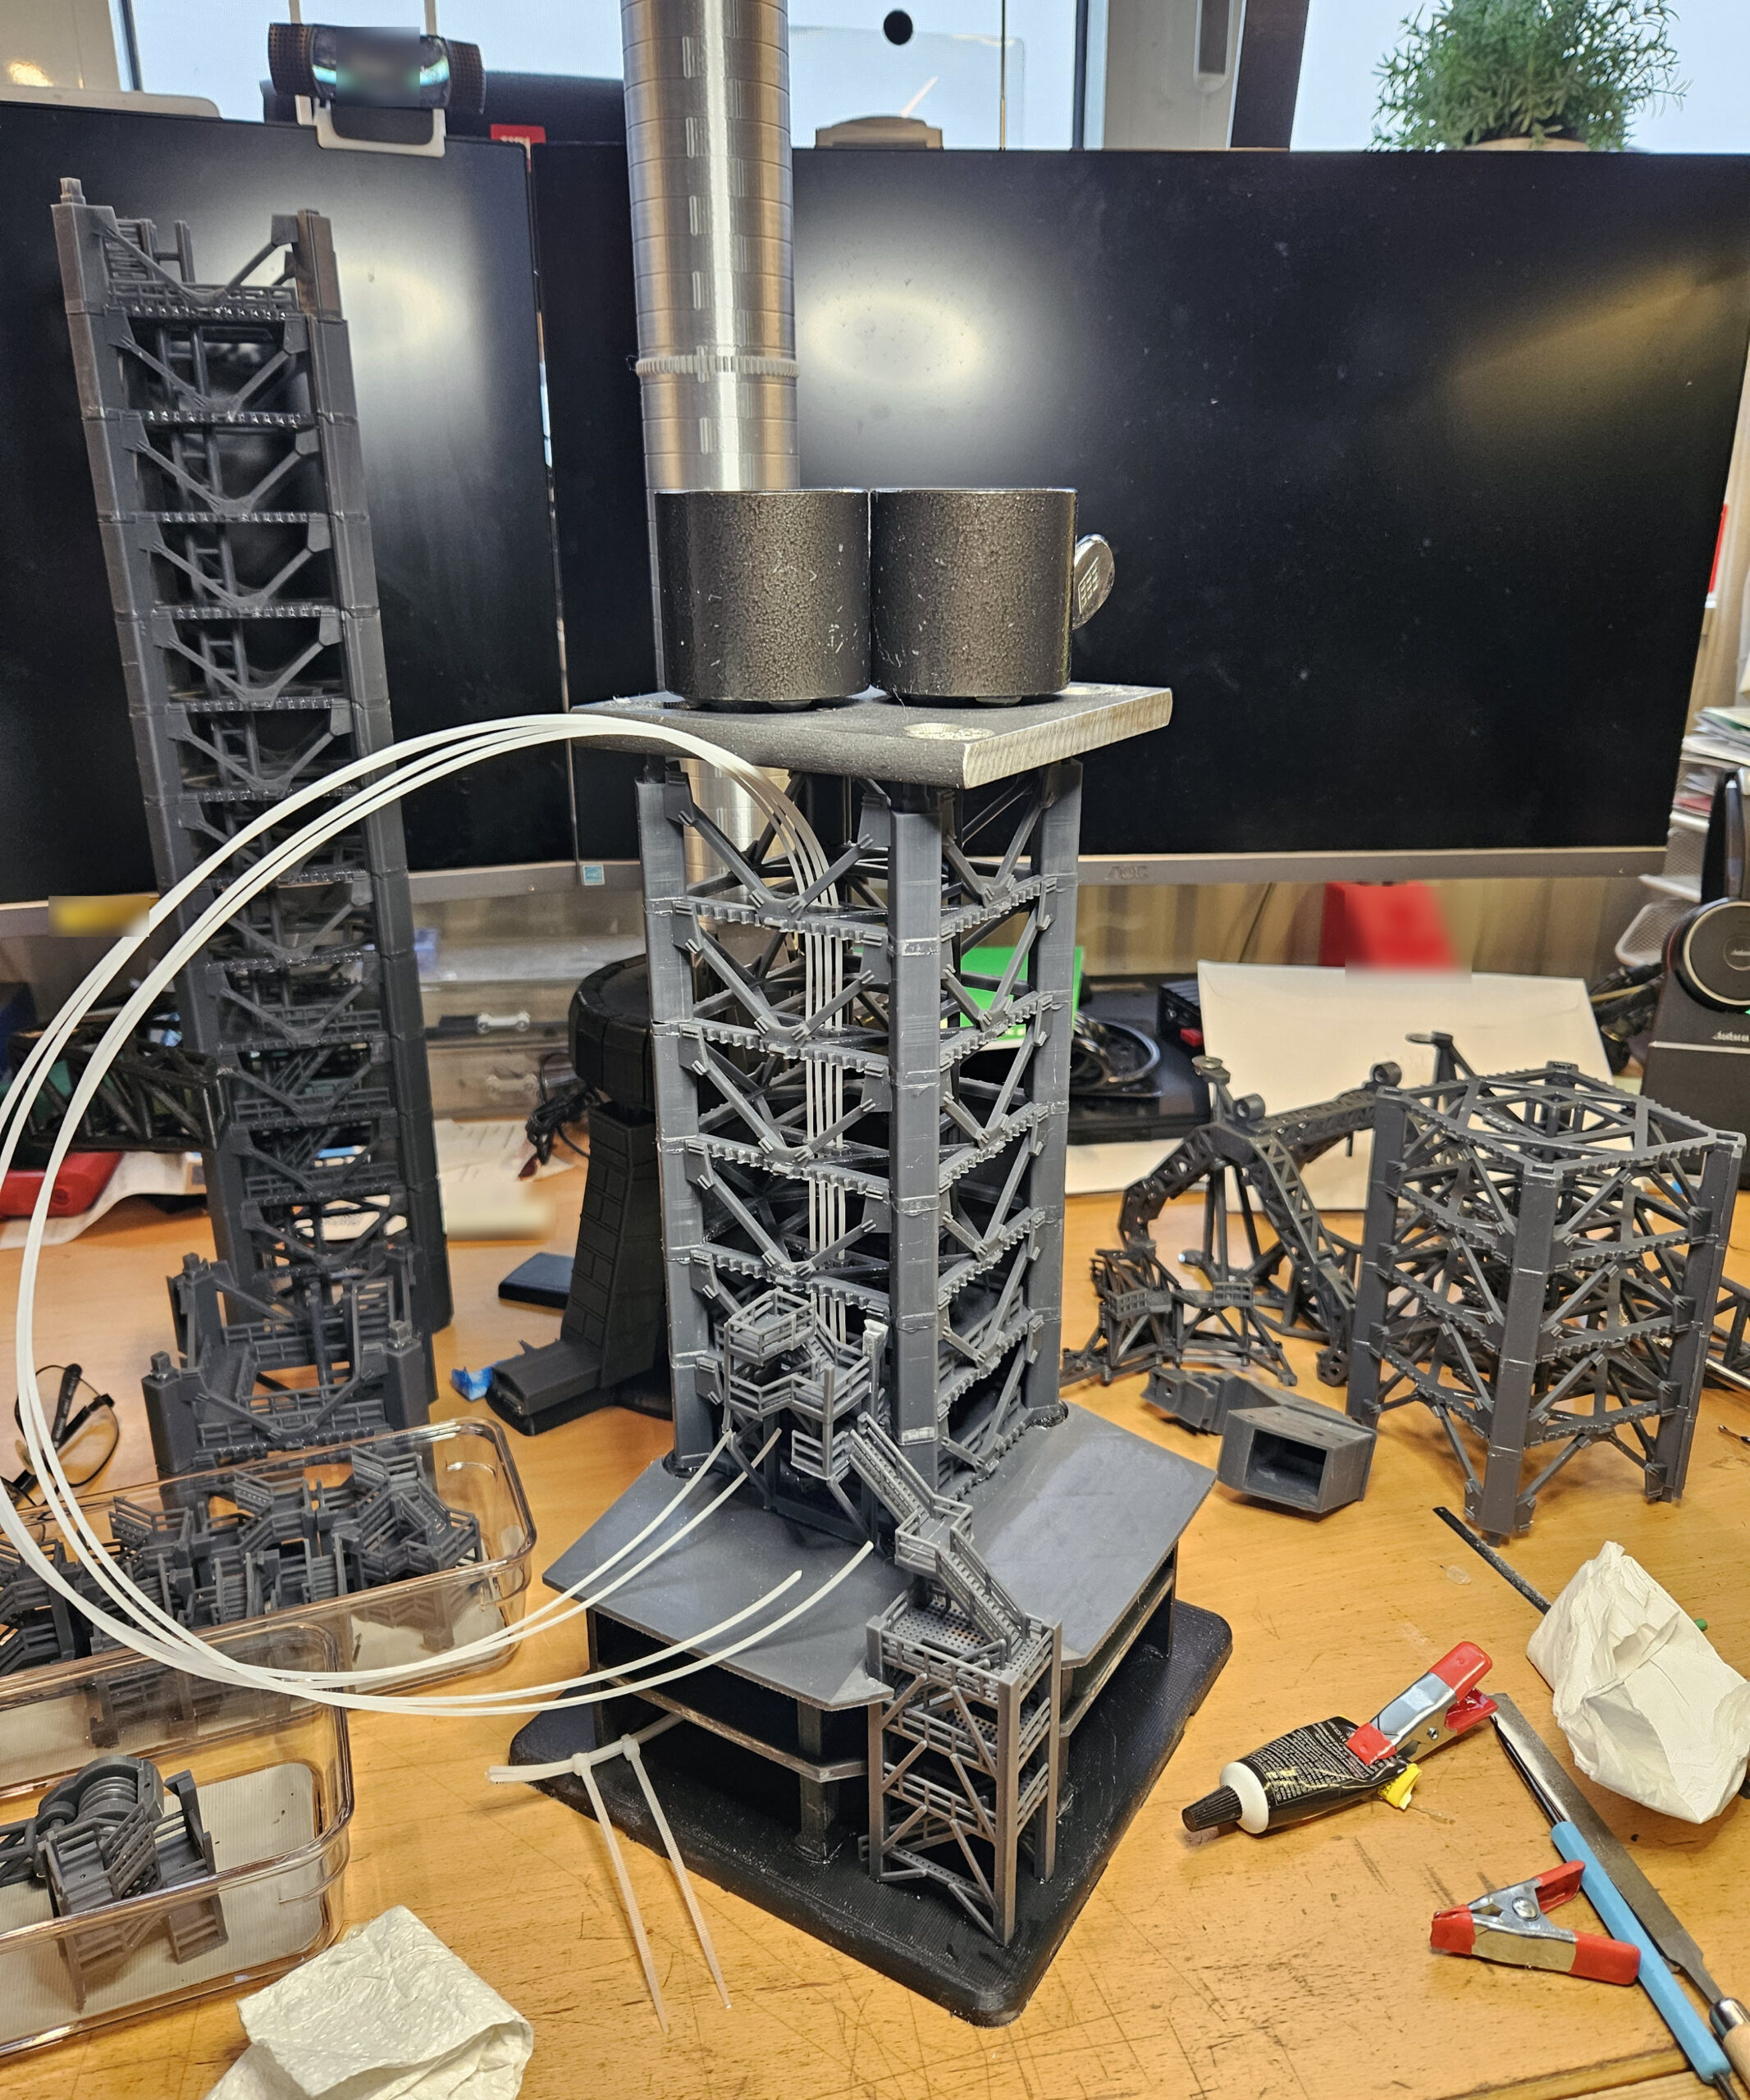
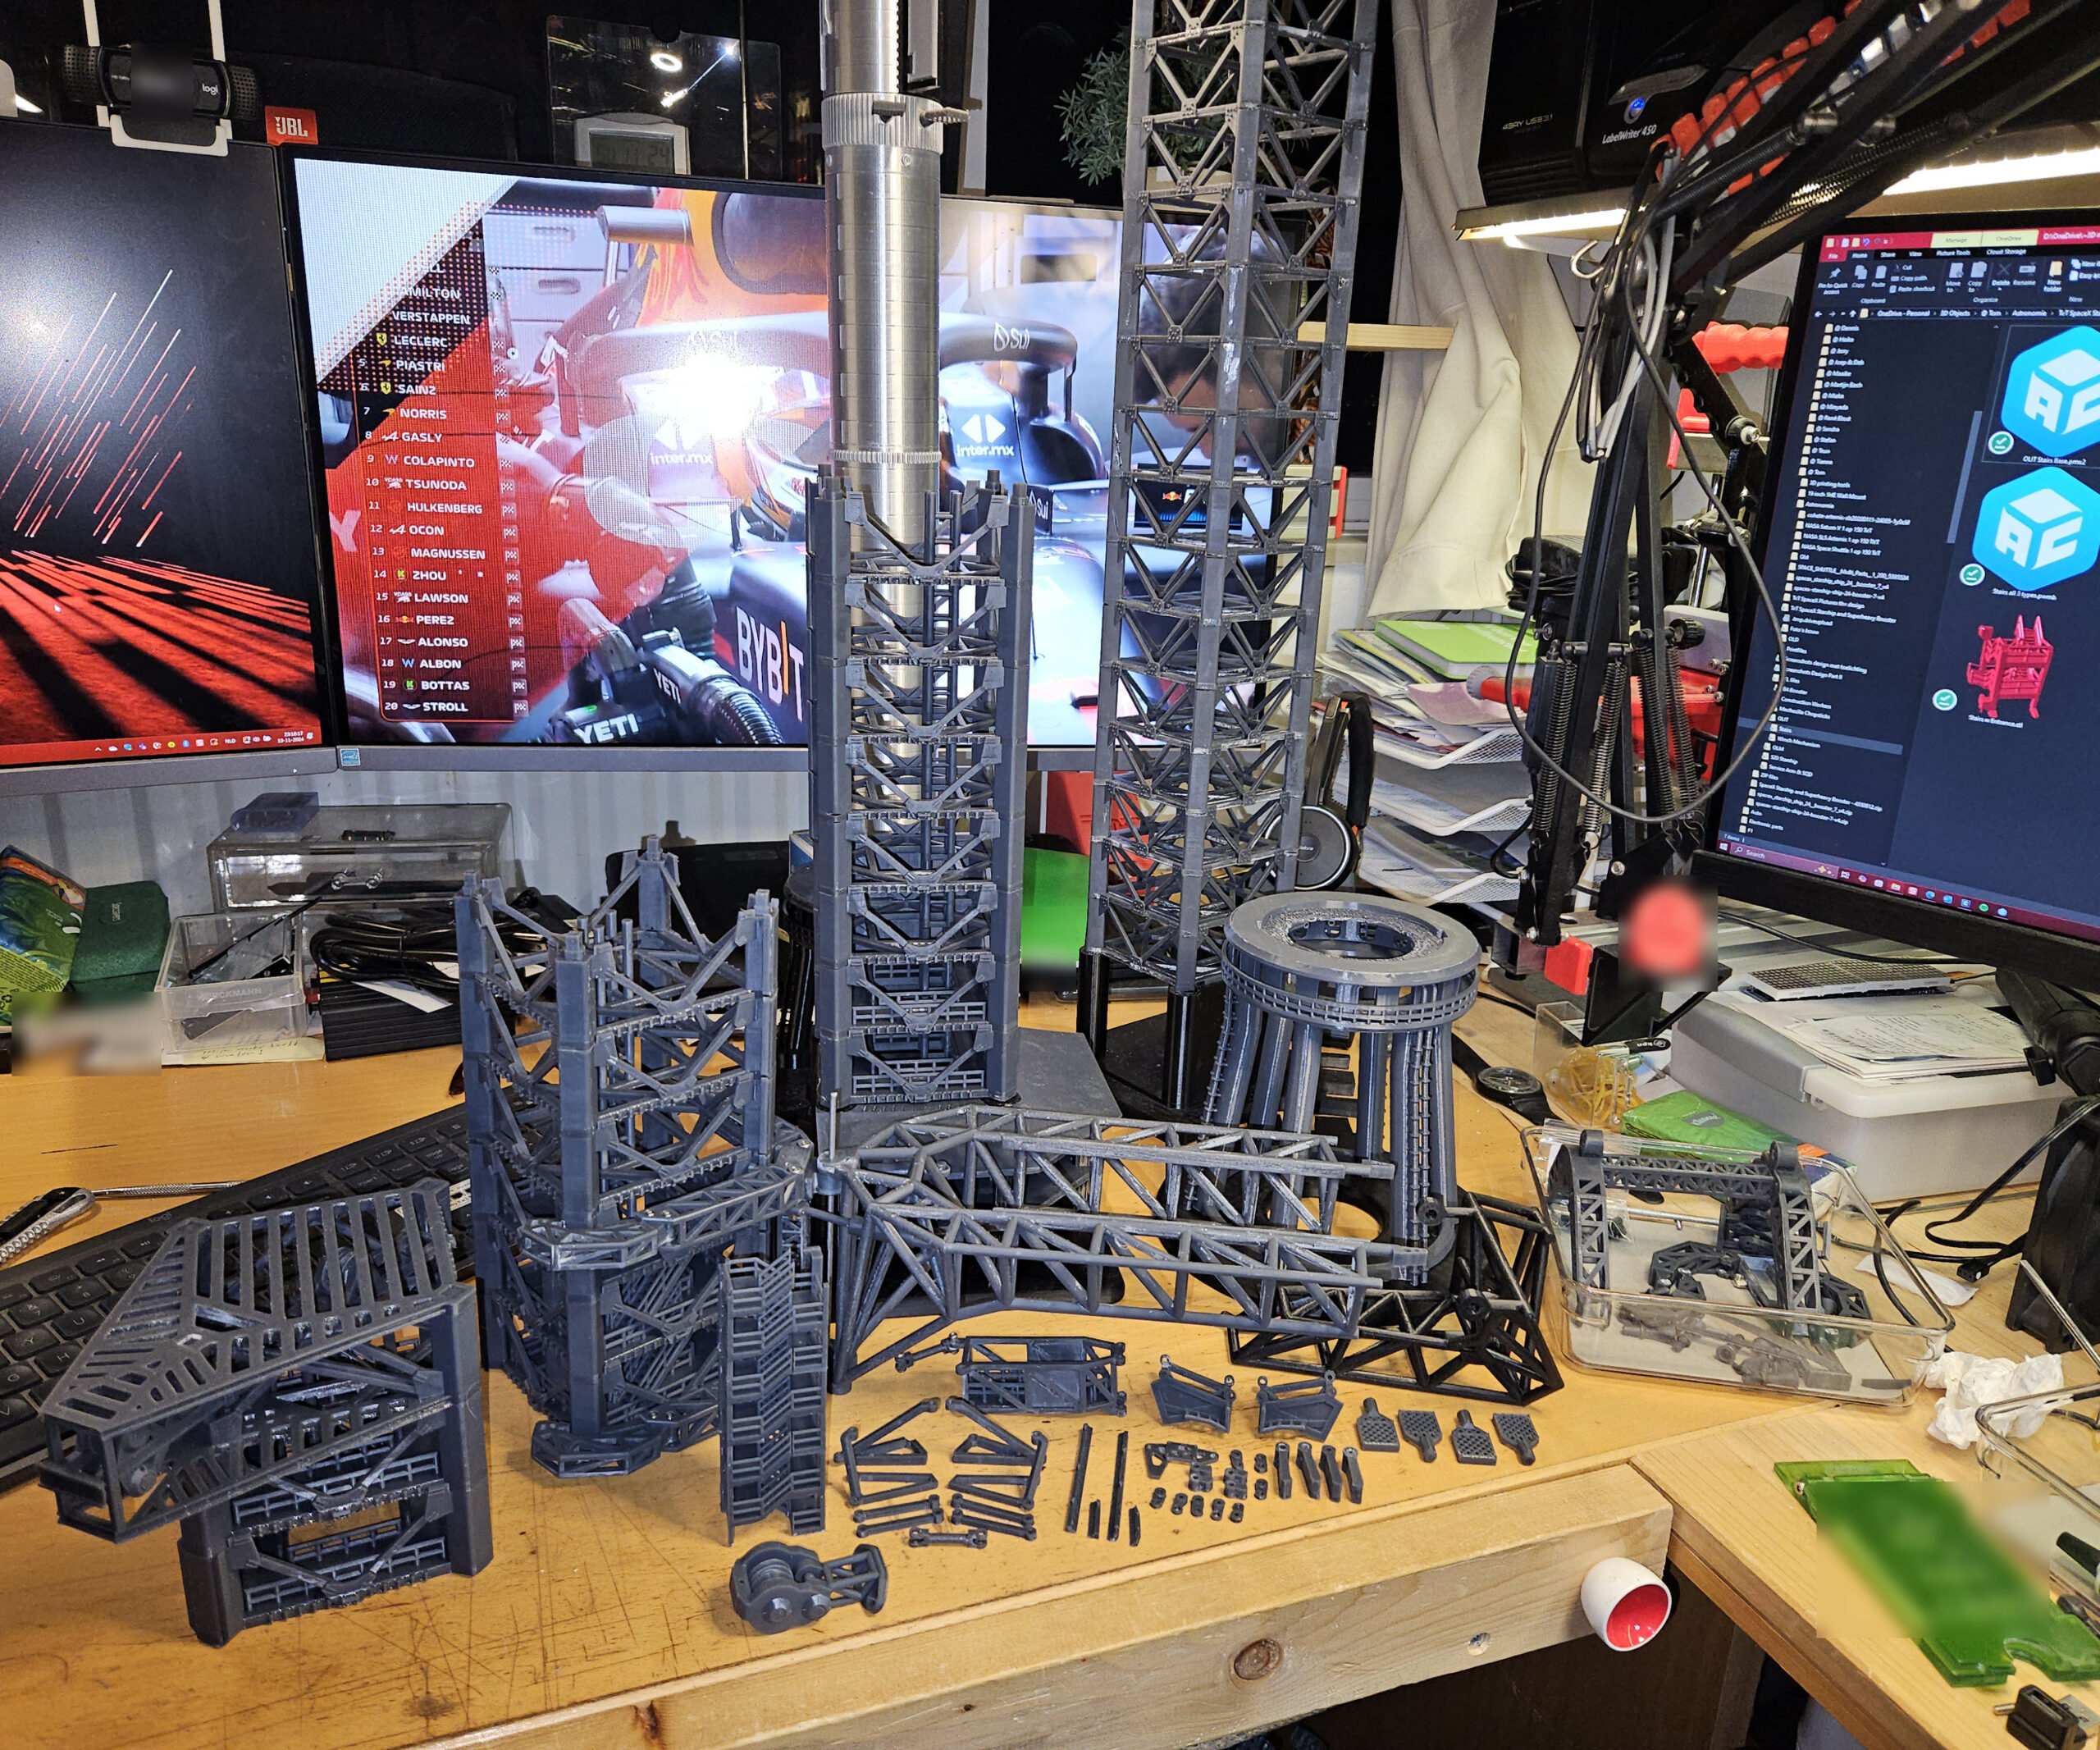
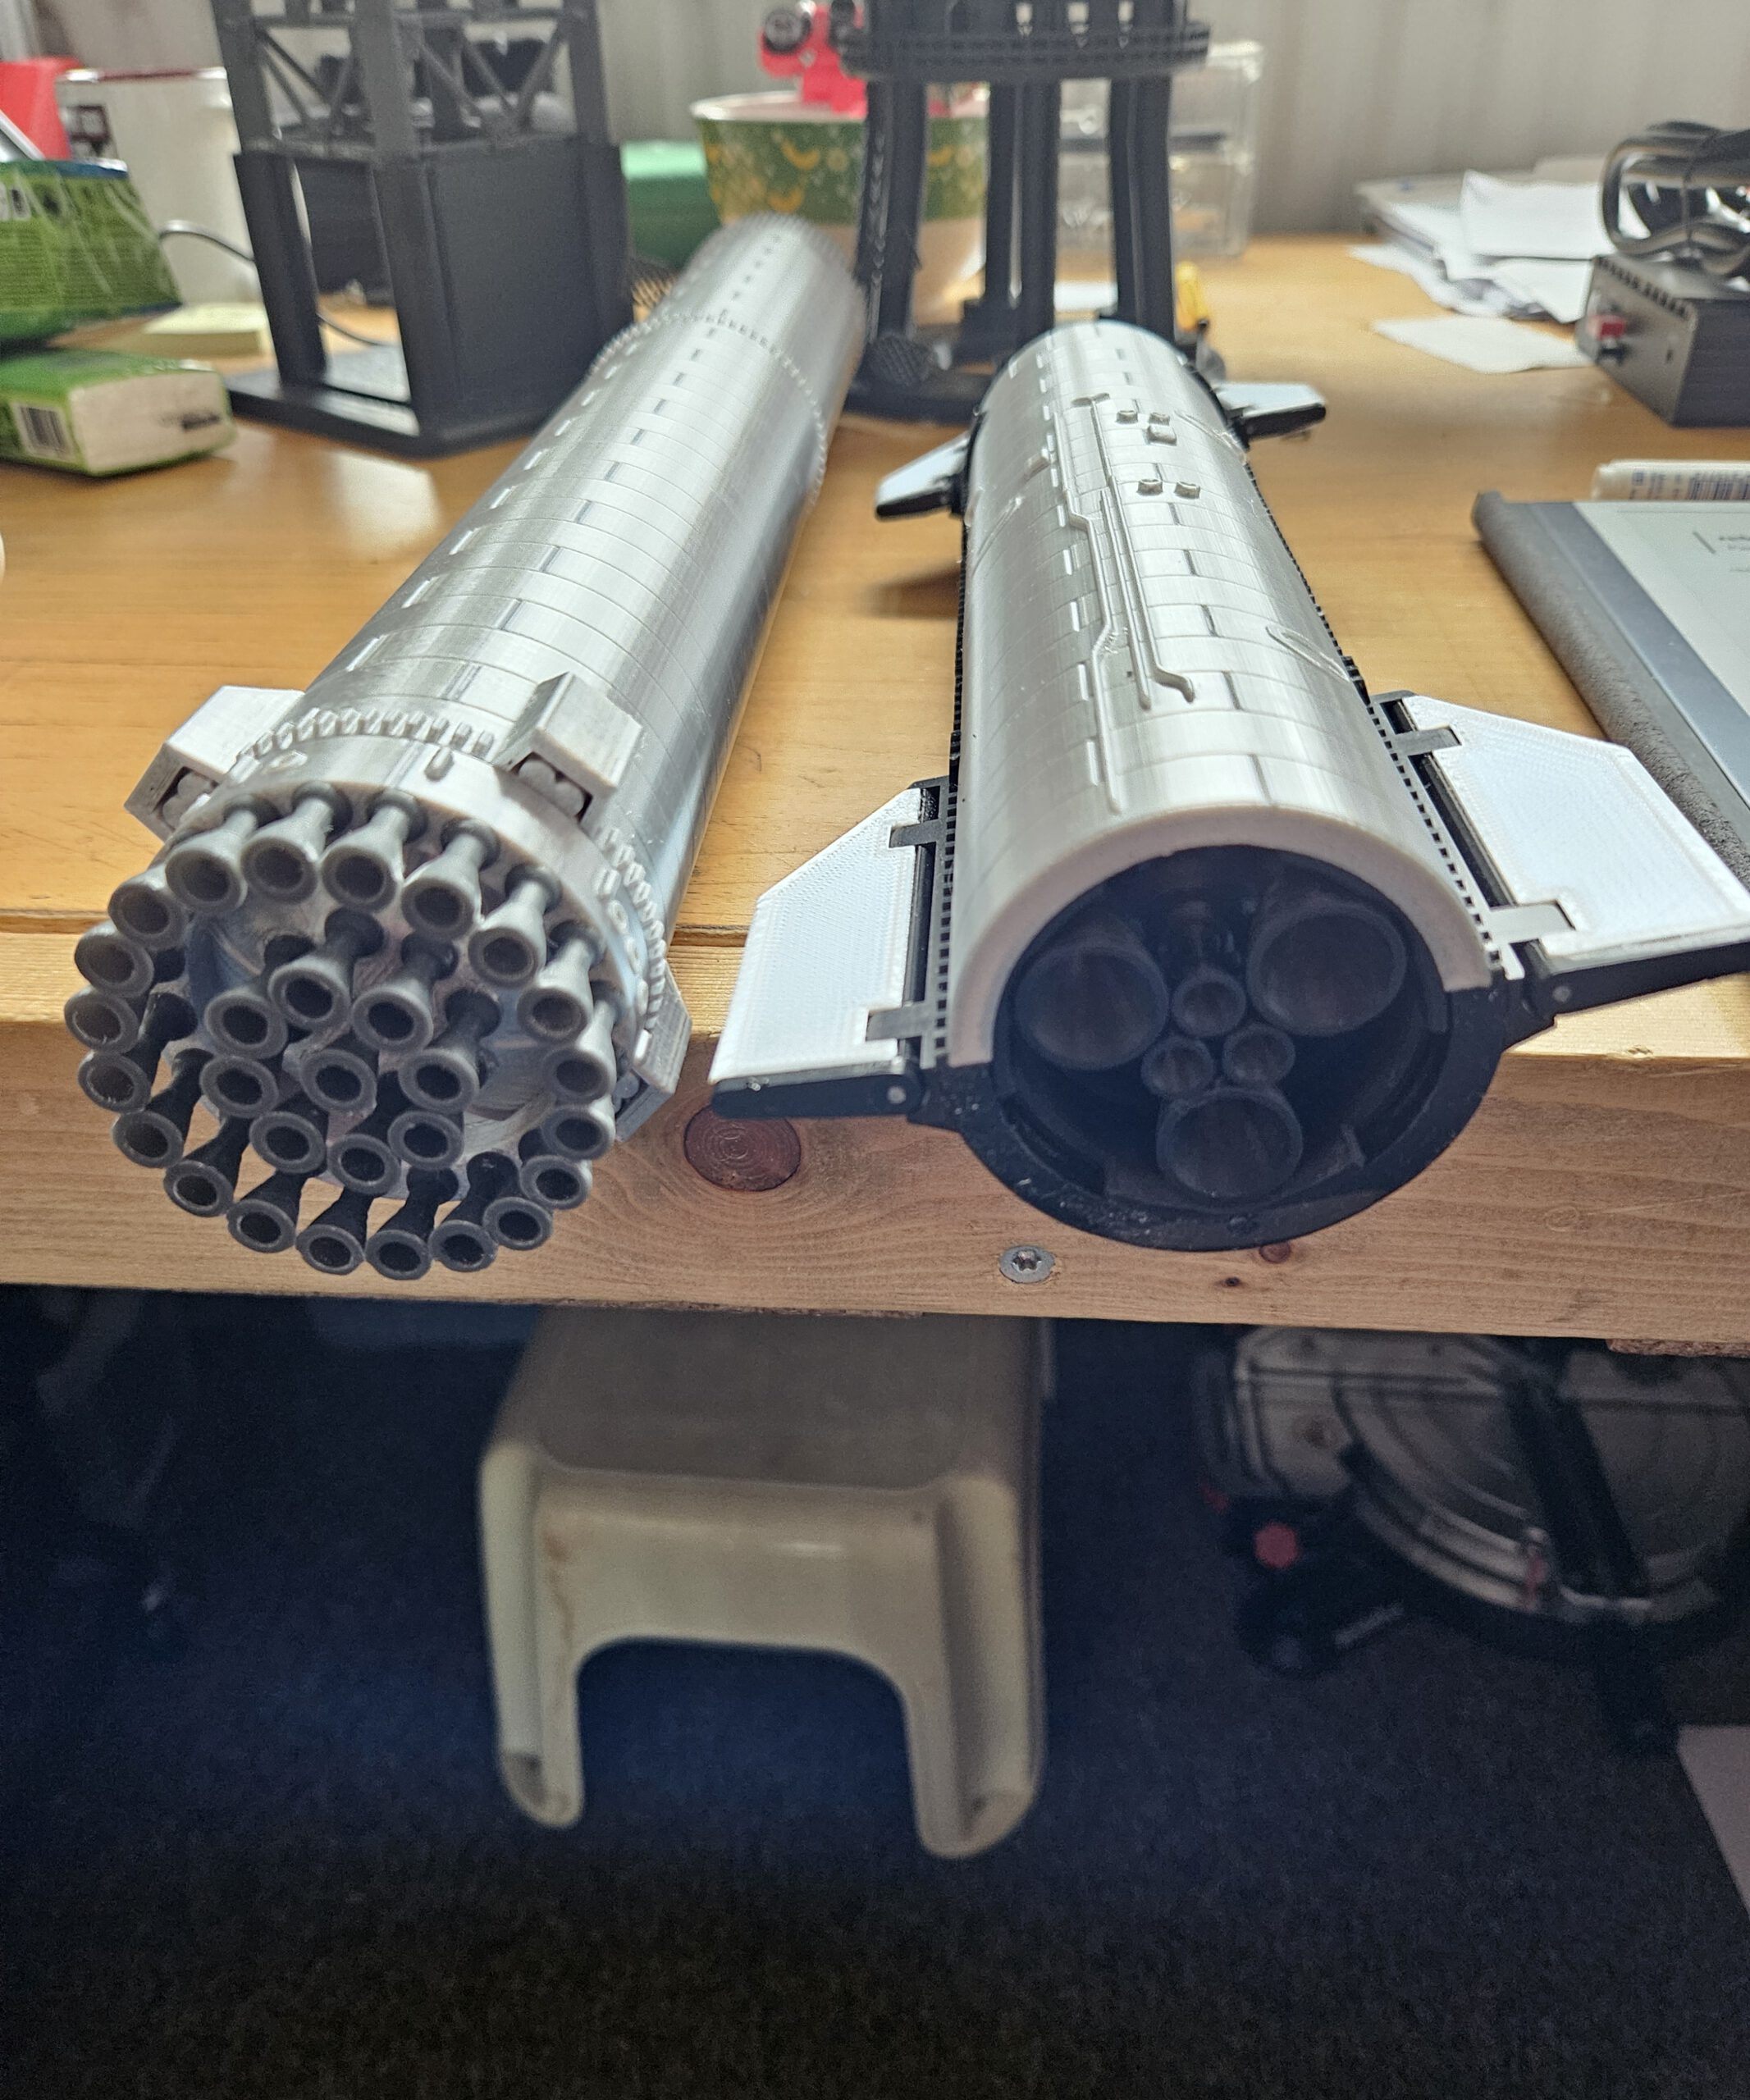
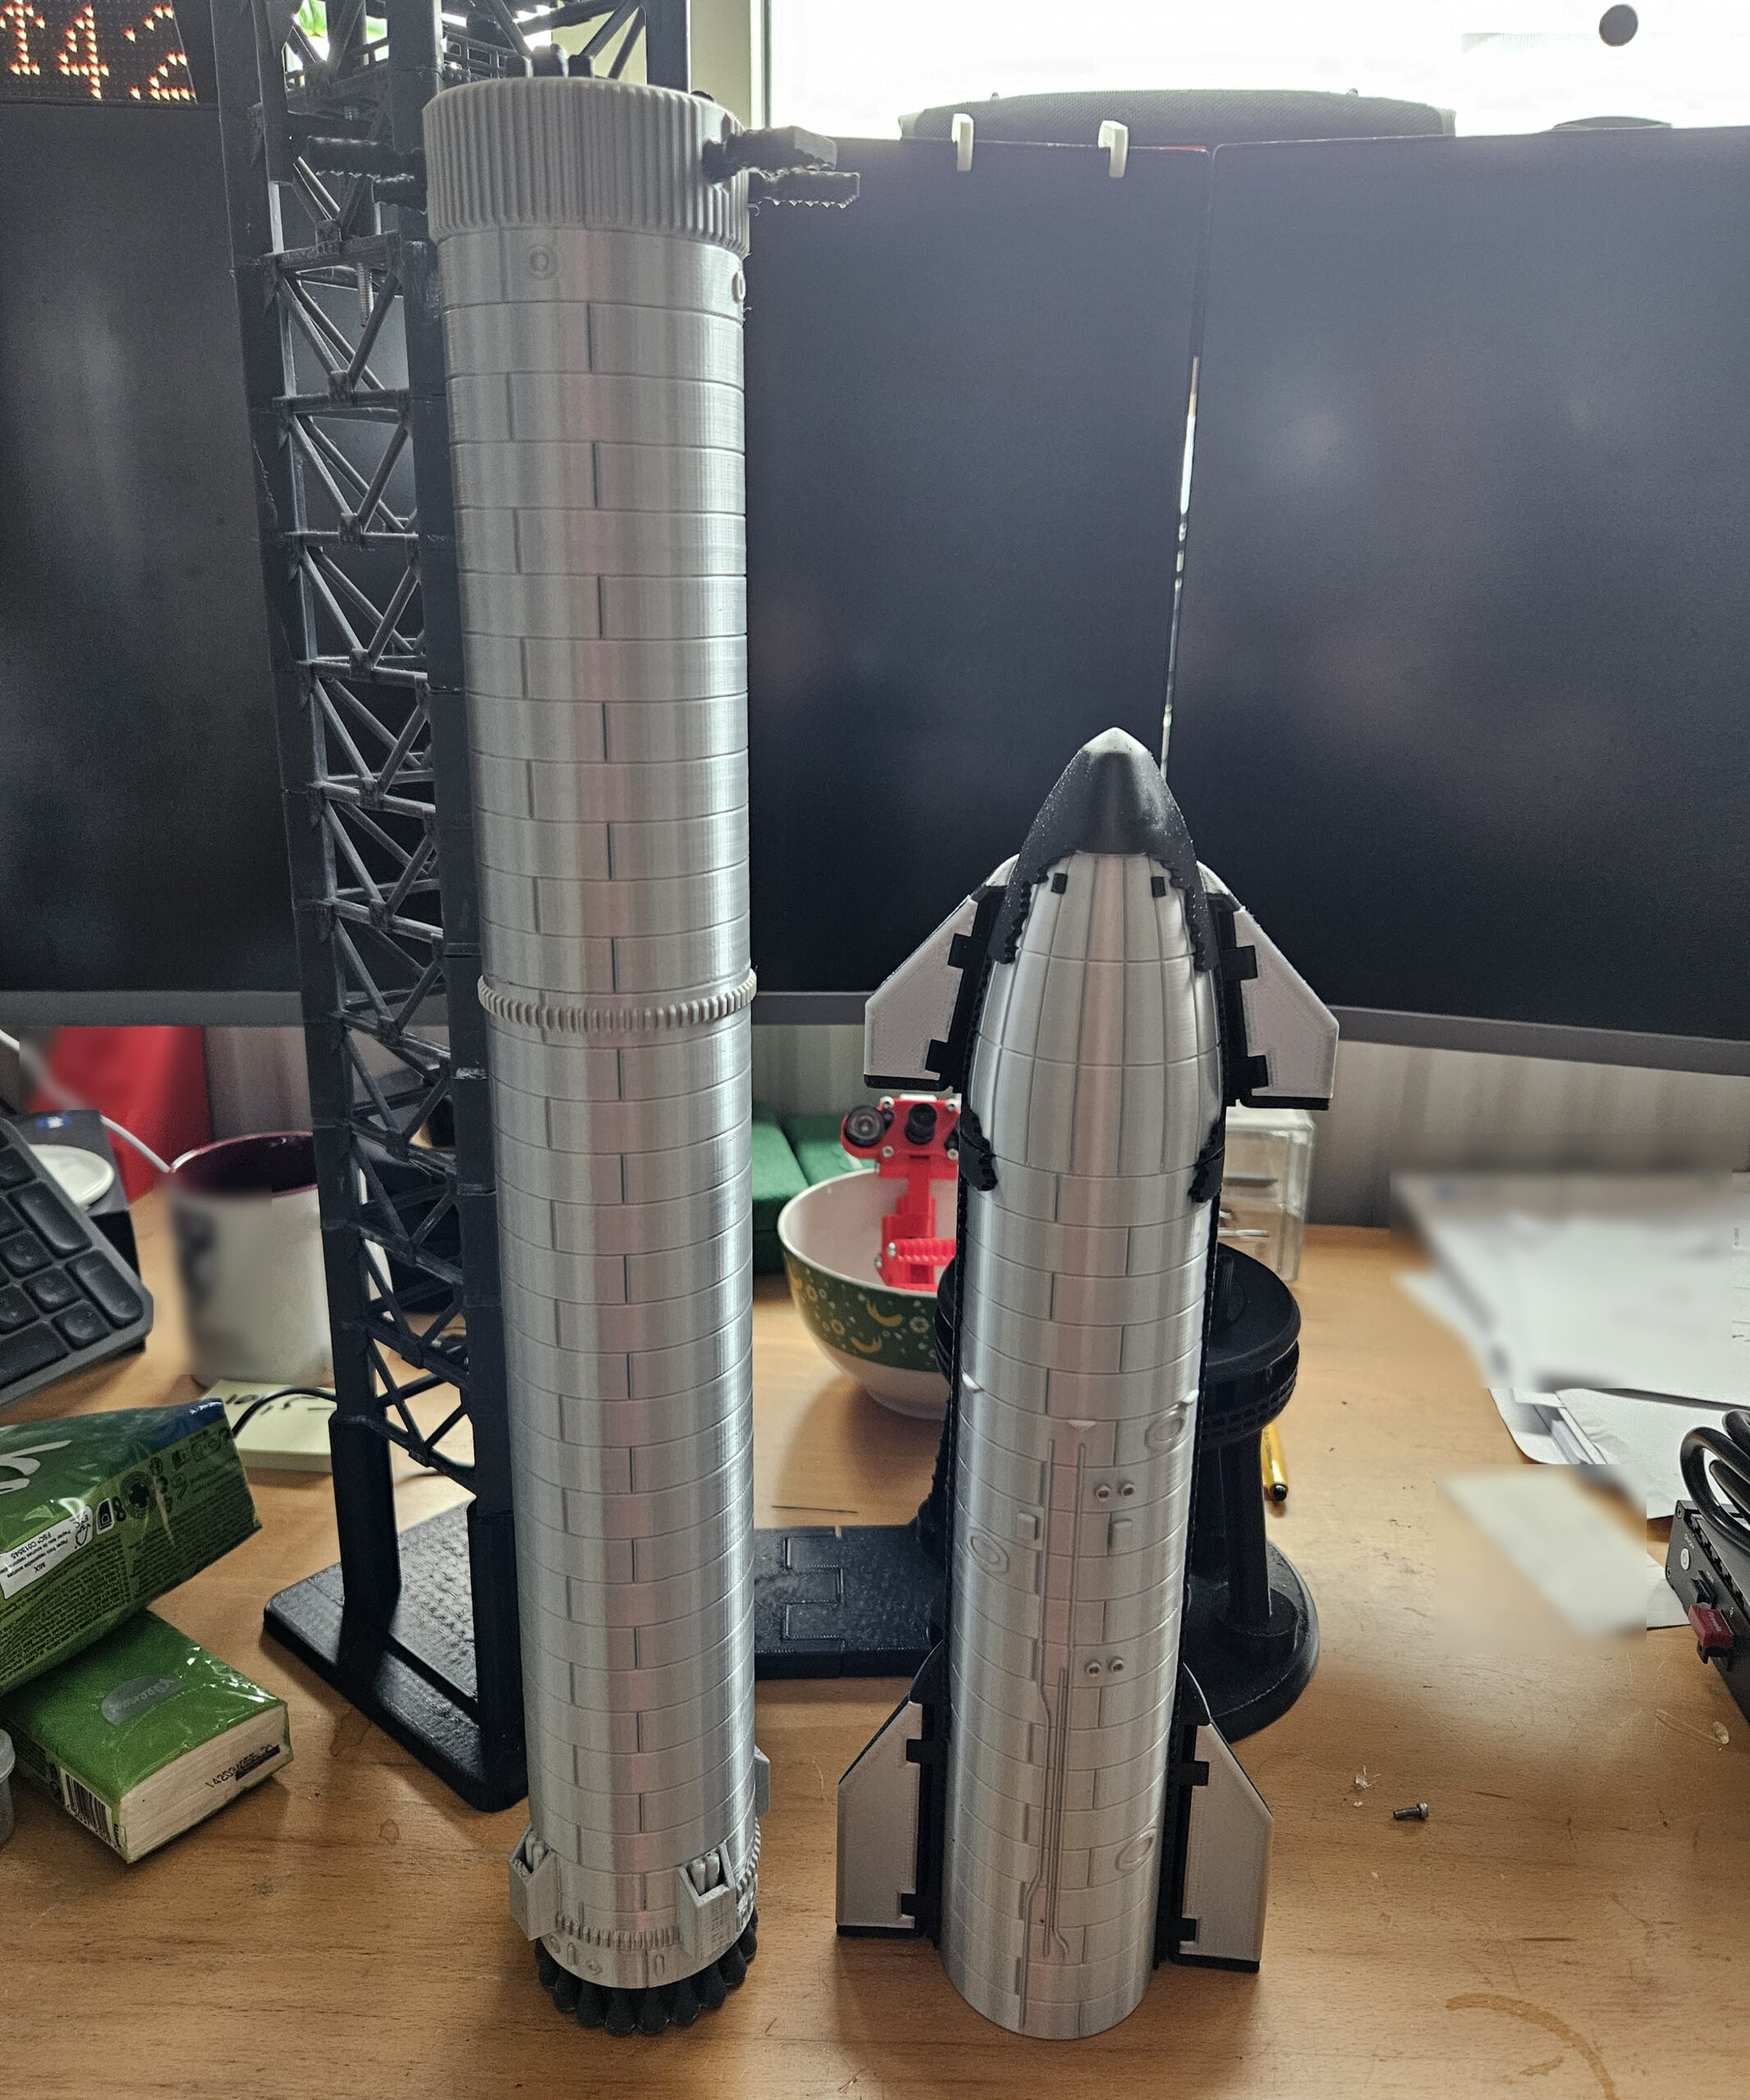
What you see here are some of the design stages of my fully 3D-printed SpaceX Starship launch tower project. Over the course of roughly six months, every major component was designed from scratch, including the tower sections, chopsticks, Quick Disconnect Arm, tank farm, booster and Starship.
The entire model was developed using approximately 150 reference photographs collected from the internet. Since SpaceX does not publish detailed engineering drawings, this is not a perfect one-to-one reproduction. Instead, it is my own interpretation, carefully designed to match the real hardware as closely as possible based on the available imagery.
Many dimensions, structures and mechanisms had to be reverse-engineered from photographs, making this project as much an engineering exercise as it is a scale model.
1/1
Bringing Hundreds of Parts Together
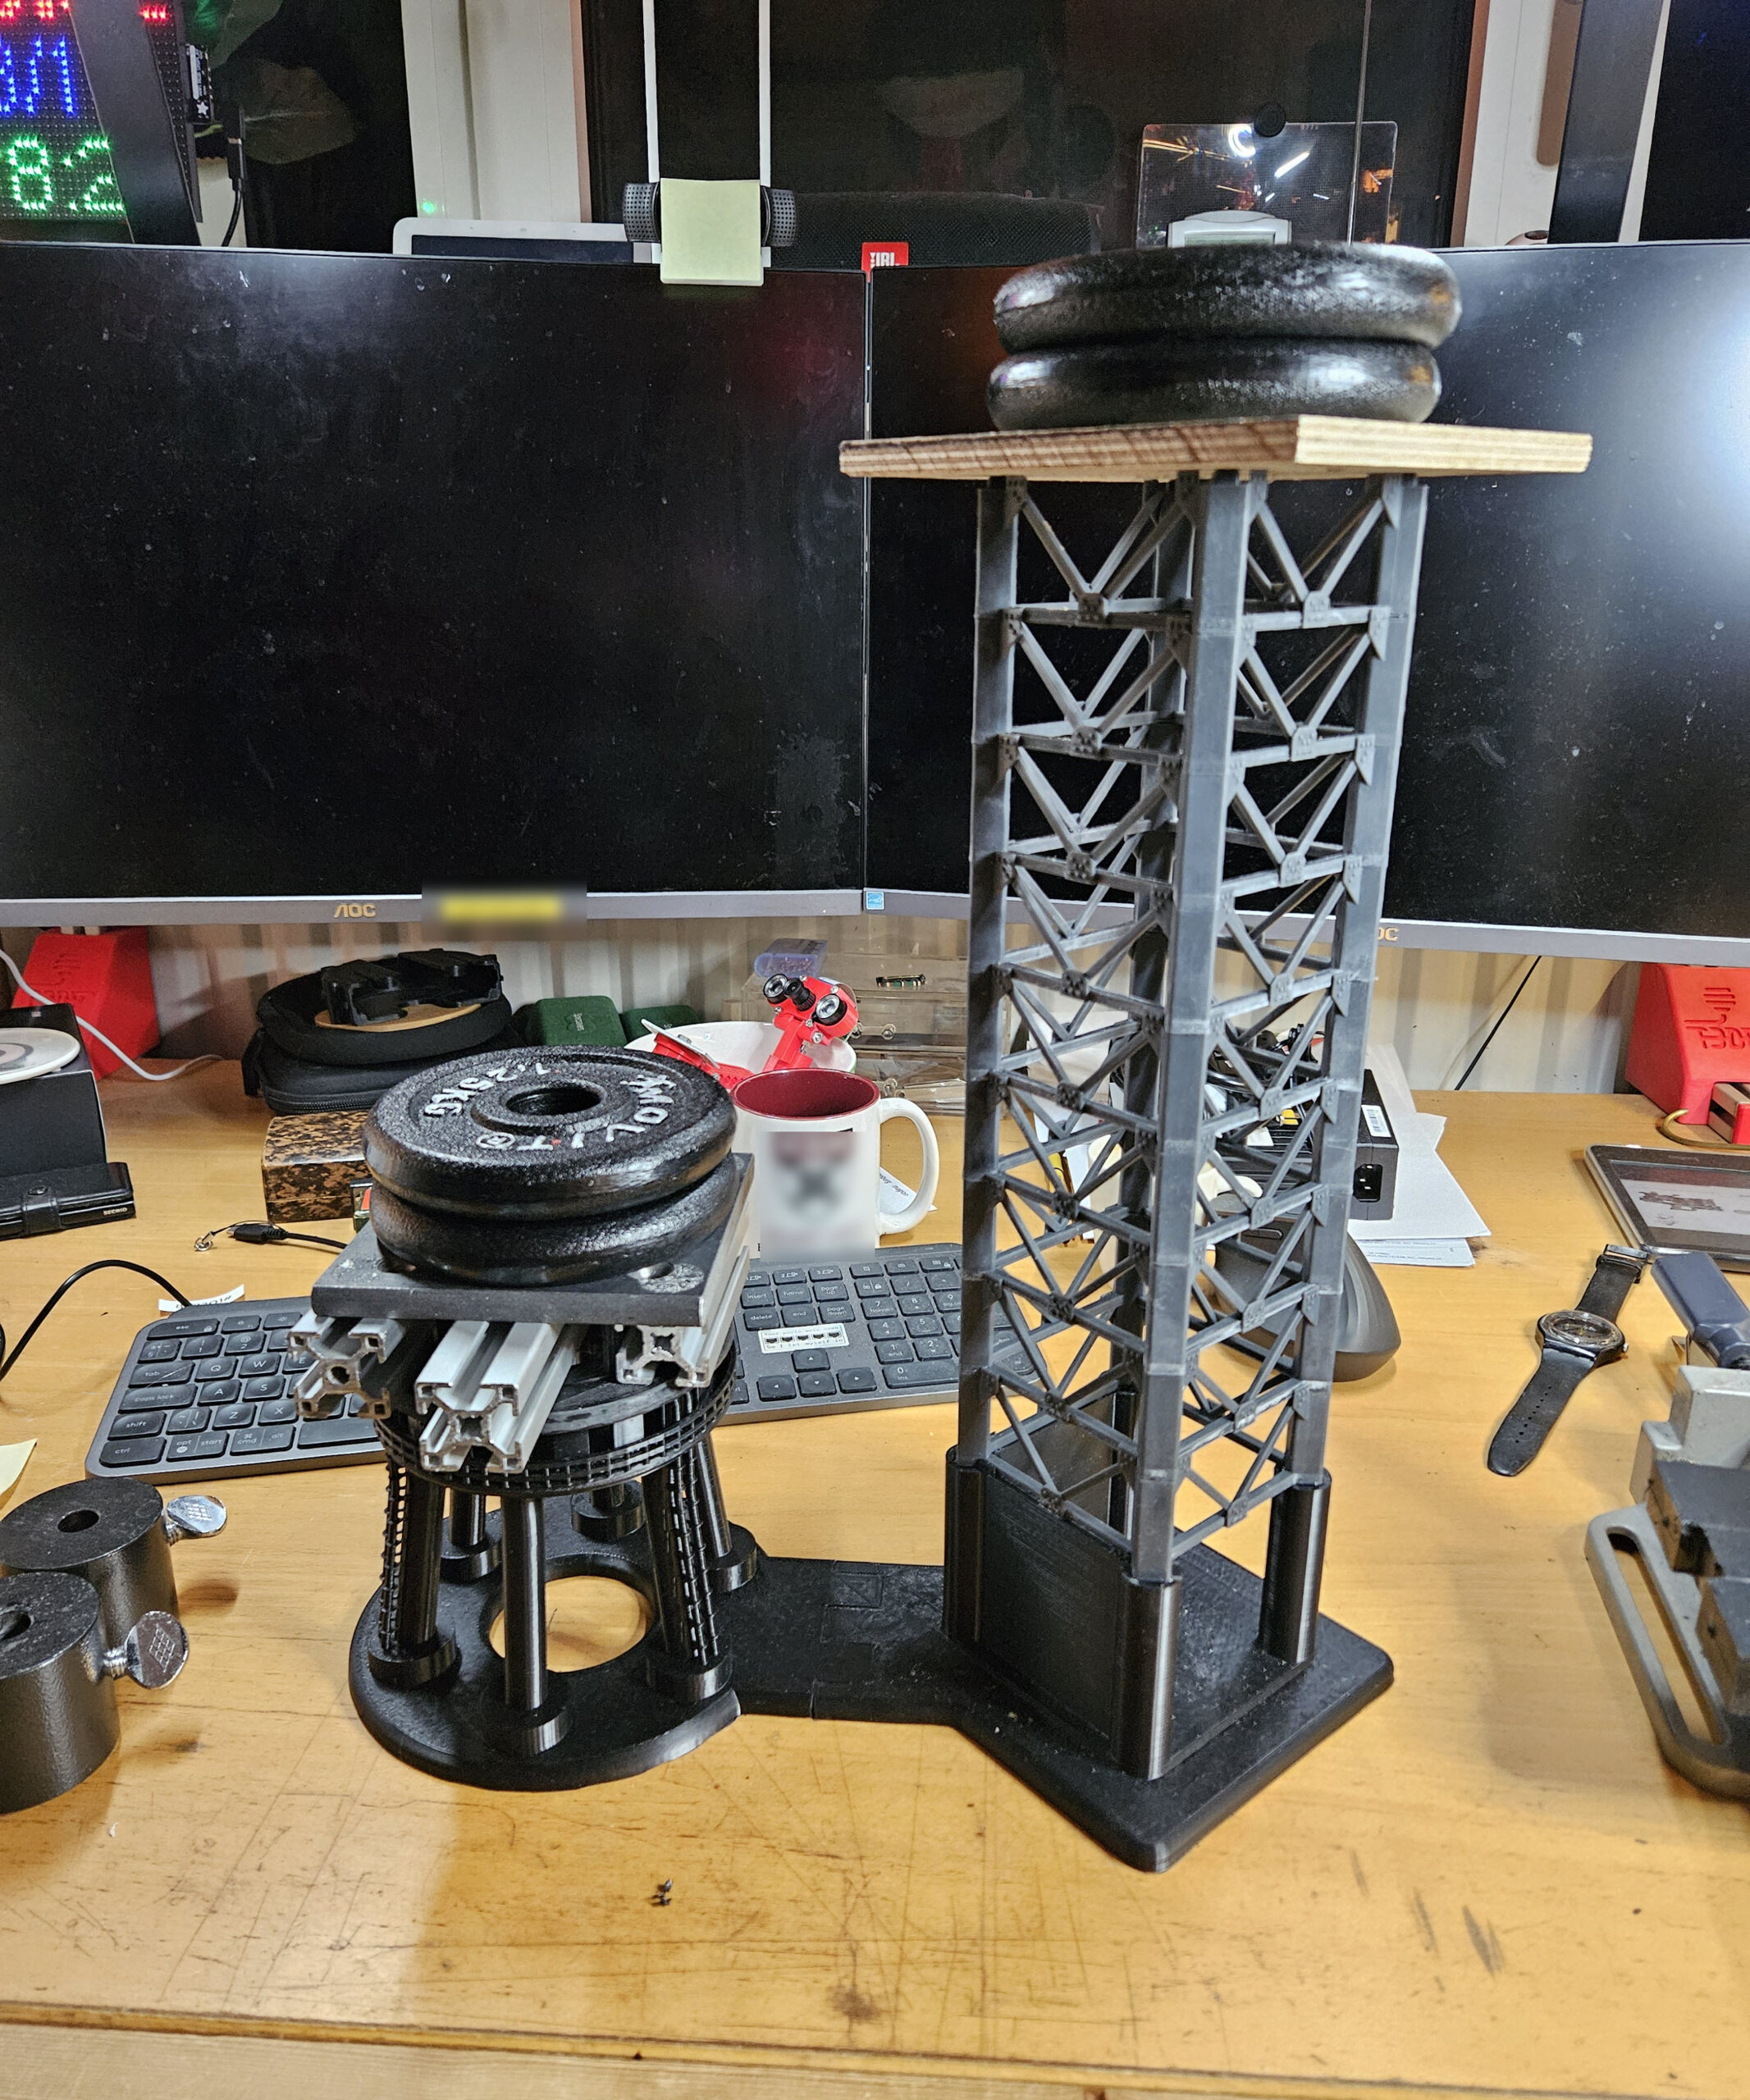
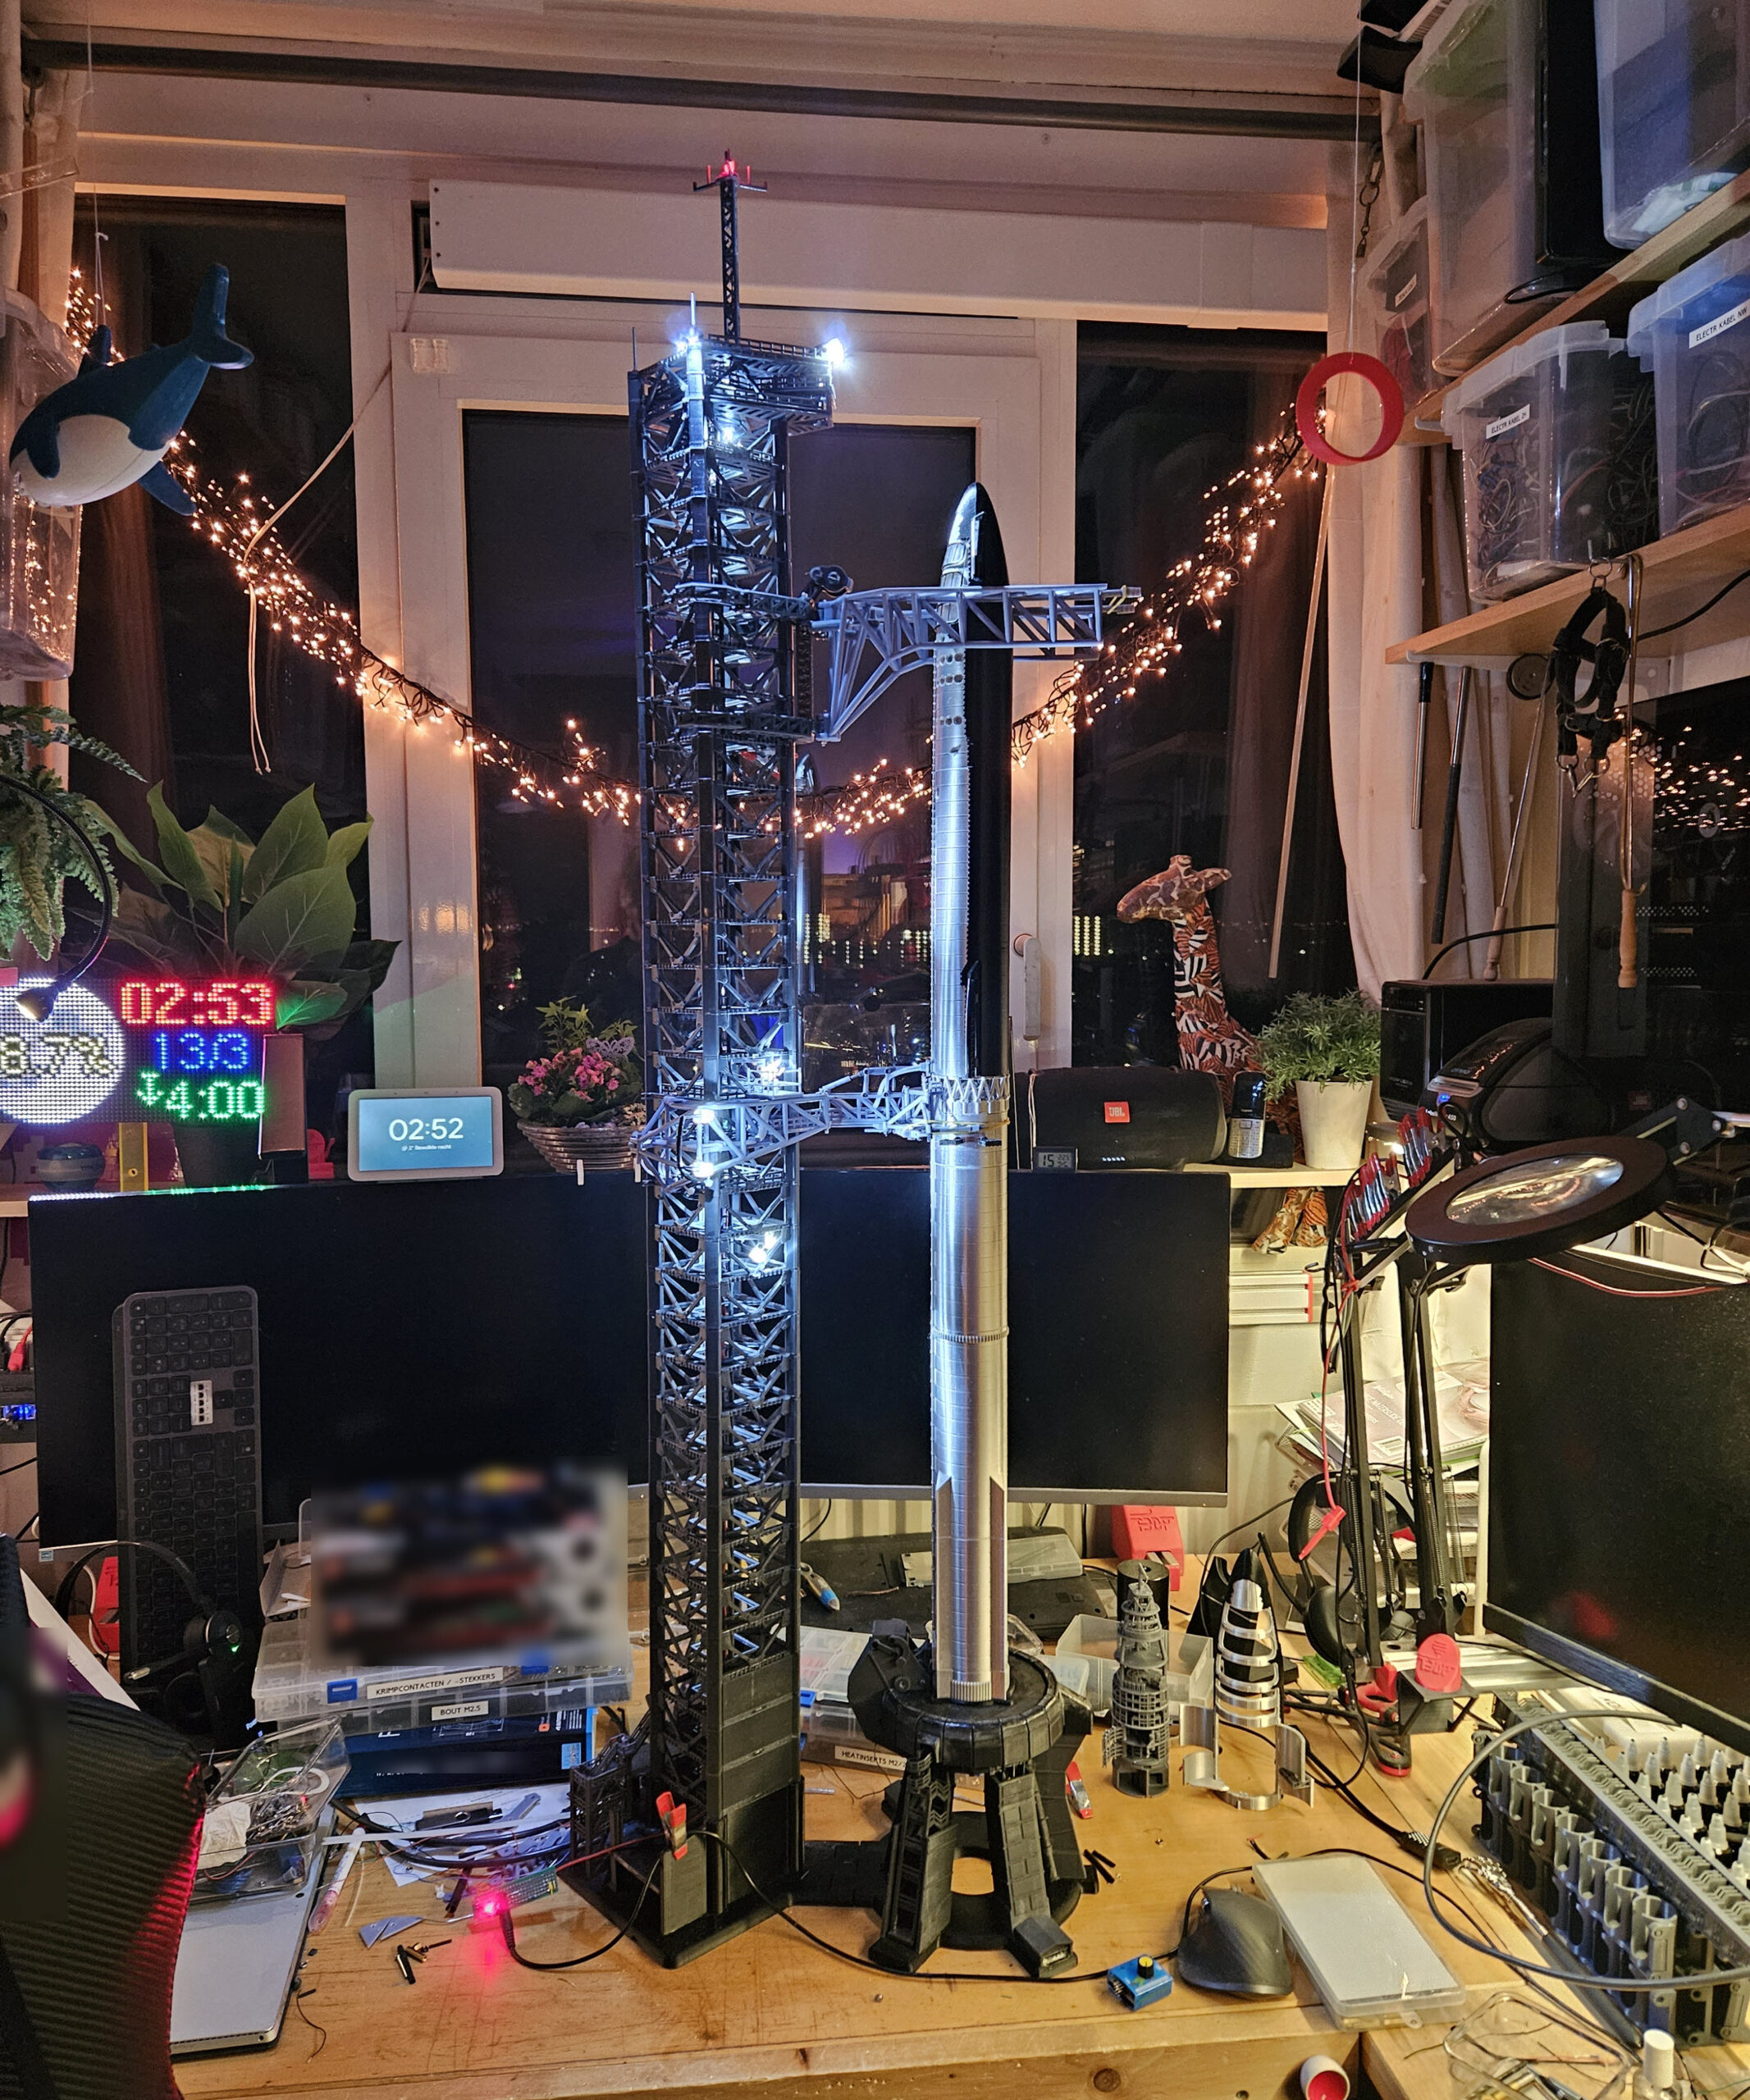
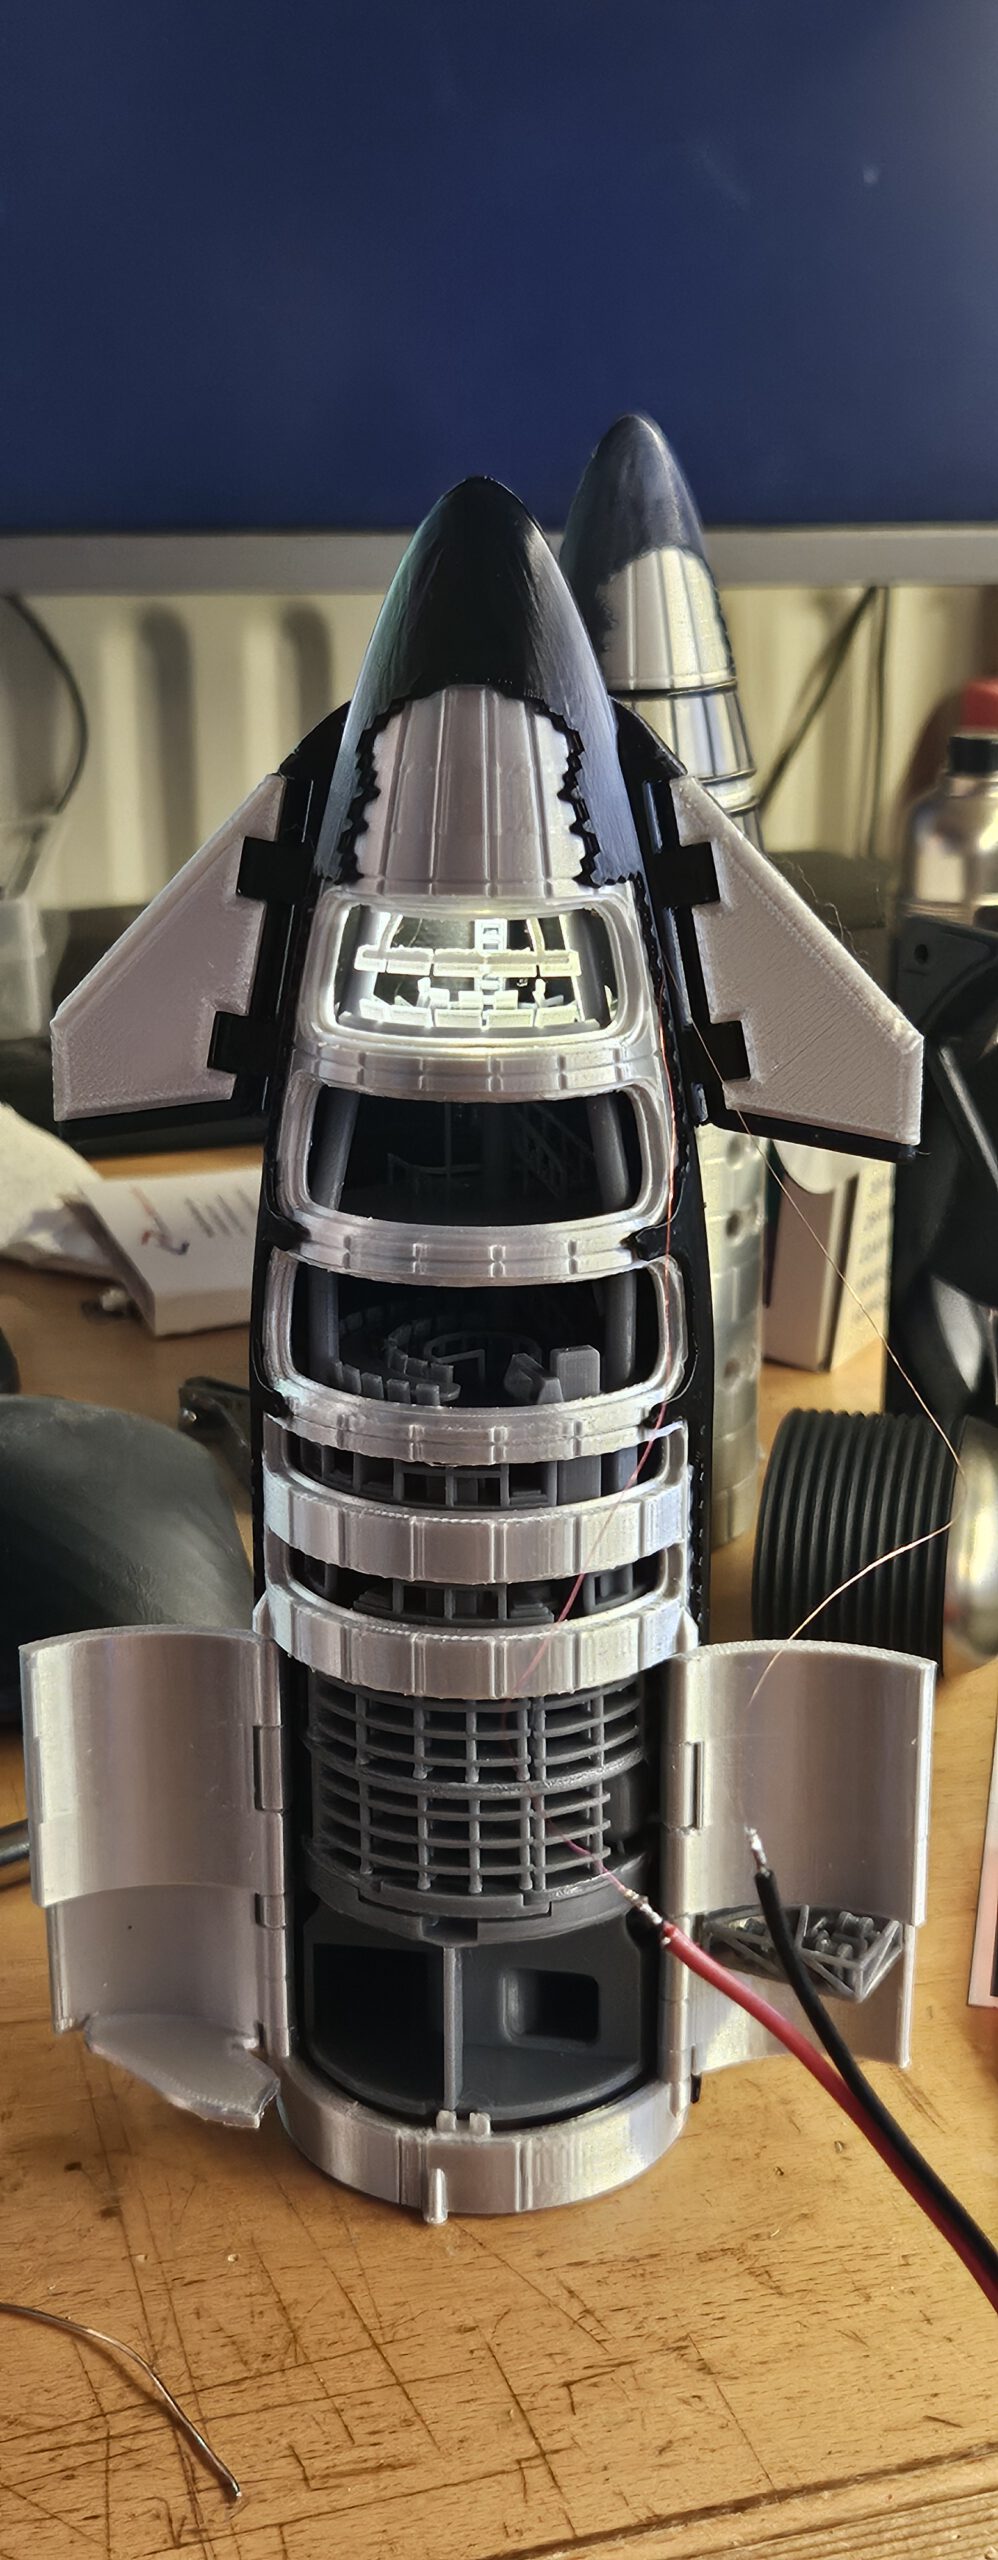
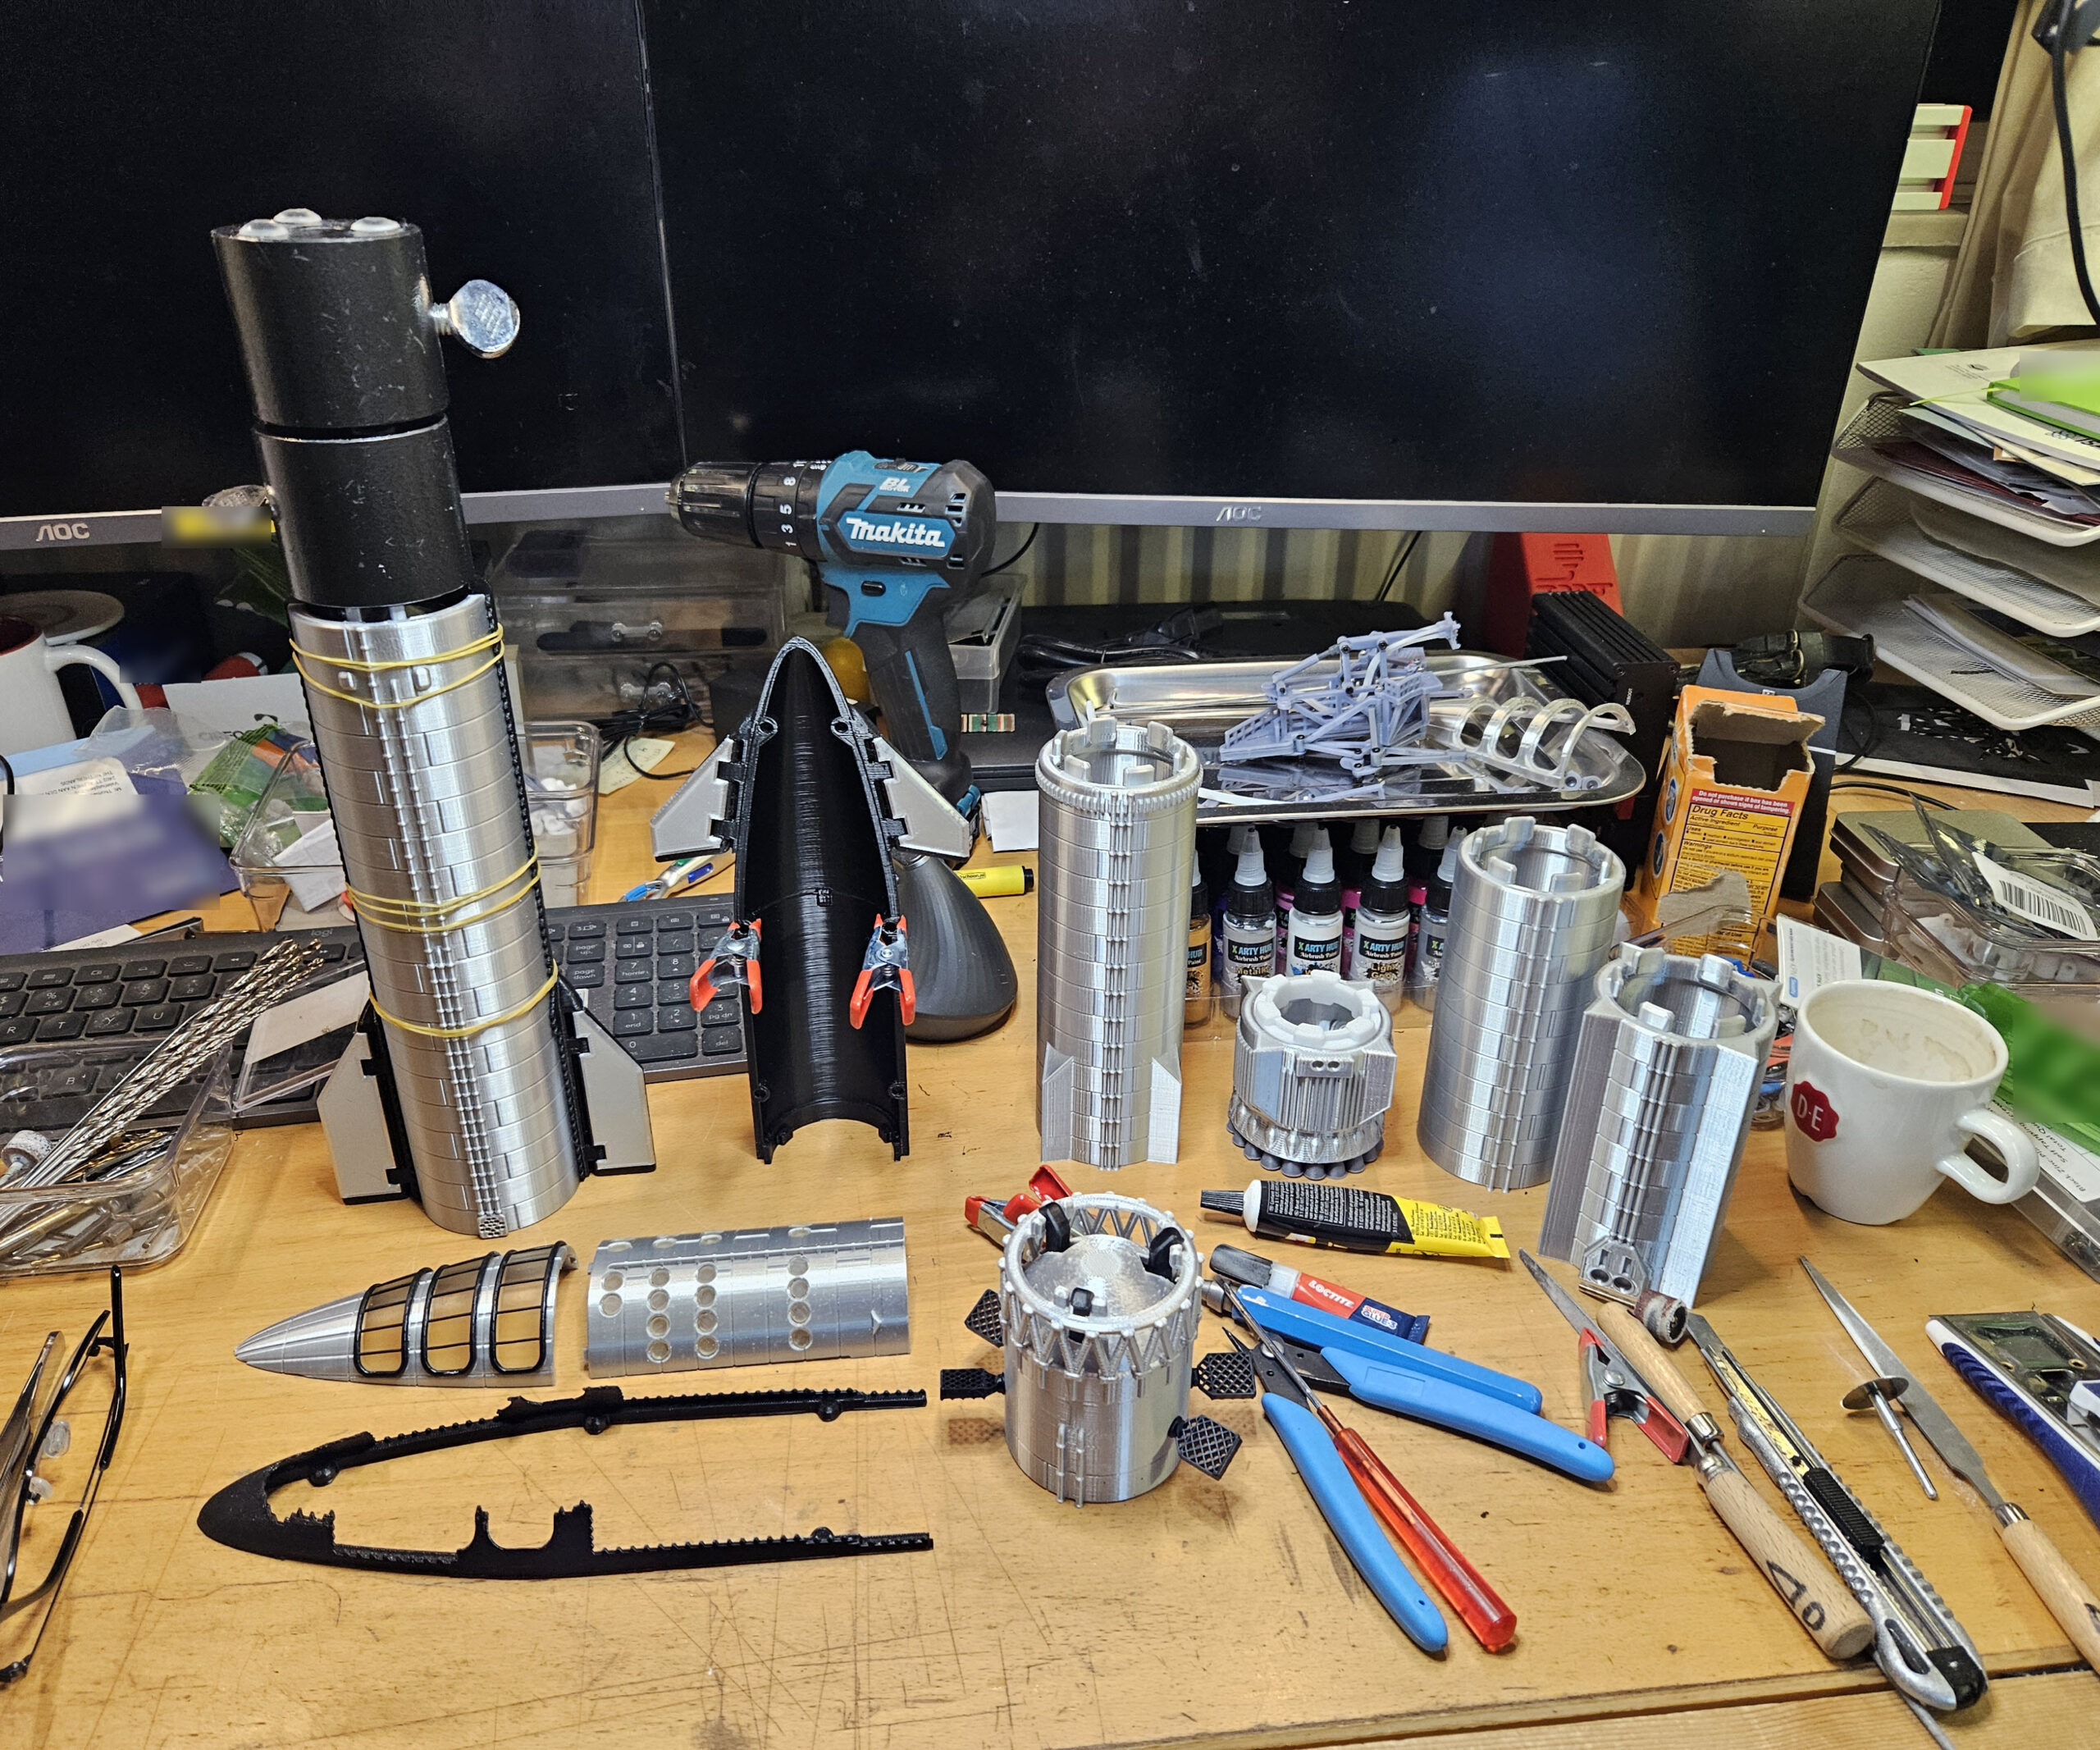
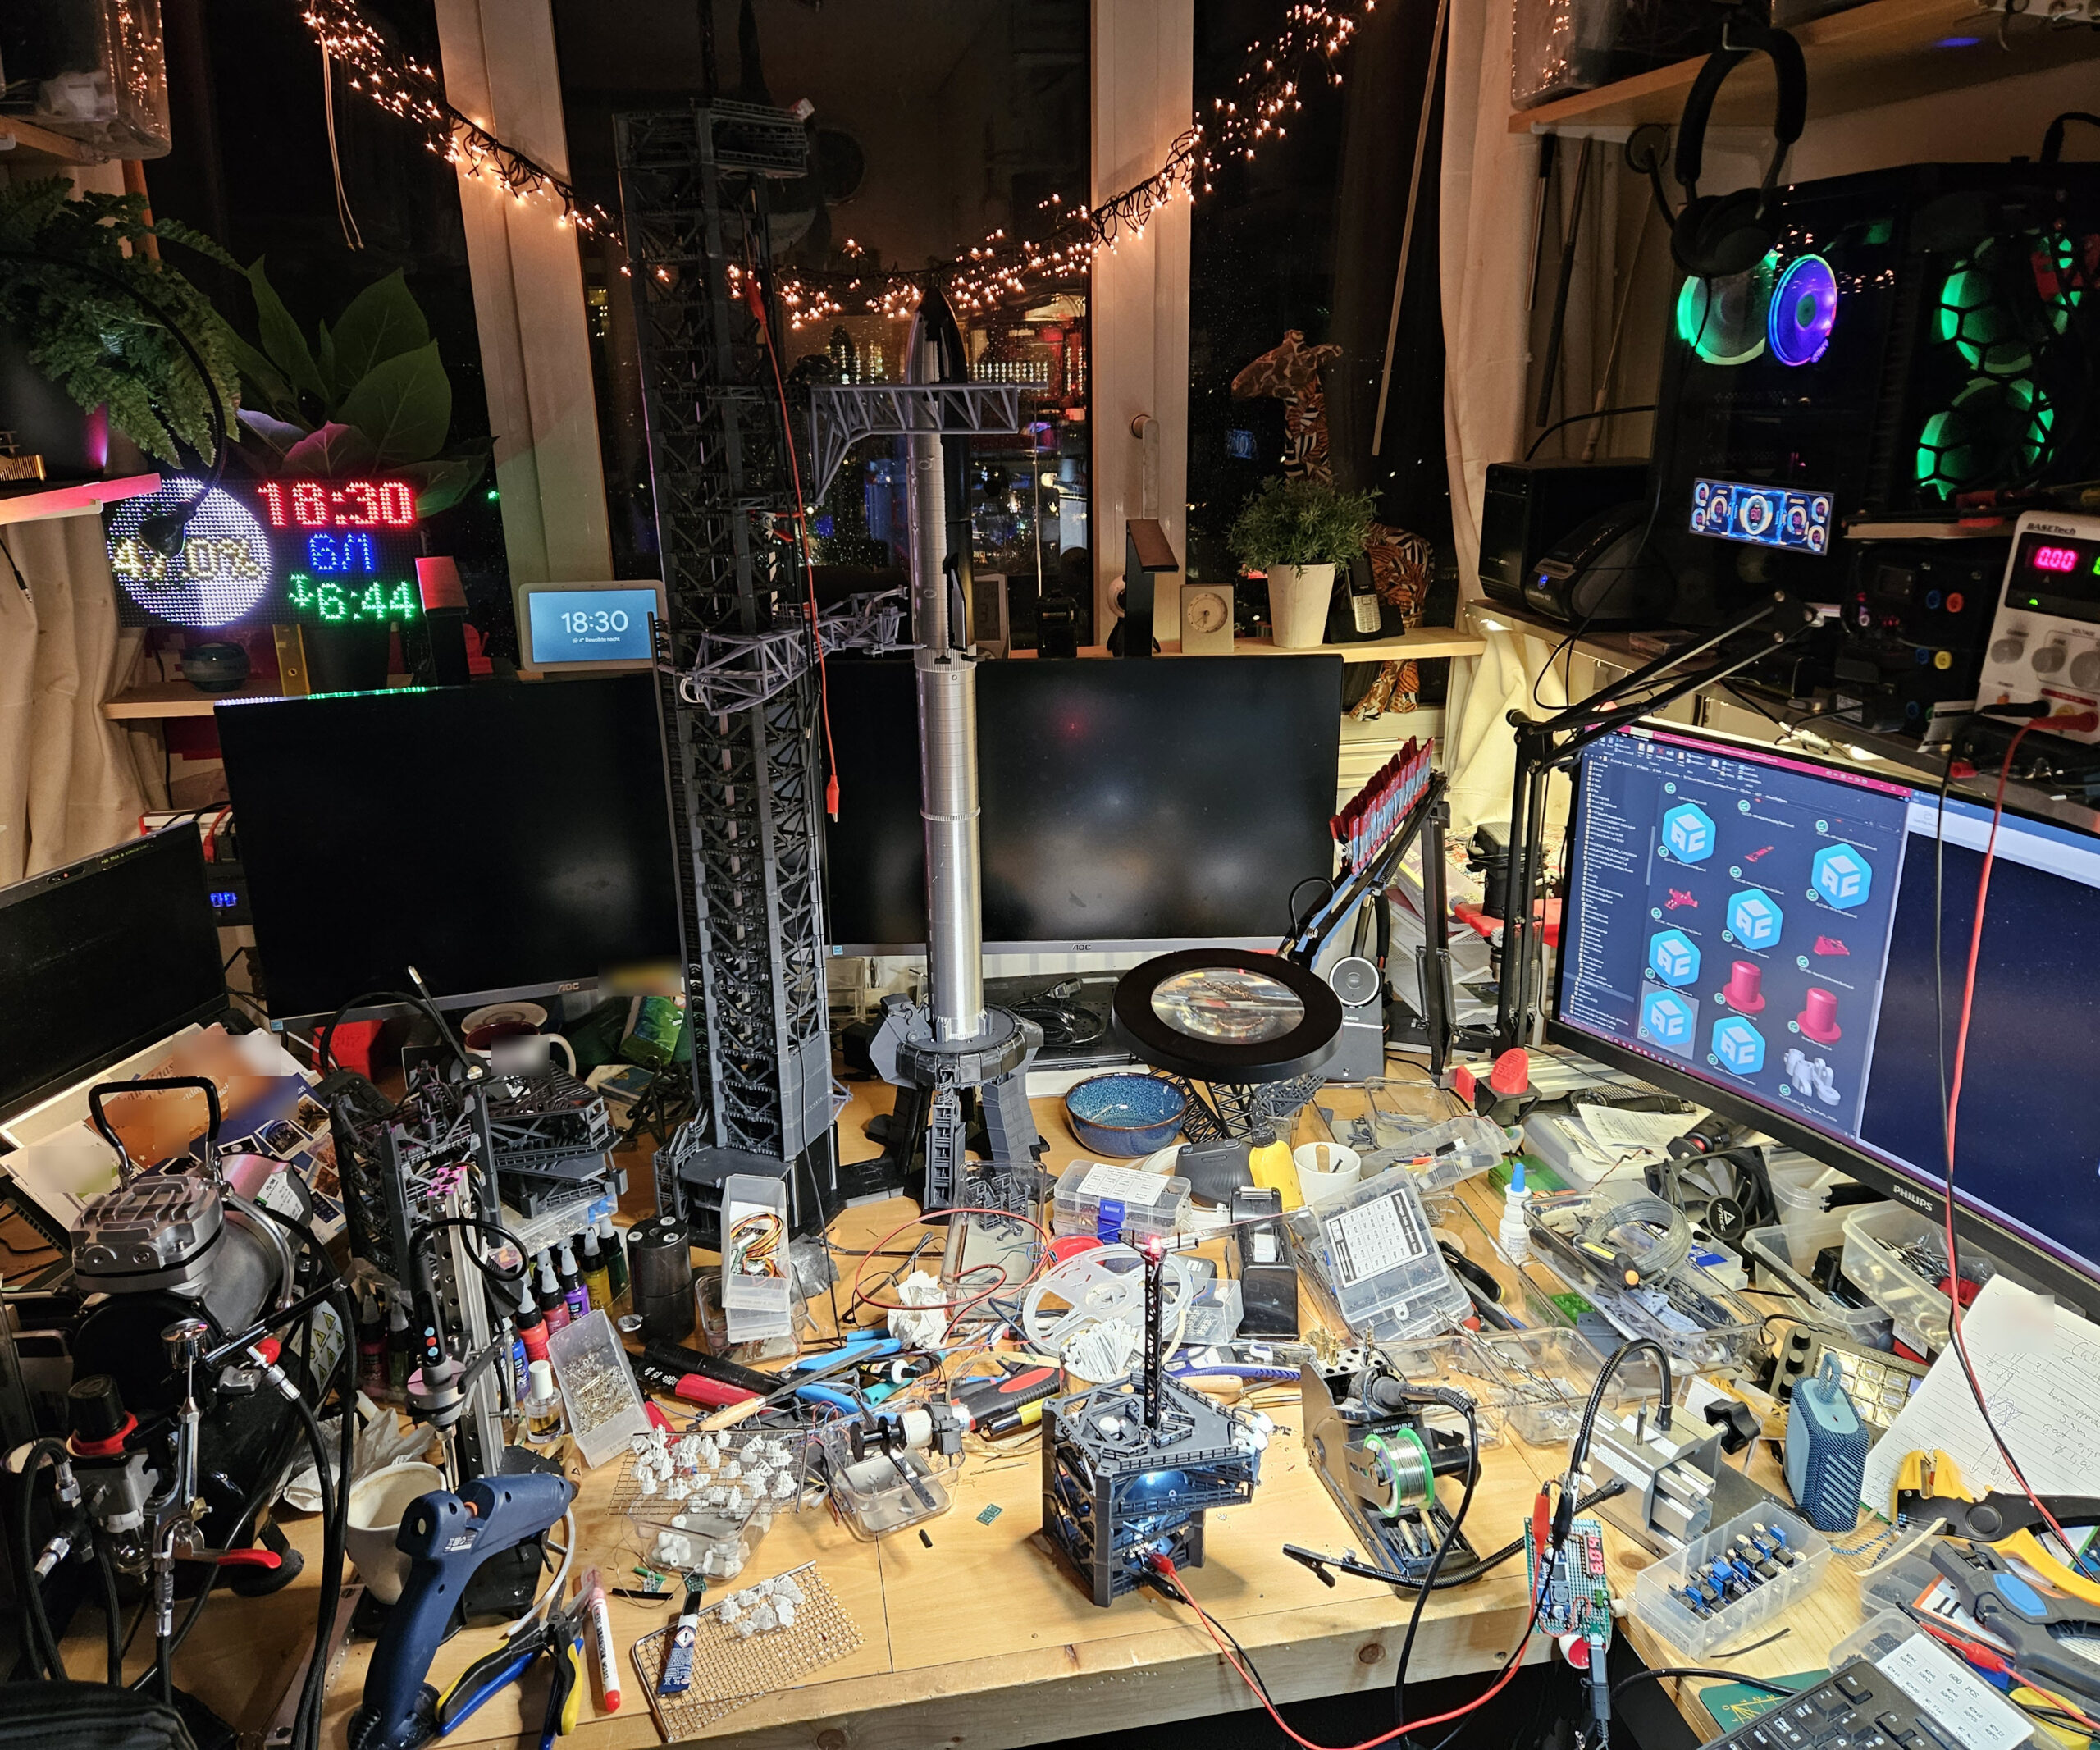
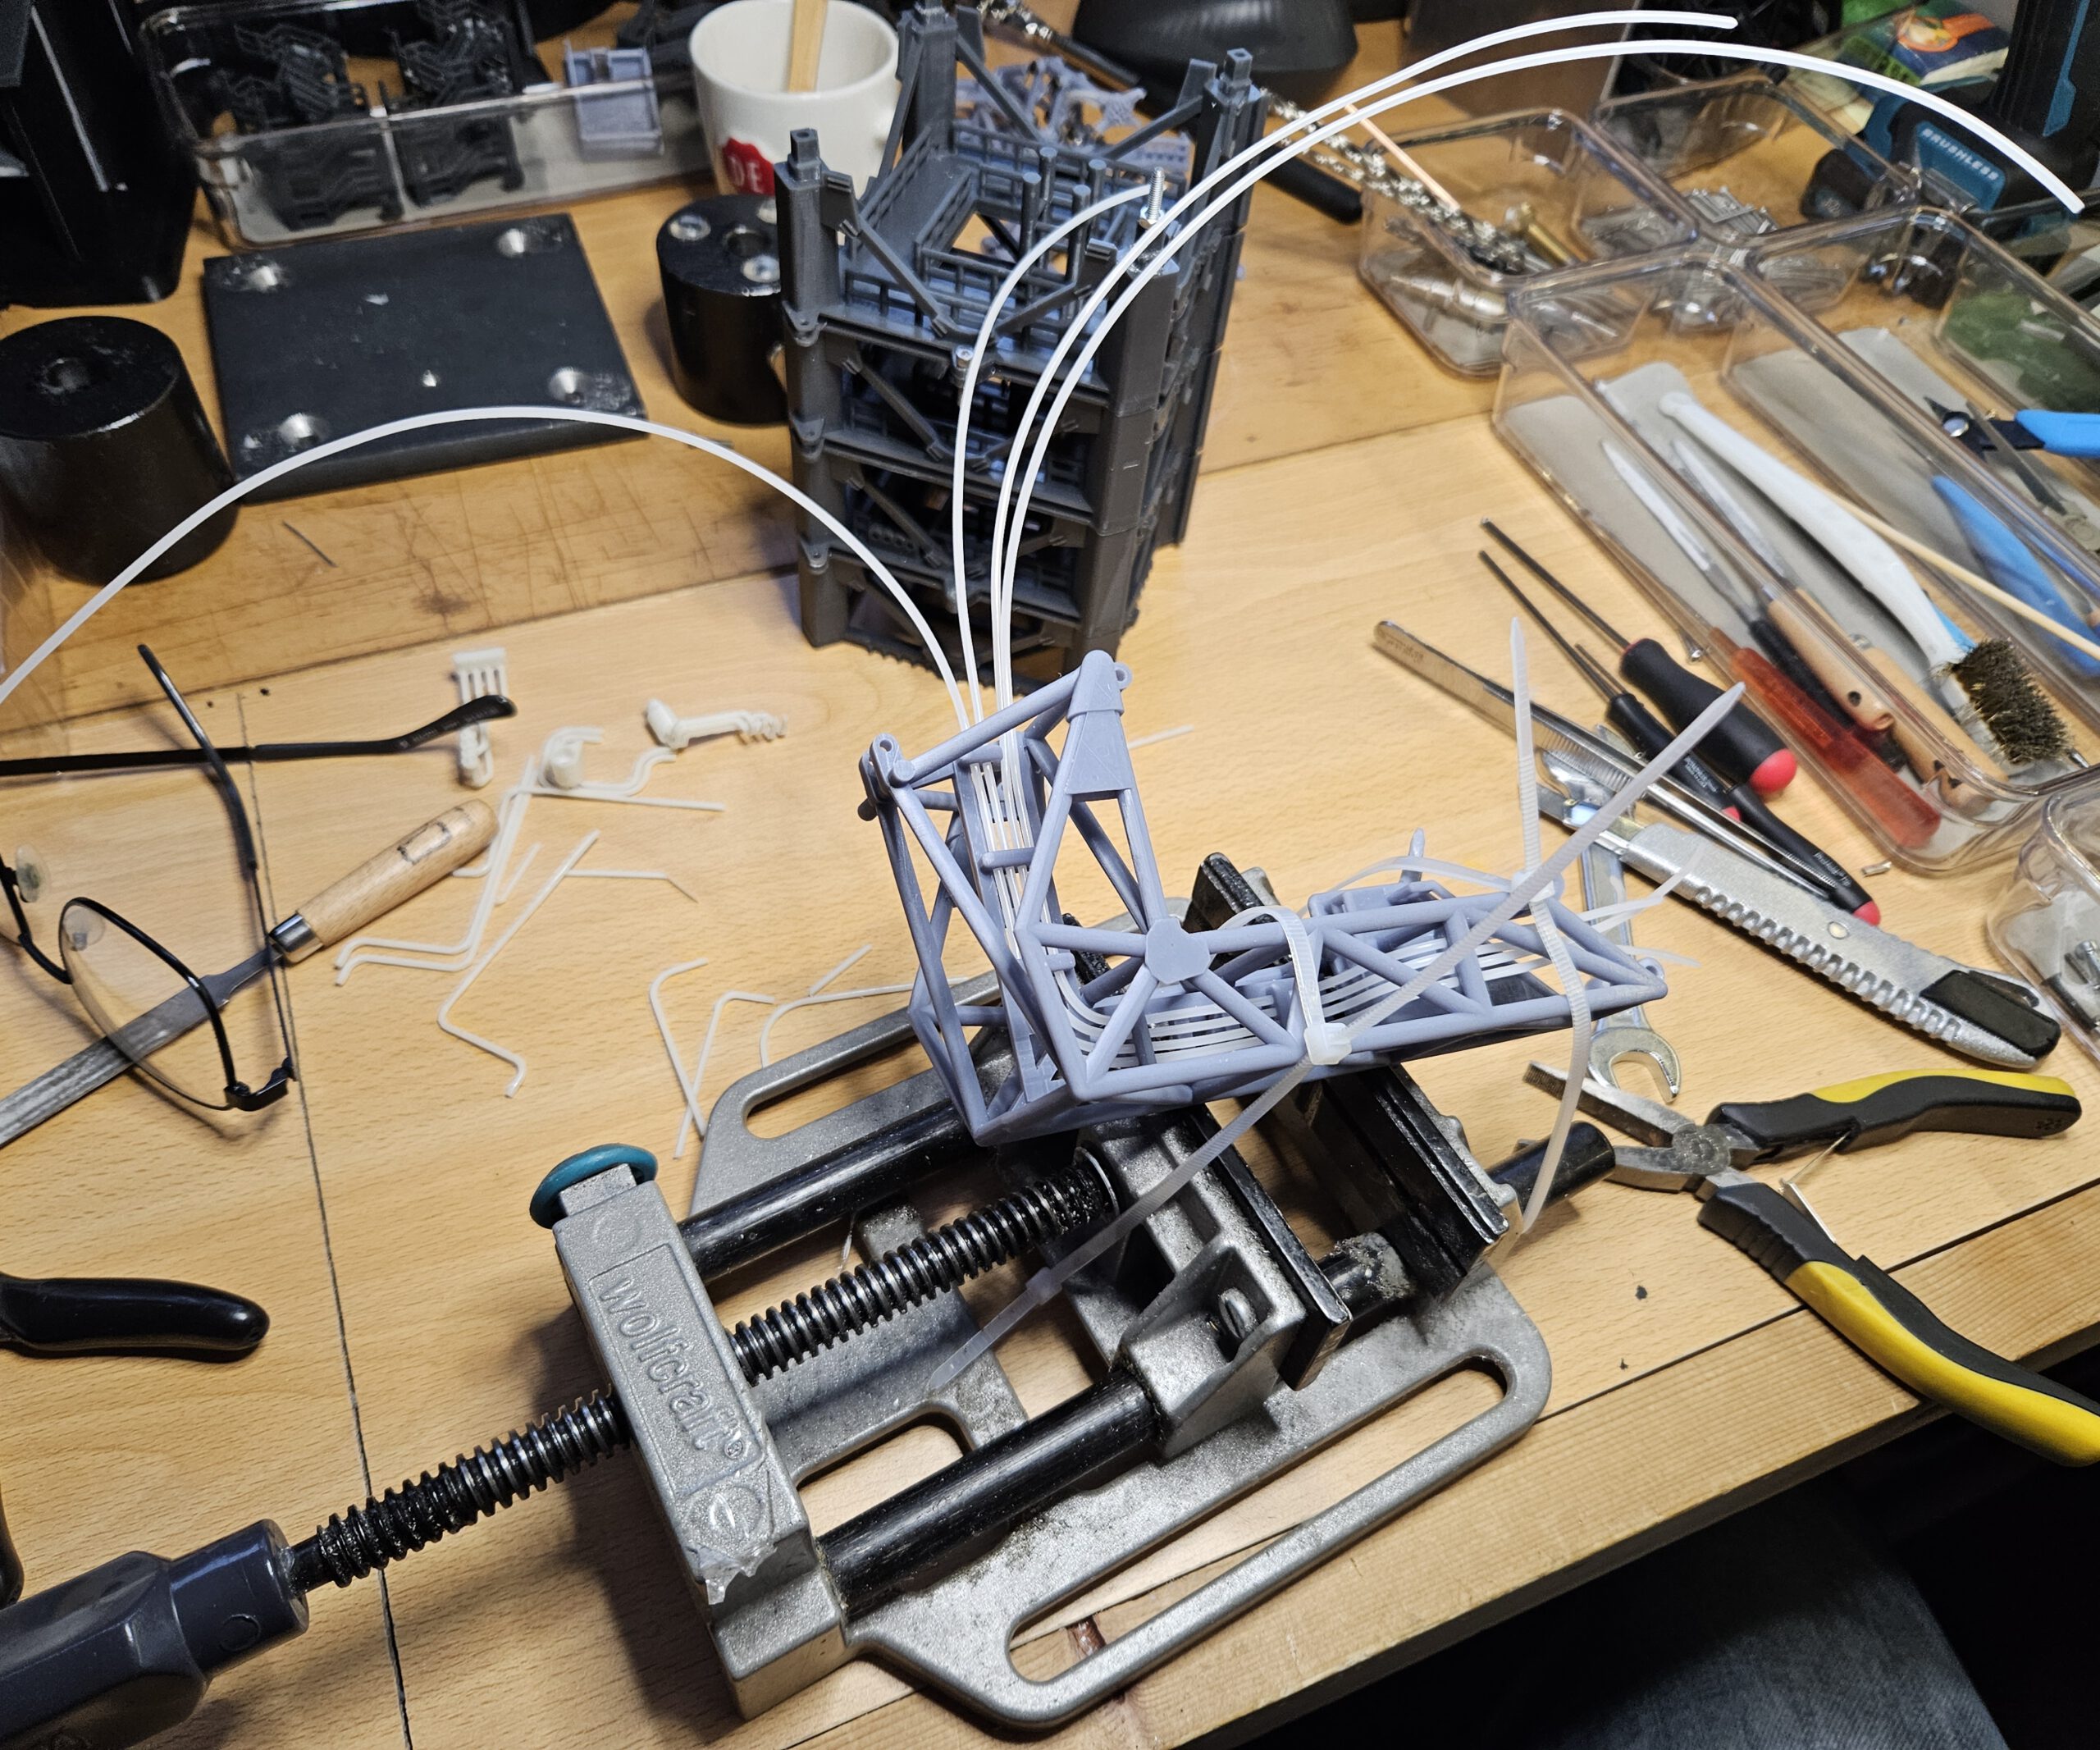
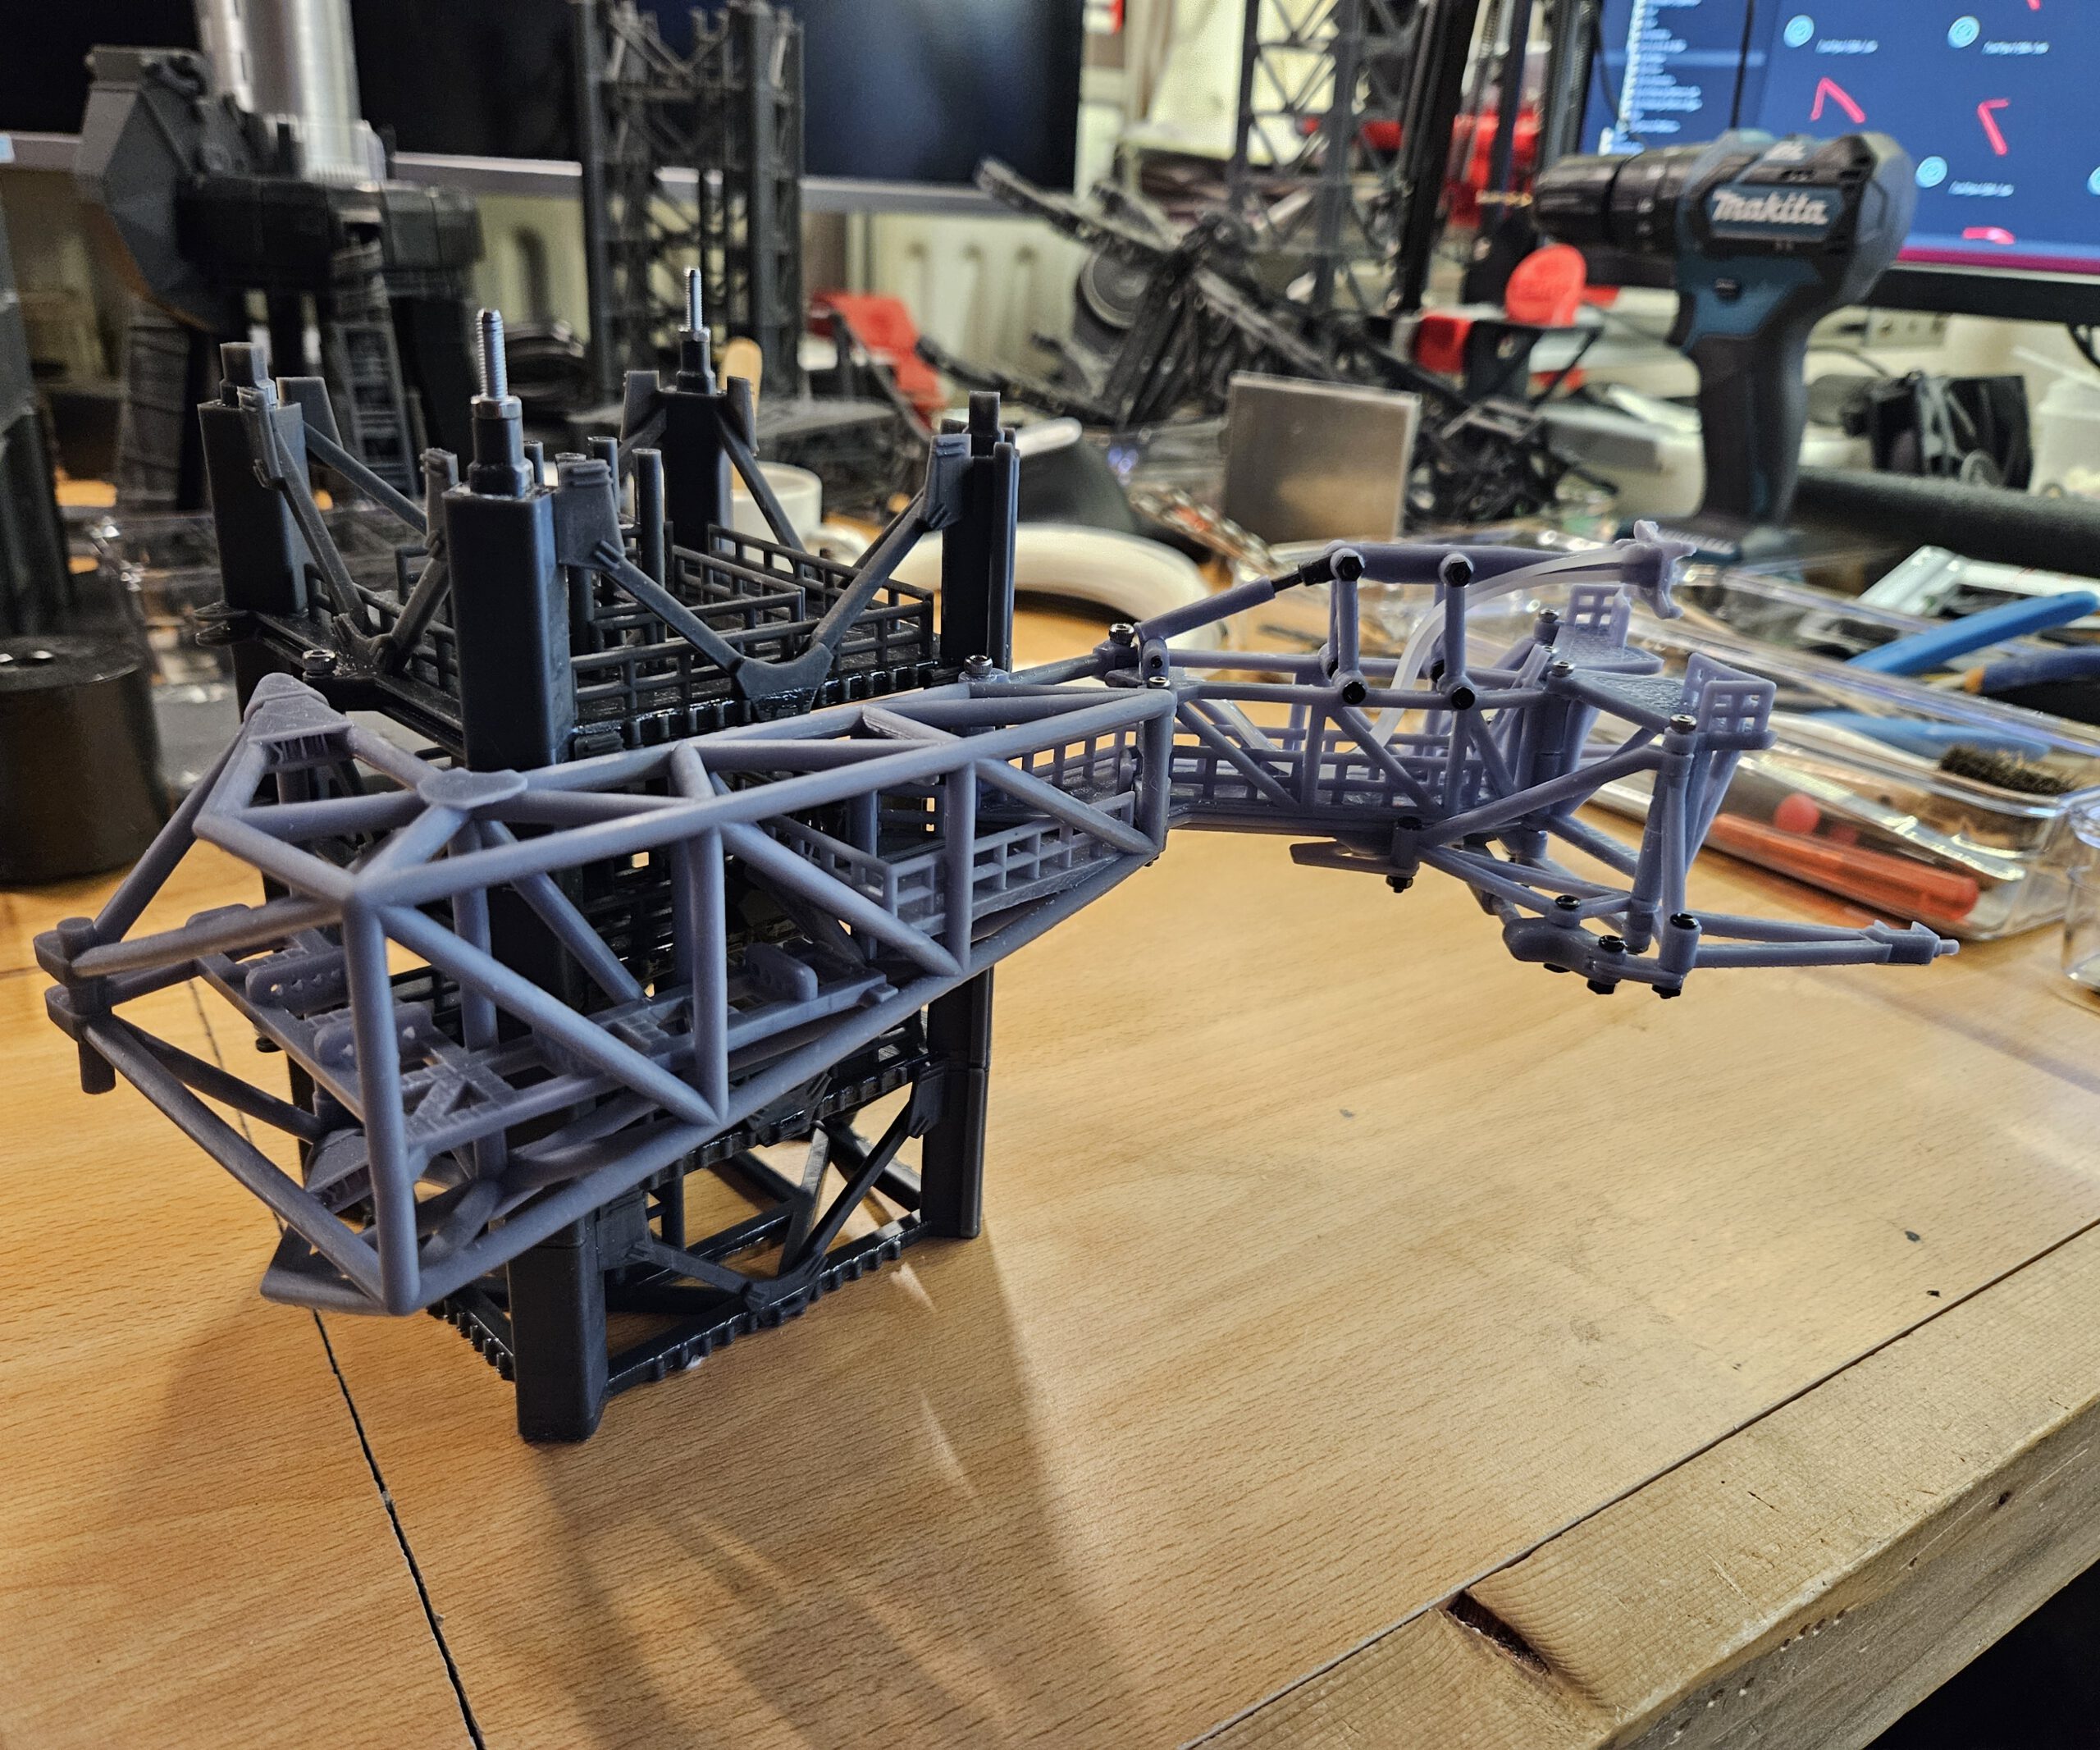
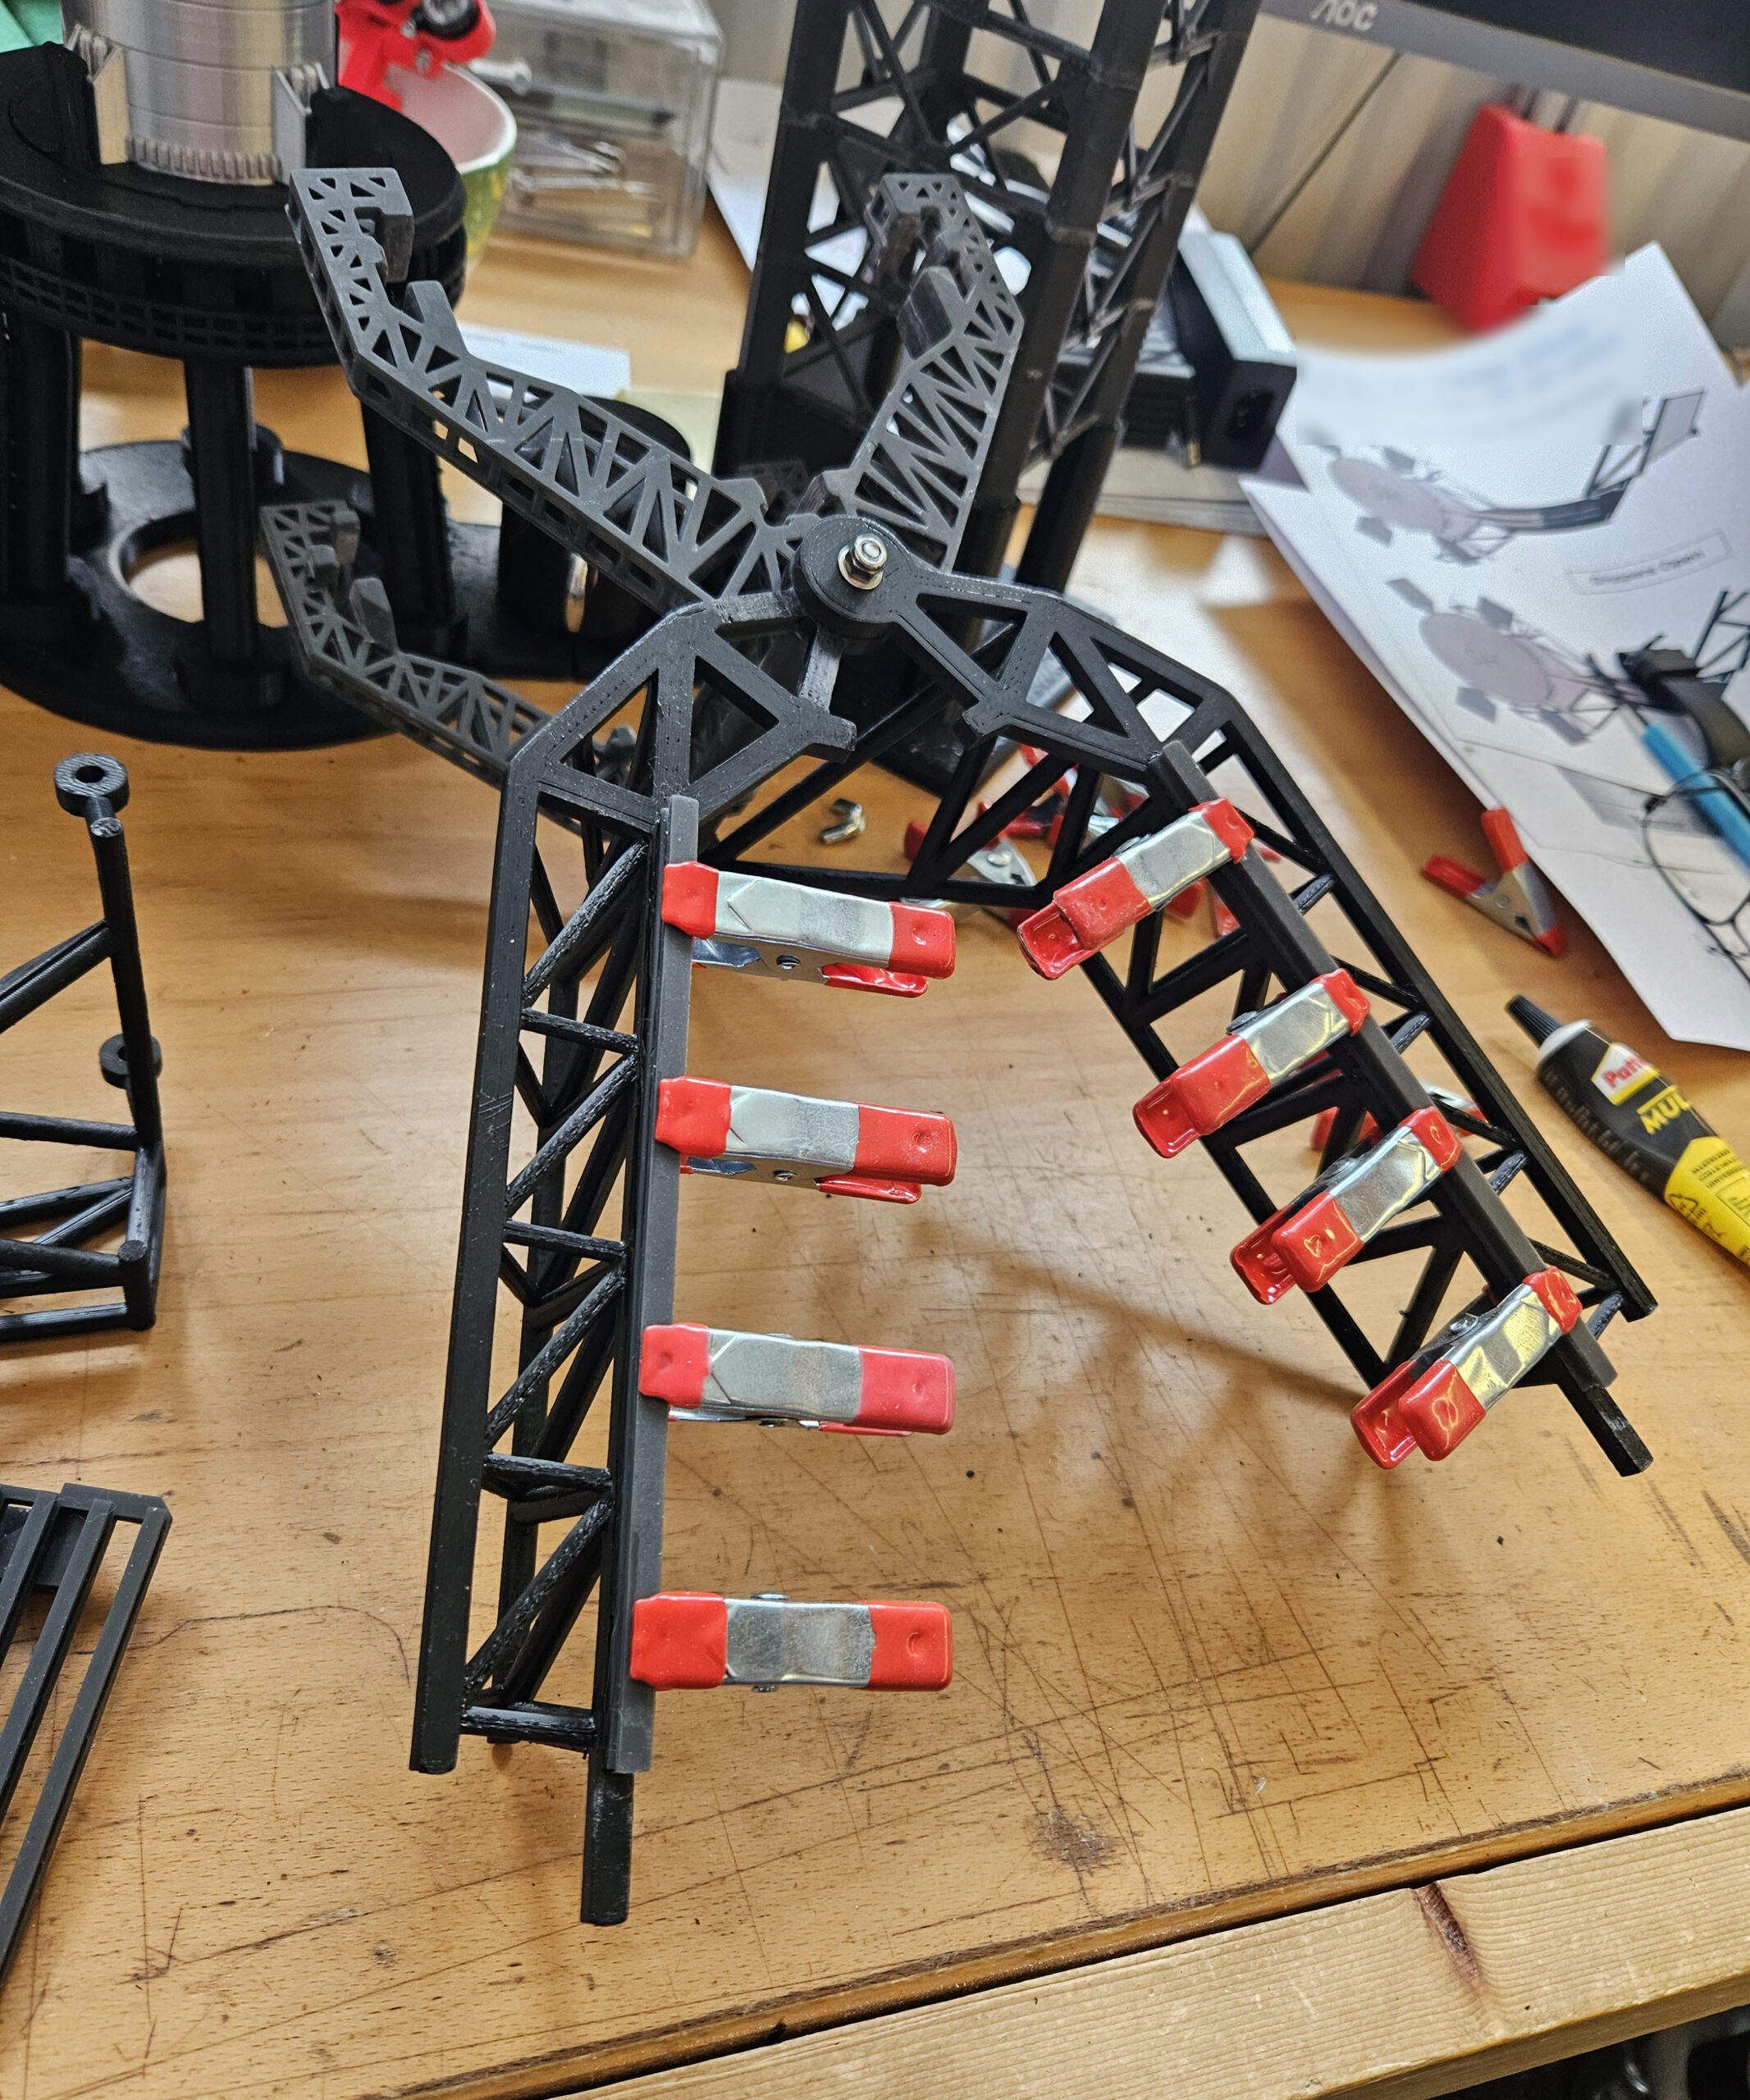
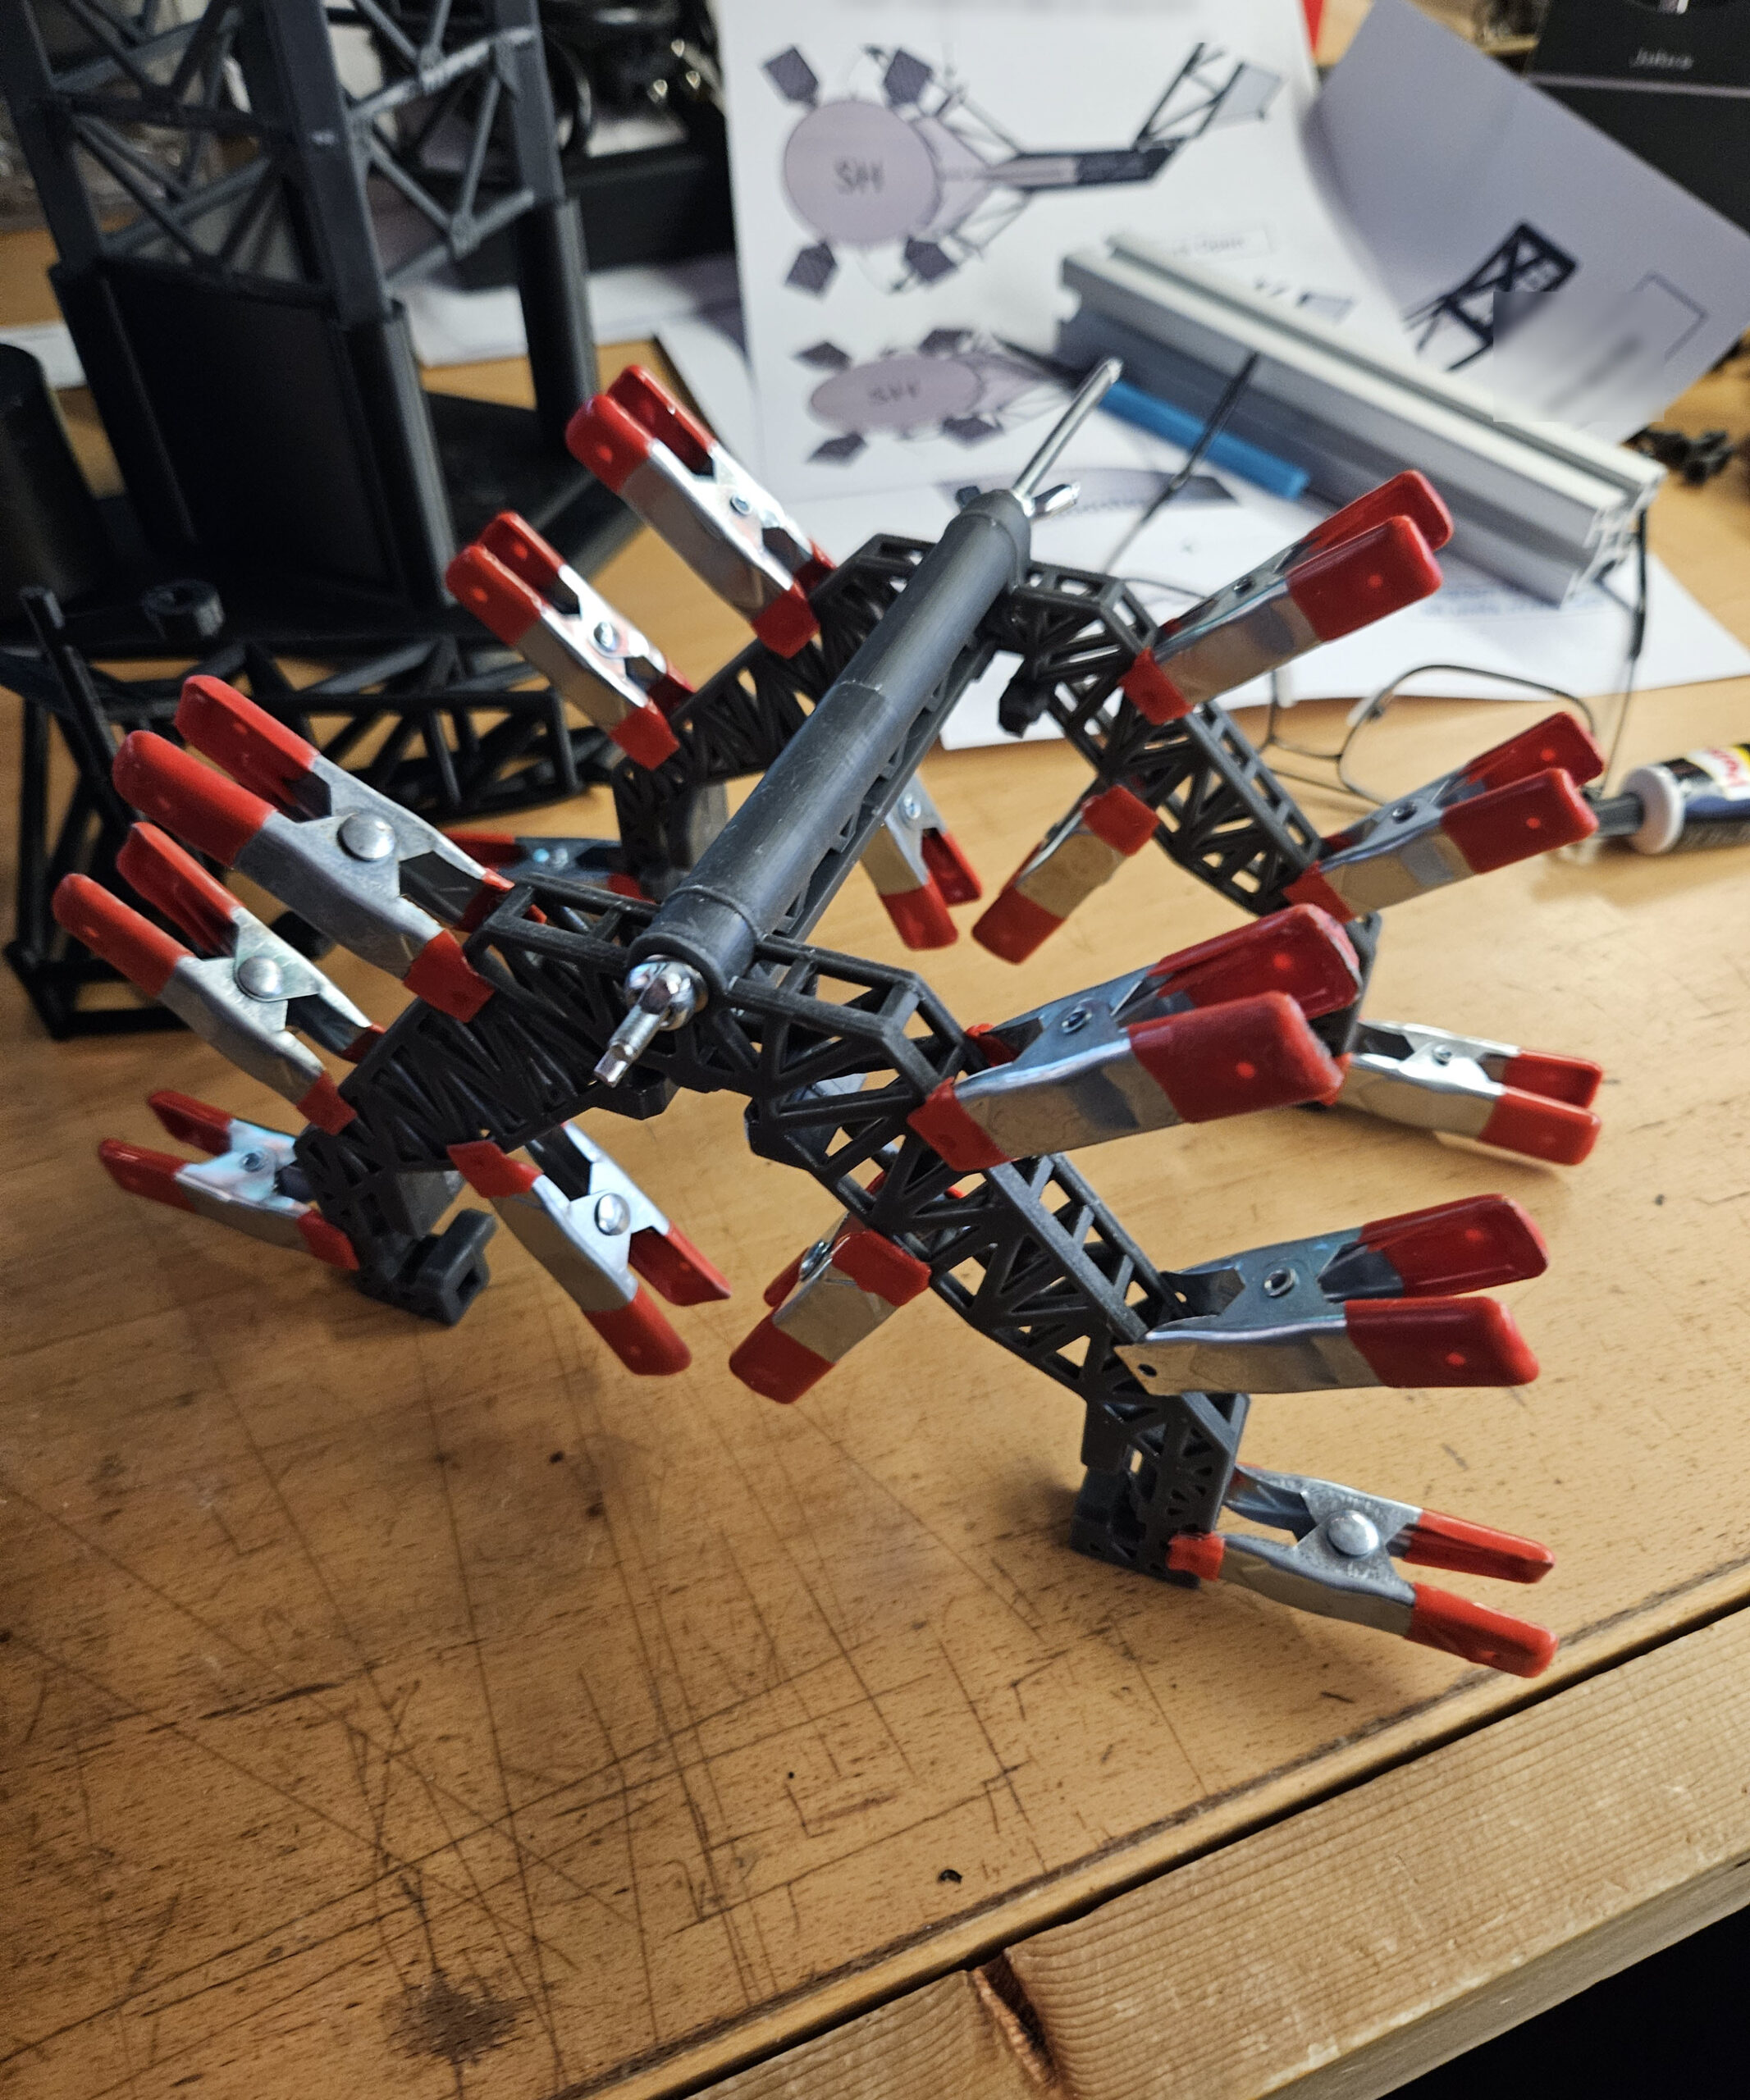
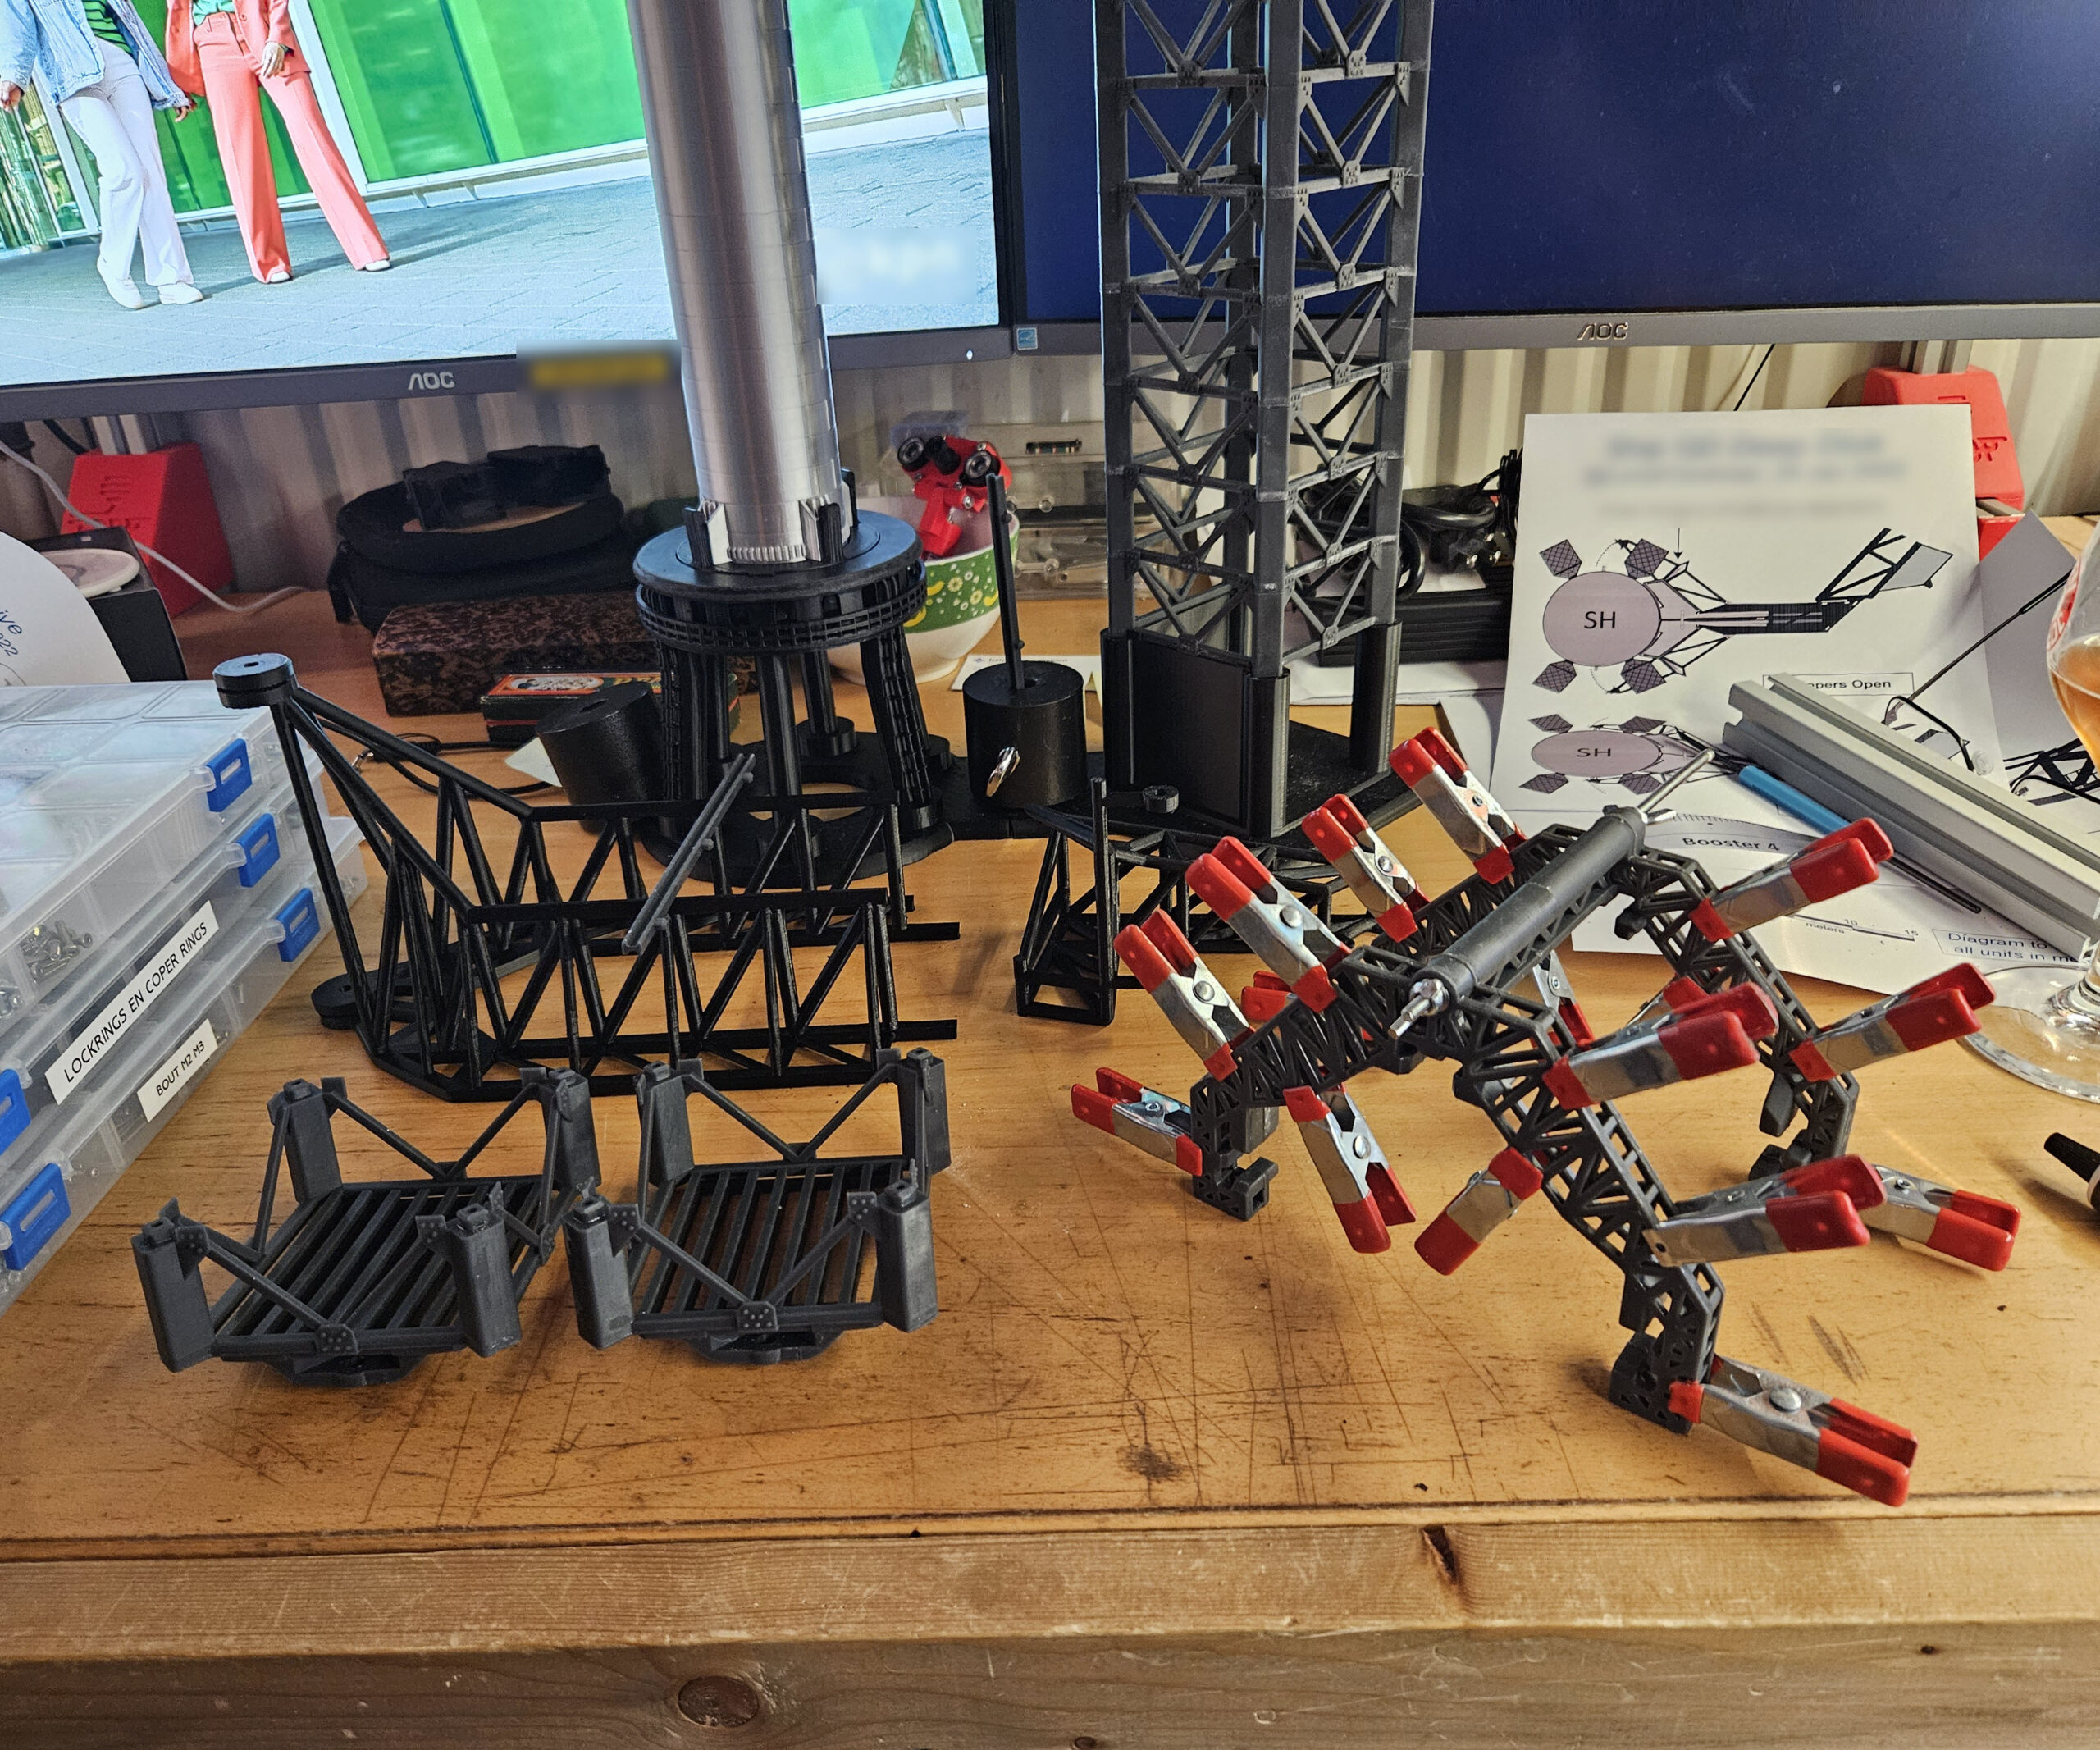
These photographs document the actual construction of the model. Over a period of roughly six months, hundreds of individually printed parts were produced, tested, redesigned and assembled into what eventually became a highly detailed representation of the Starship launch complex.
The pictures show various stages of the build, including tower sections, the Super Heavy booster, Starship, the moving chopsticks, the Quick Disconnect Arm, lighting systems, wiring and numerous test assemblies. Many components went through several iterations before achieving the desired combination of strength, detail and functionality.
The model itself has been finished for well over six months. Only now have I finally found the time to start documenting the project properly and give it the place it deserves on this website. These photographs are therefore intended both as a preview and as a way to add some substance to what is still a relatively new website.
A complete project write-up is coming soon.
Over the coming months, this page will be expanded with a detailed build log, technical information, close-up photographs and practical tips for those who would like to build their own version.
This Starship tower is only the beginning. My intention is to gradually document and publish all of the projects I have created over the past six to seven years, turning this website into a showcase of the things I design and build.
Every project will be accompanied by detailed design notes, construction logs and assembly instructions. In addition, all STL files and any other data required to reproduce my designs will eventually be made available for download, allowing others to build and modify the projects themselves.
So, if you enjoy making things, feel free to bookmark this site and drop by from time to time. There is much more to come.
Custom-built storage solutions for tools, wire and all the other stuff that somehow keeps multiplying.
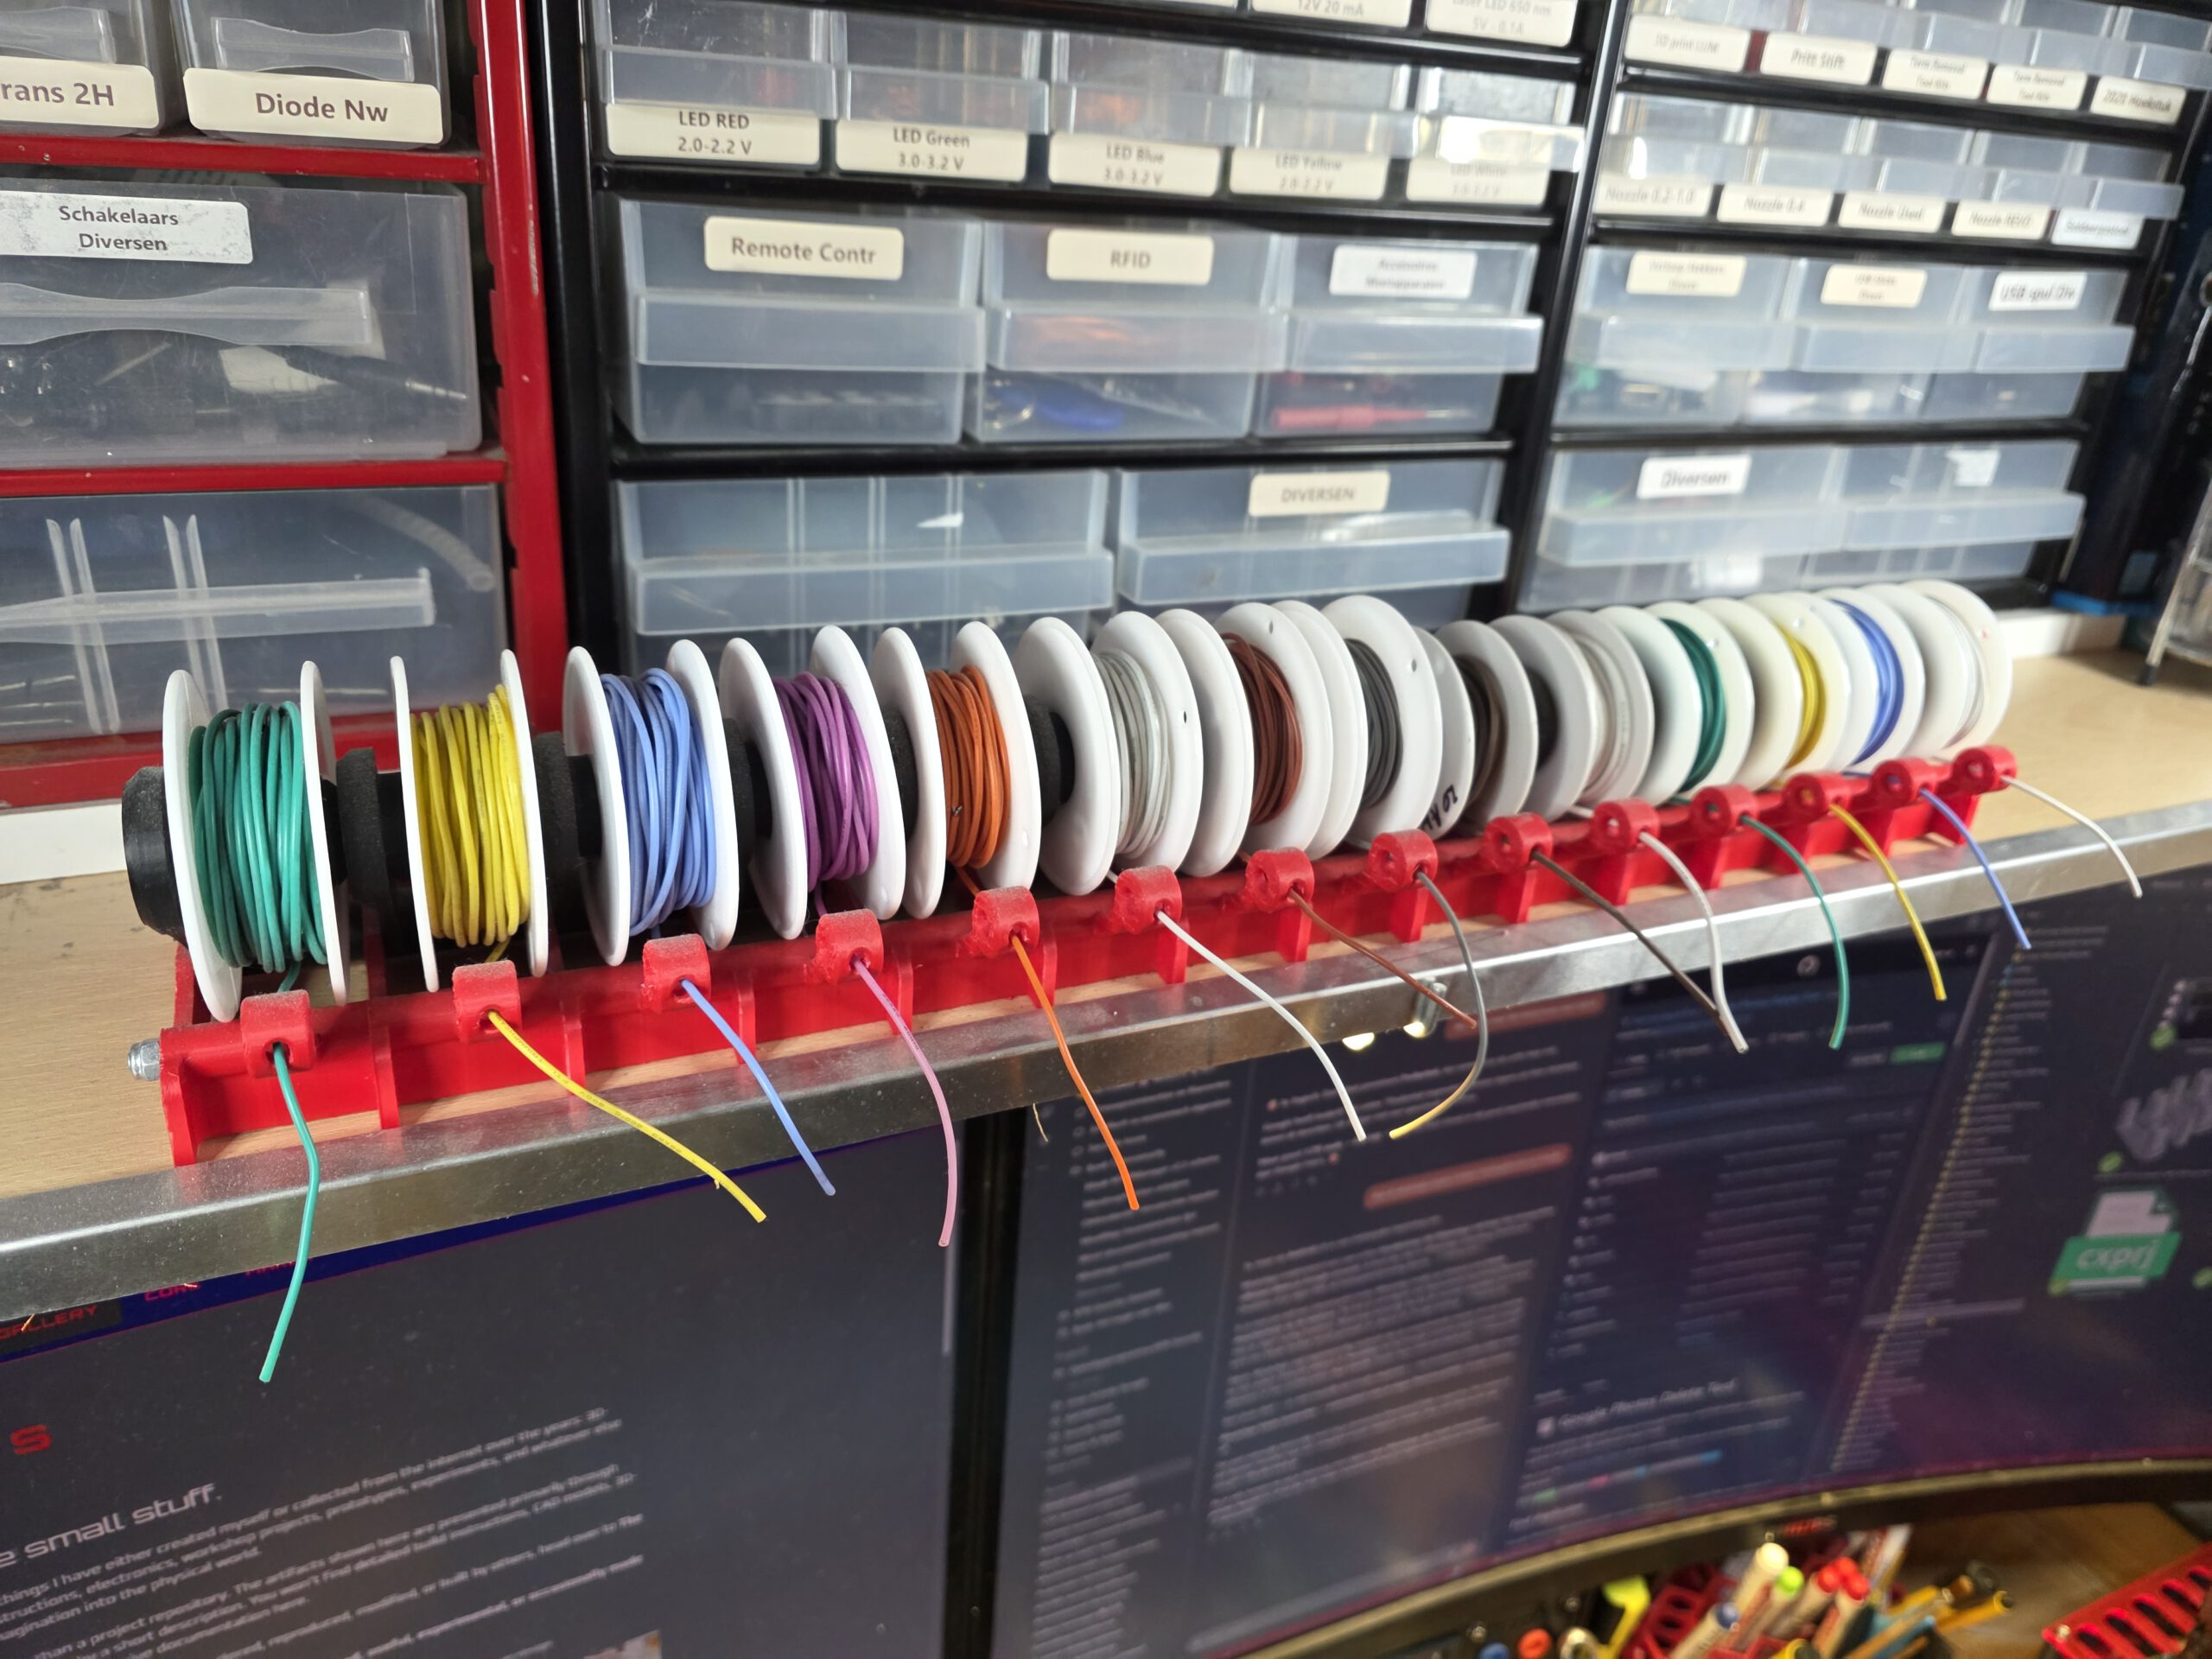
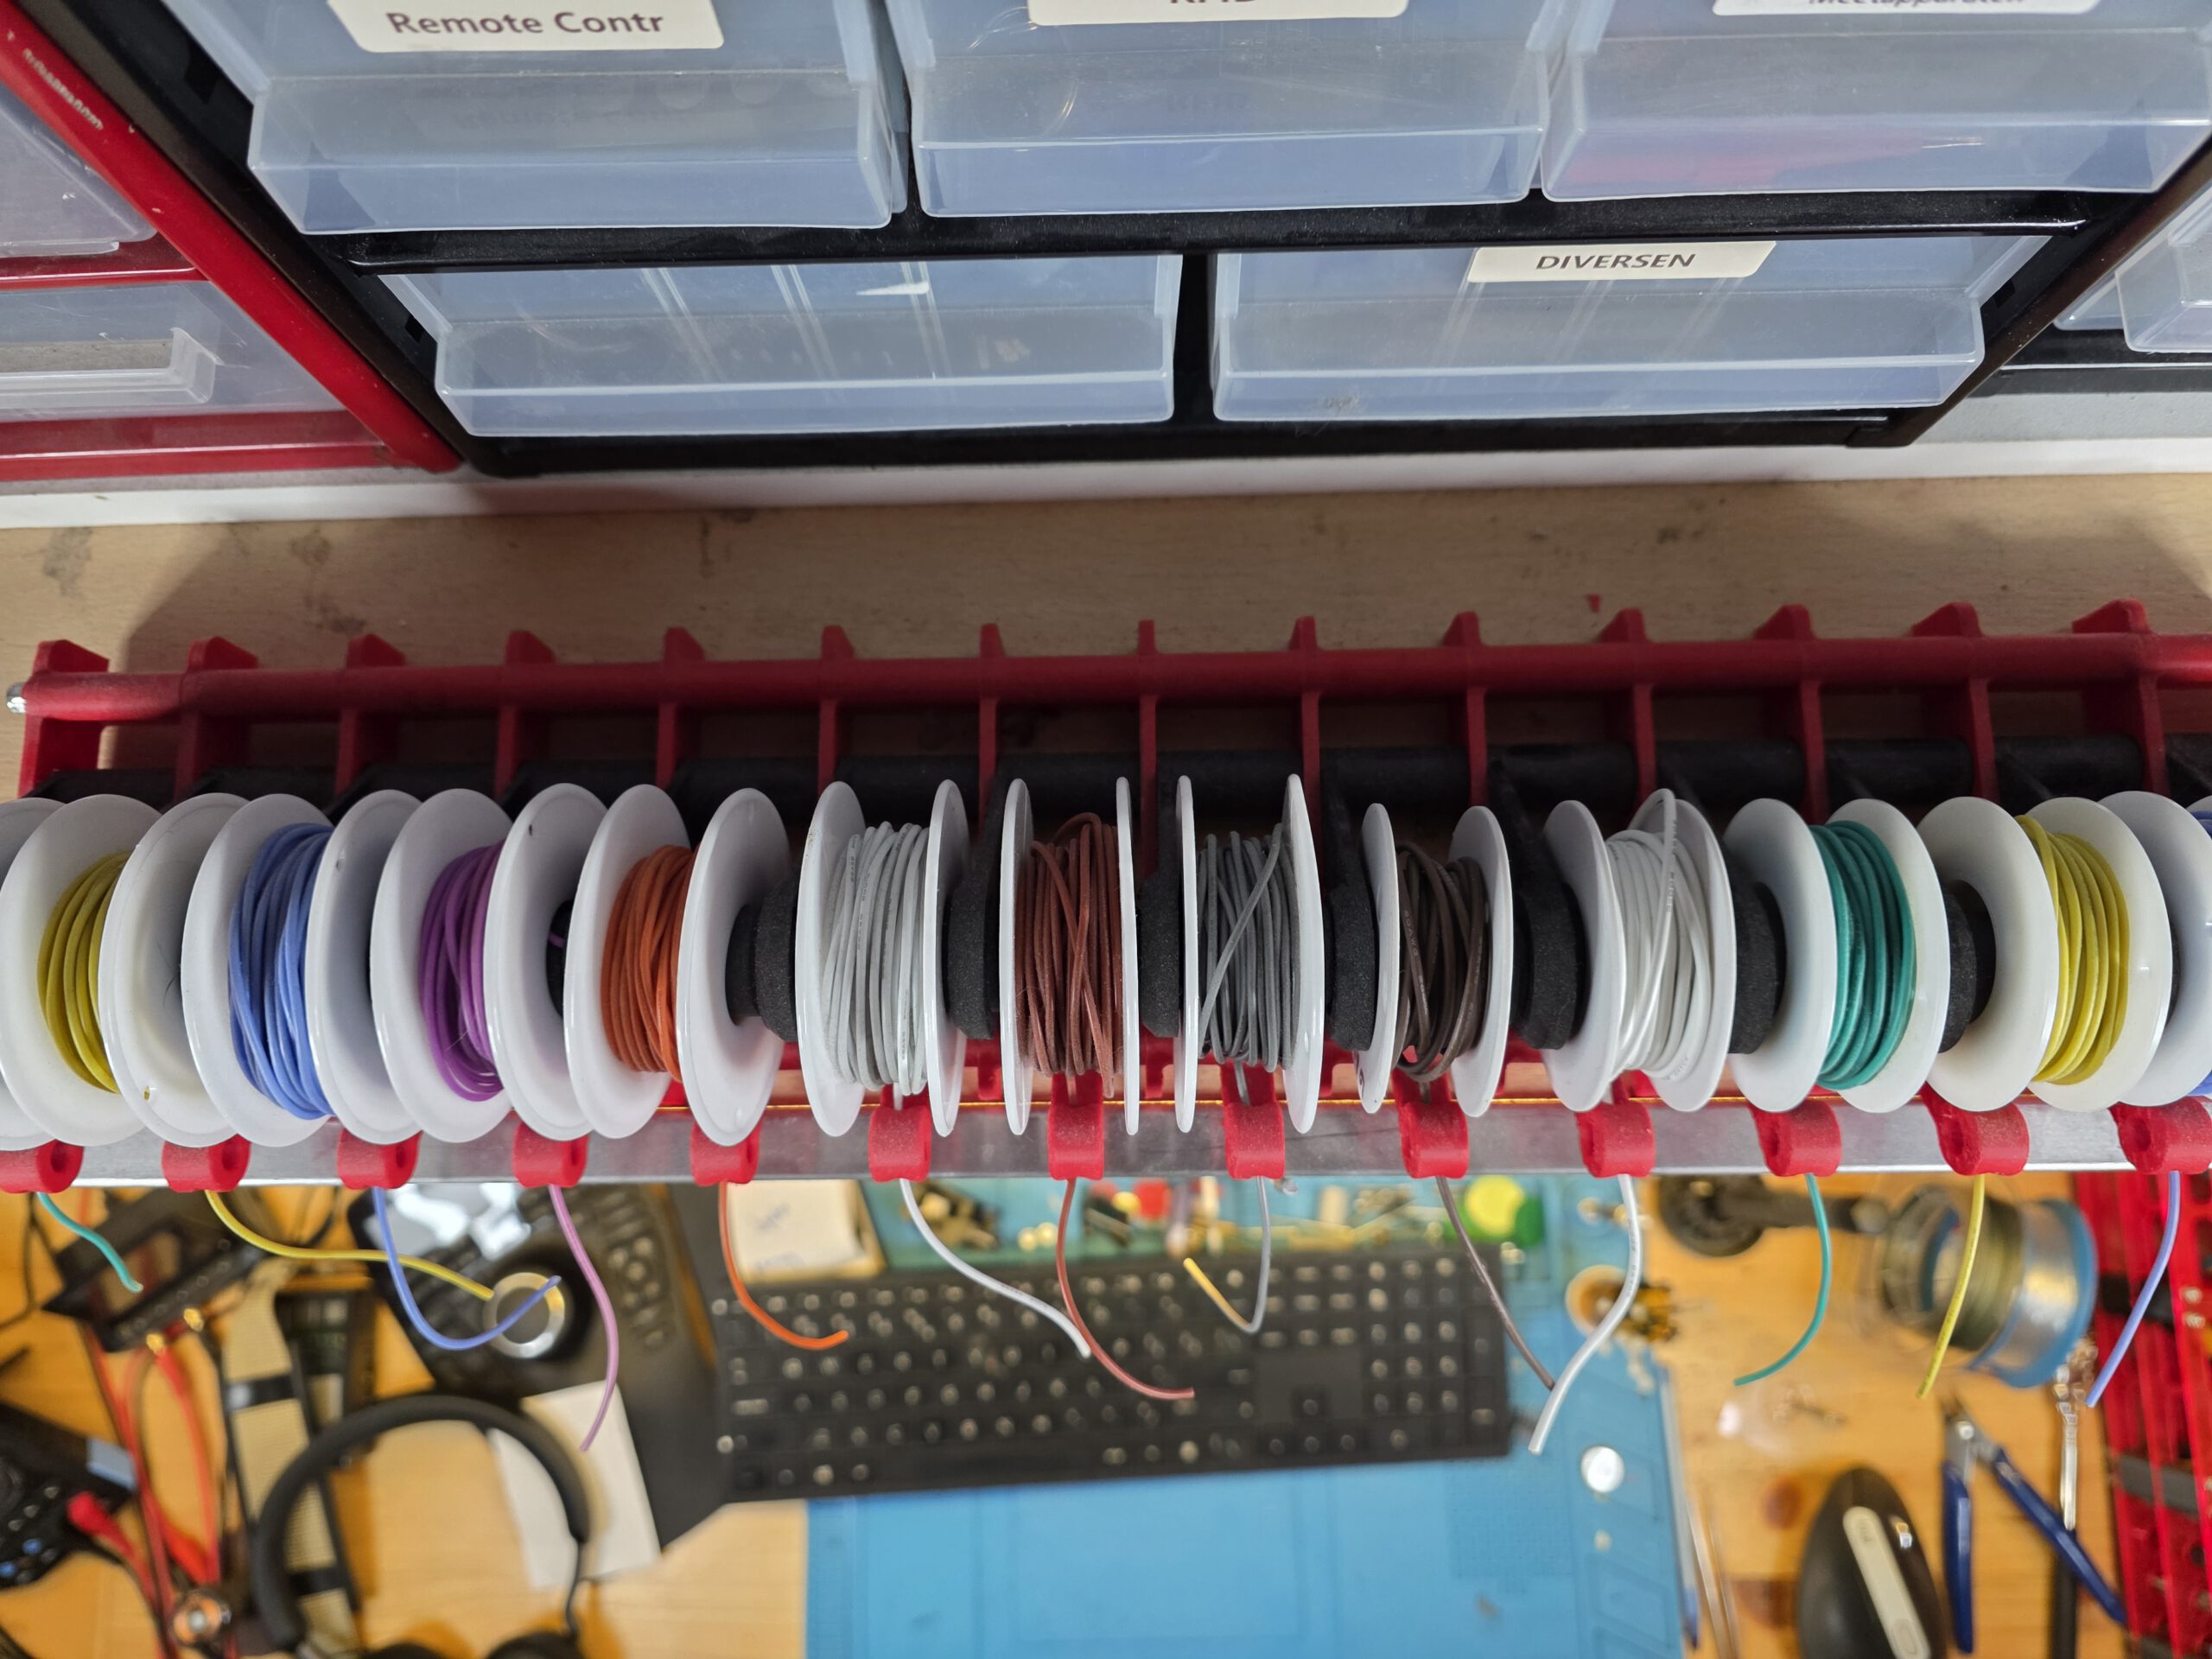
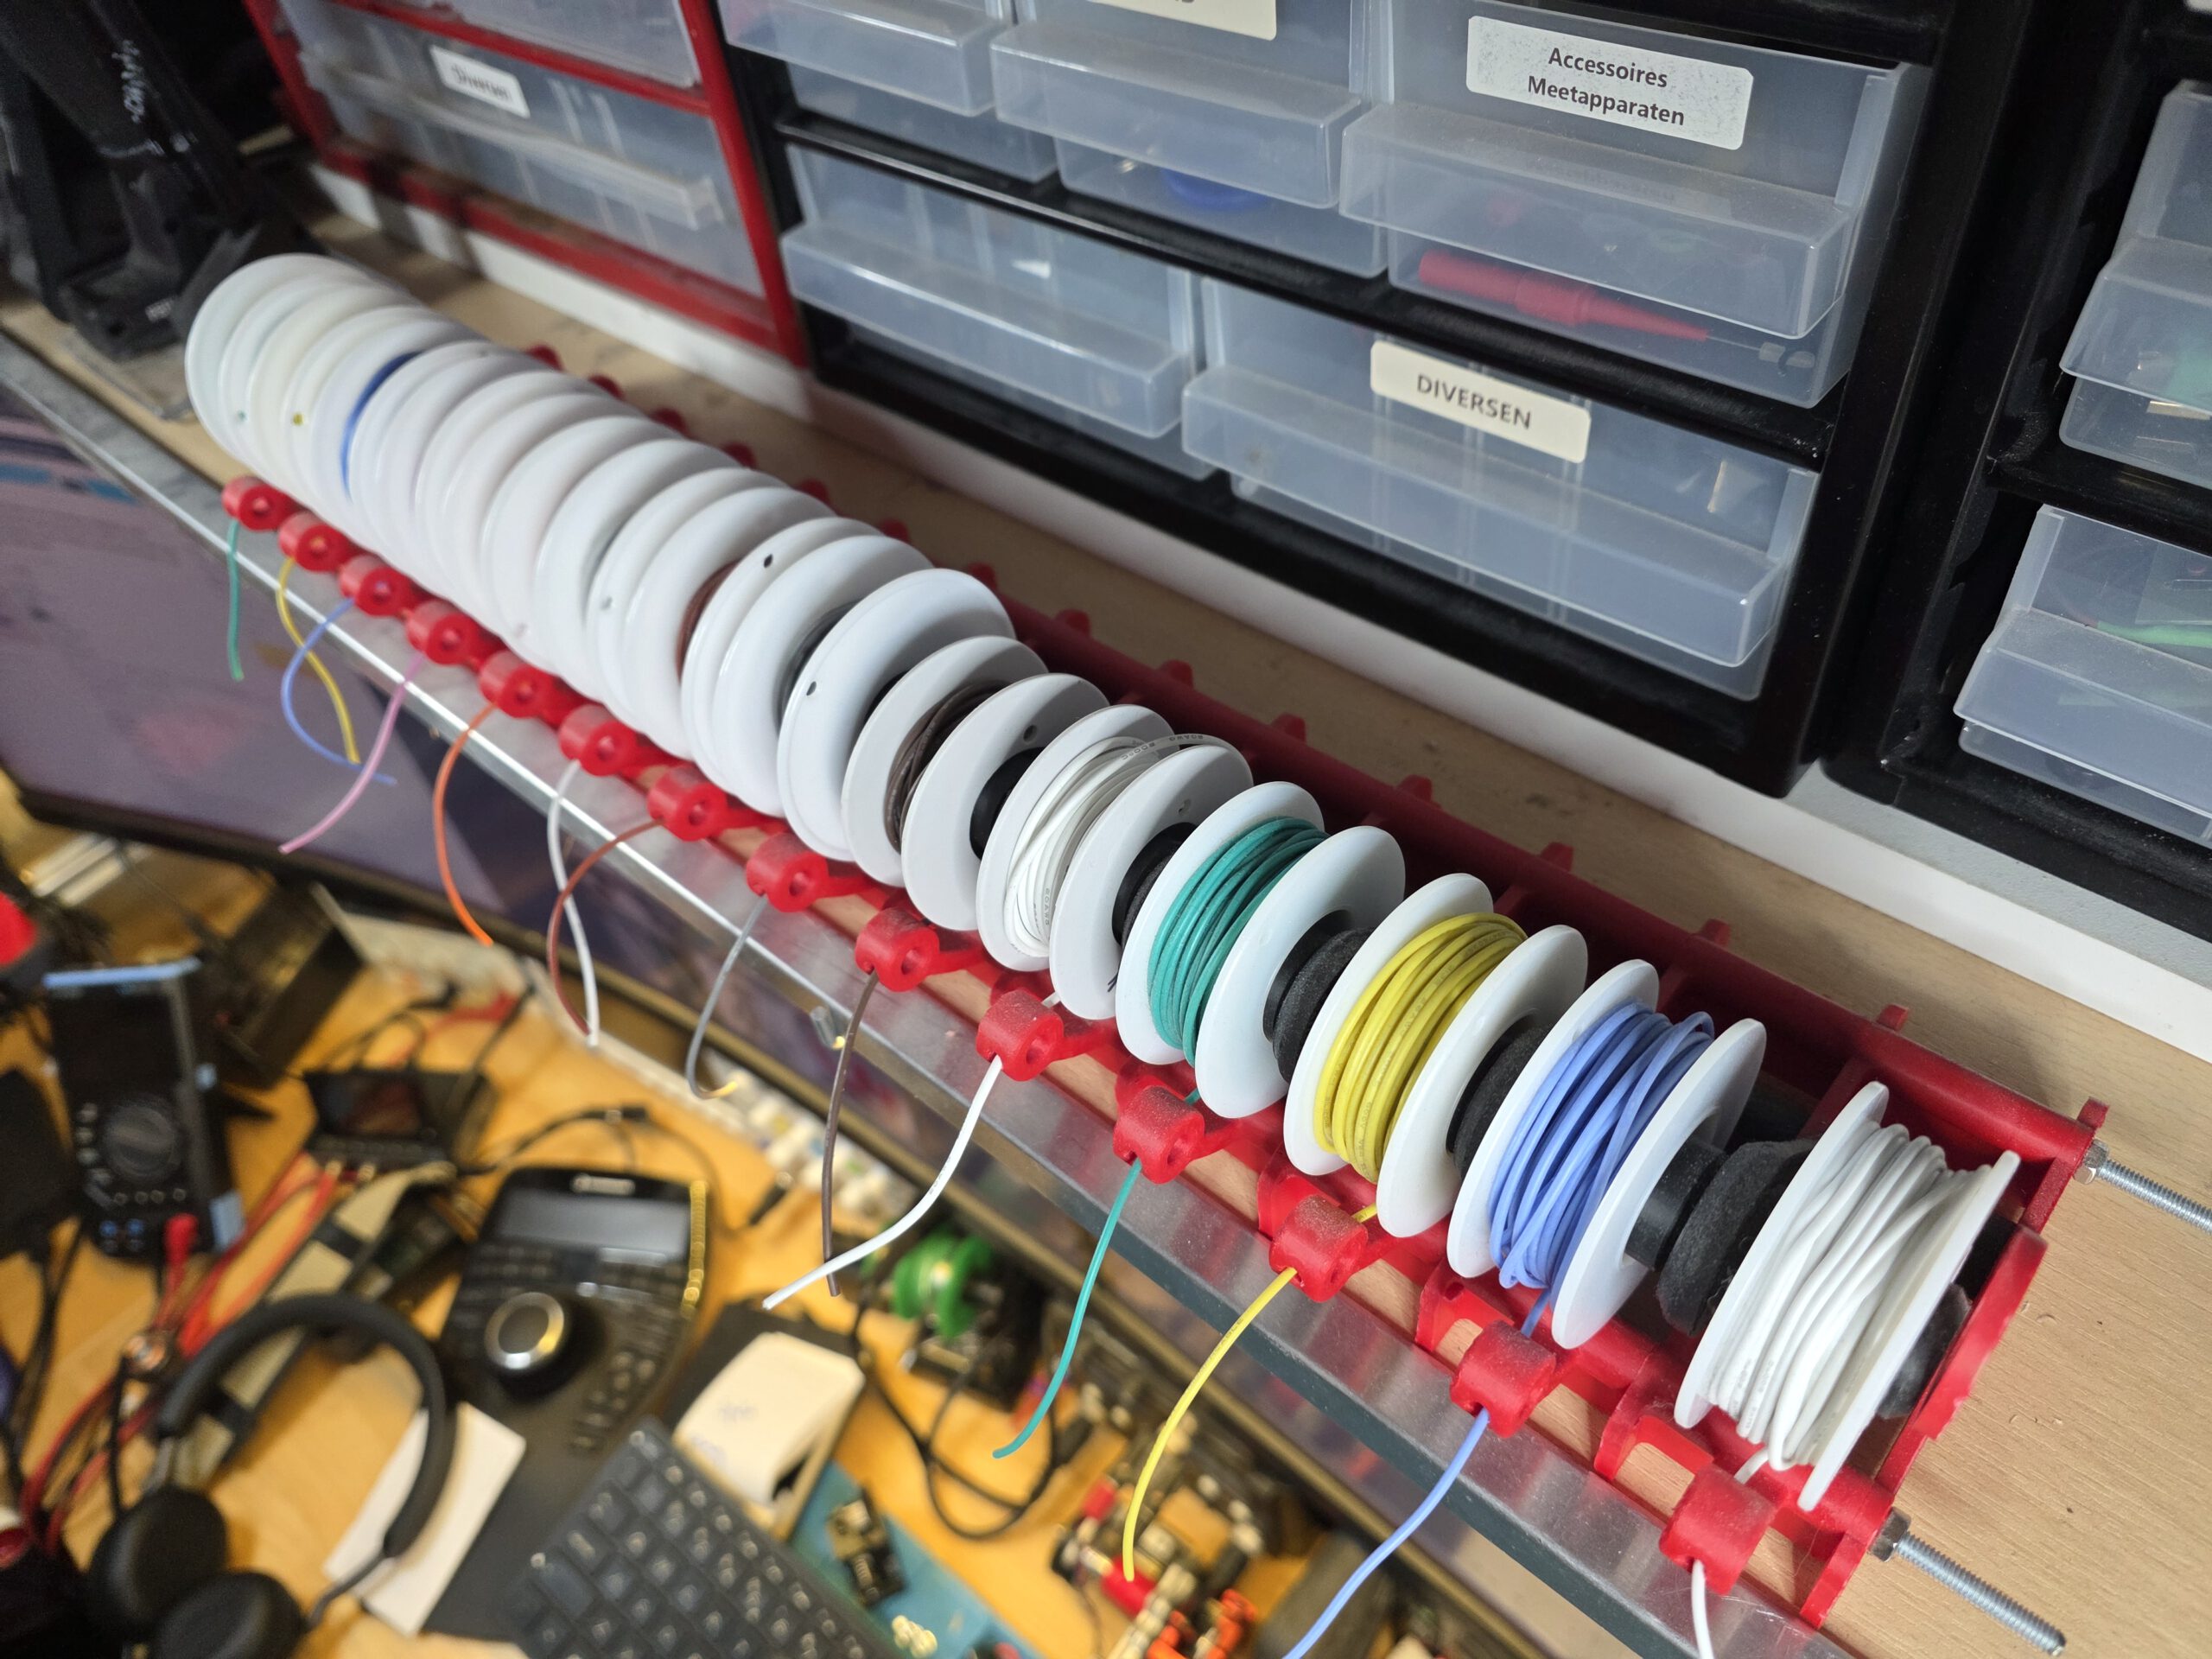
1. Wire Spool Rack
A custom-built, largely 3D-printed dispenser and organizer for small spools of hookup wire. The spools are mounted on a single horizontal axle, with an individual guide in front of each spool for feeding the wire through.
This keeps every wire end easy to find and allows the required length to be pulled directly from the spool. A simple idea, but exactly the kind of thing that prevents fifteen spools of wire from spontaneously deciding to become a single organism.
A large, multi-level tool rack designed to store a substantial number of hand tools vertically while keeping everything immediately accessible. It holds screwdrivers, pliers, tweezers, scissors, drill bits, files, calipers, measuring tools and many other workshop essentials.
The rack uses custom-designed plates, spacers and dedicated holders and openings for different types of tools. Rather than being an off-the-shelf organizer, it was designed specifically to maximize storage capacity within a very limited amount of workshop space.