Making Space in 9 Square Metres

Custom-built storage solutions for tools, wire and all the other stuff that somehow keeps multiplying.

1. Wire Spool Rack

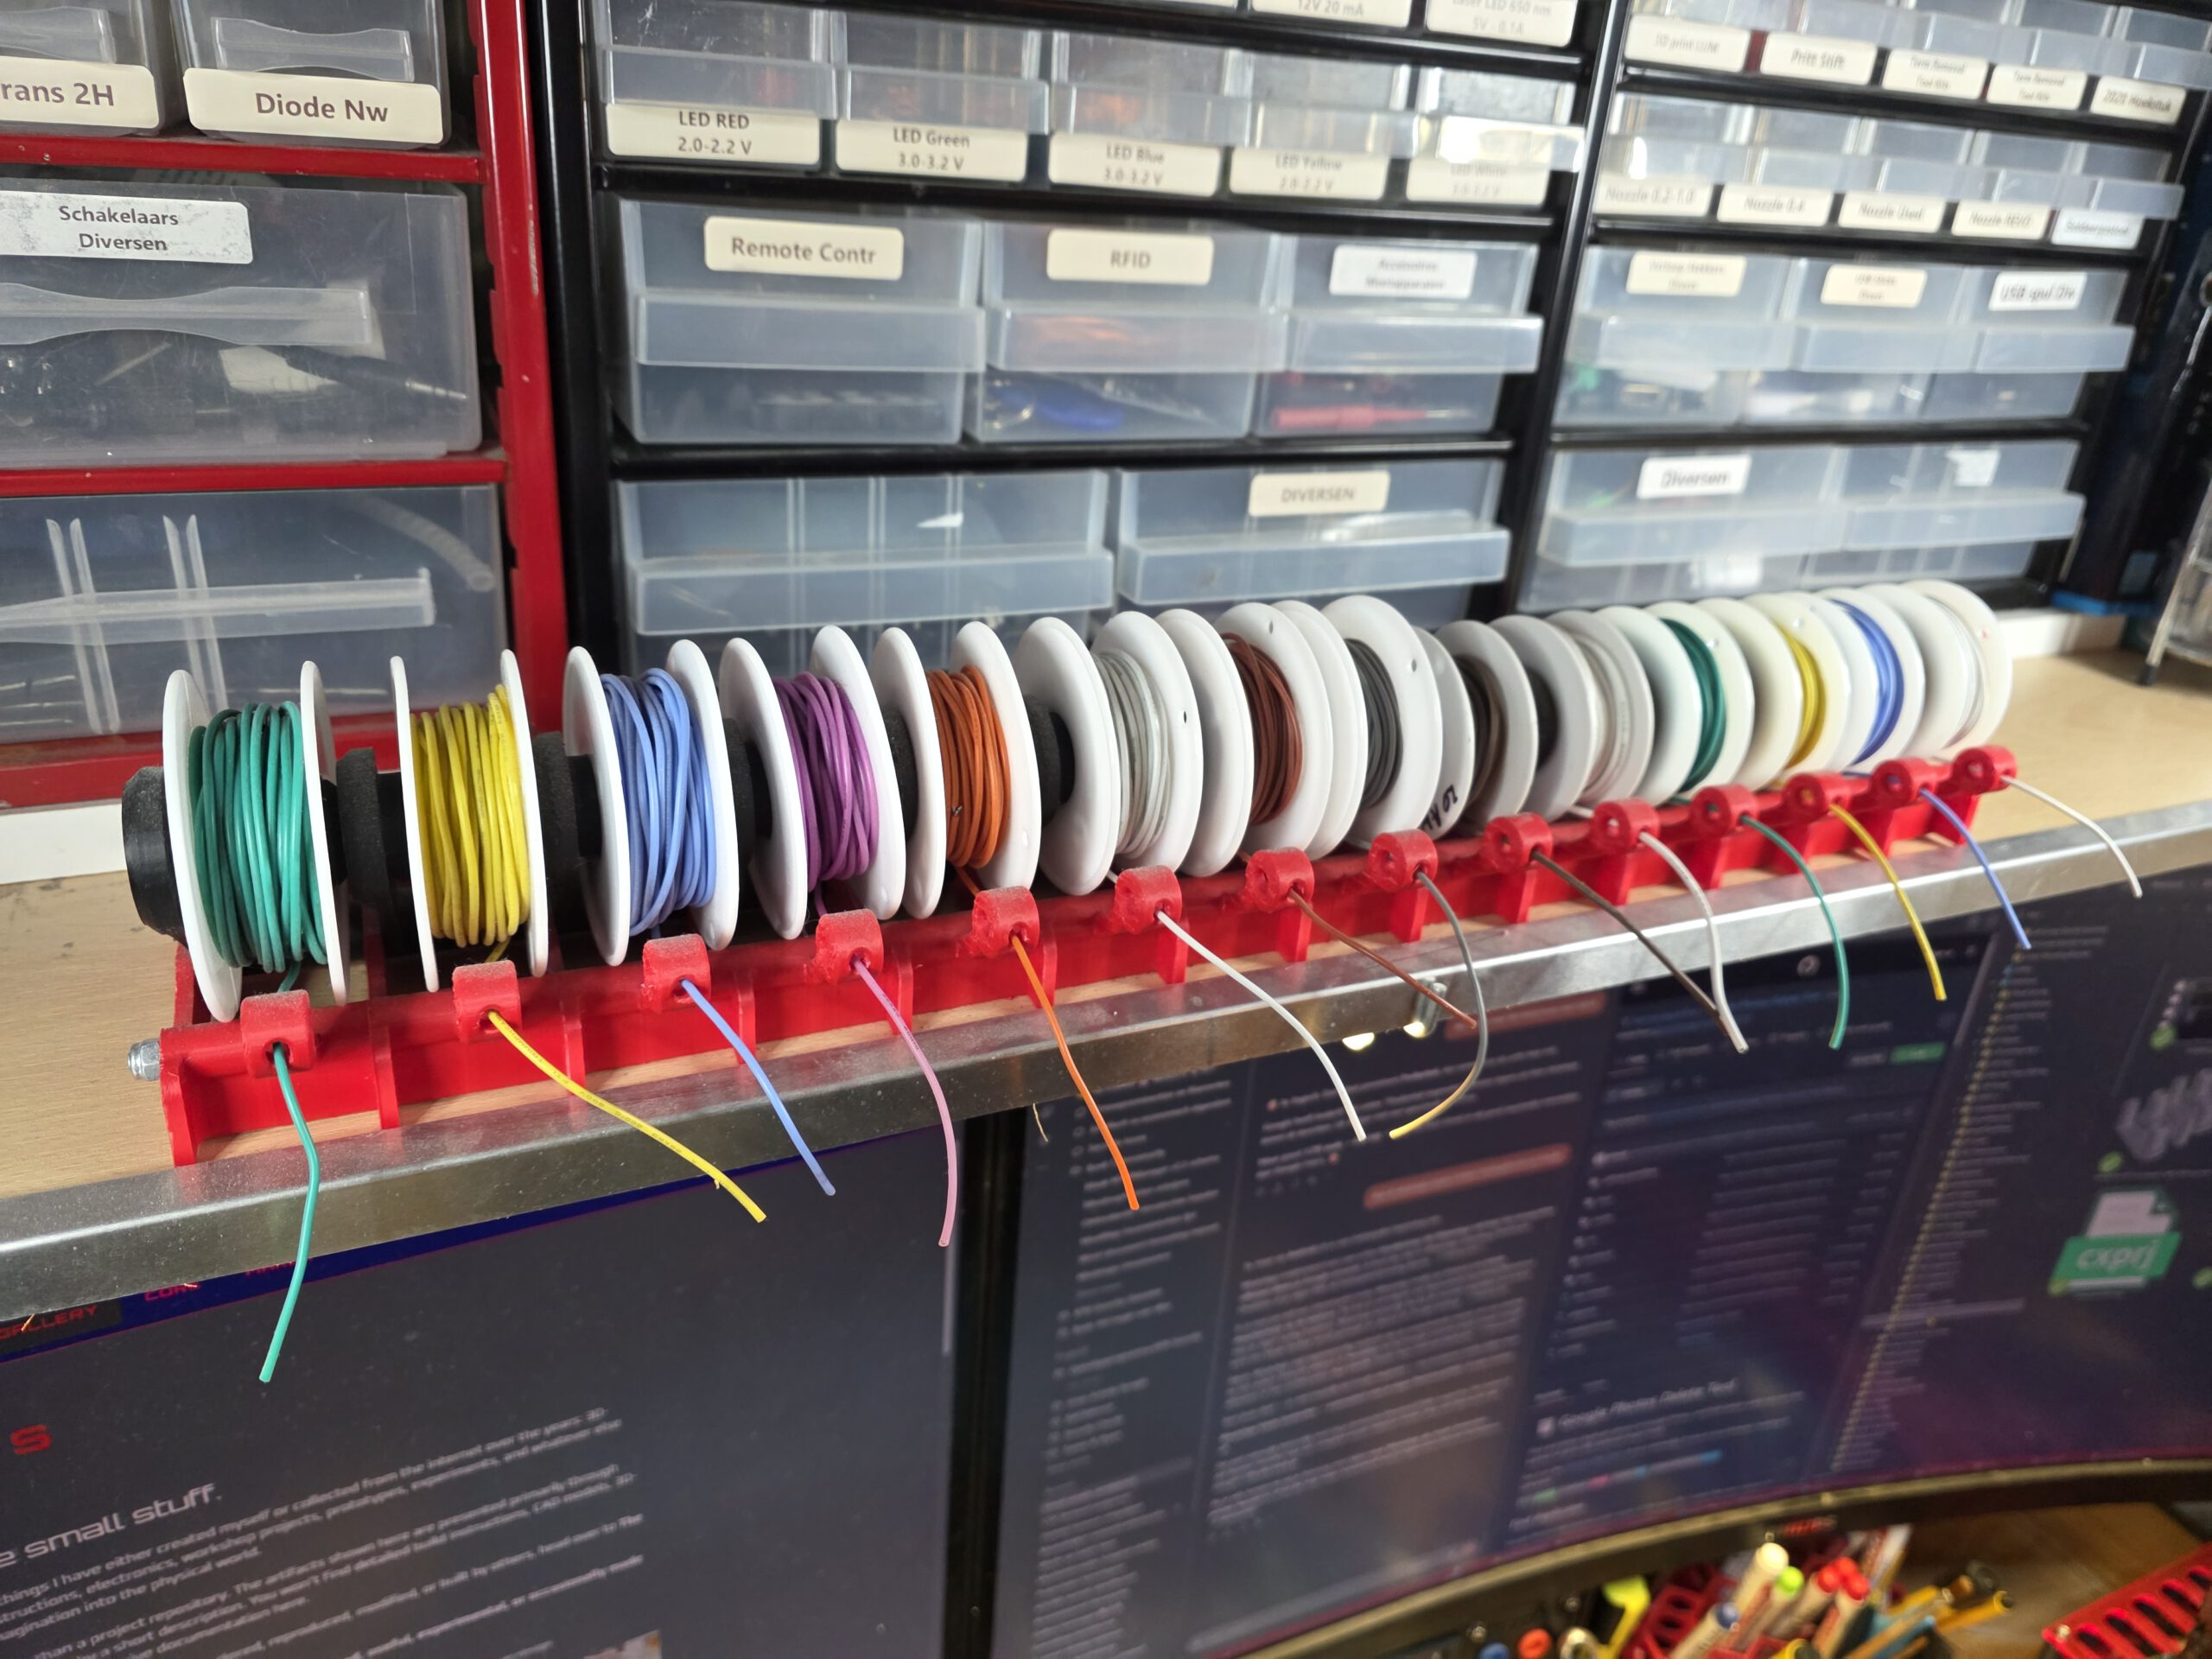
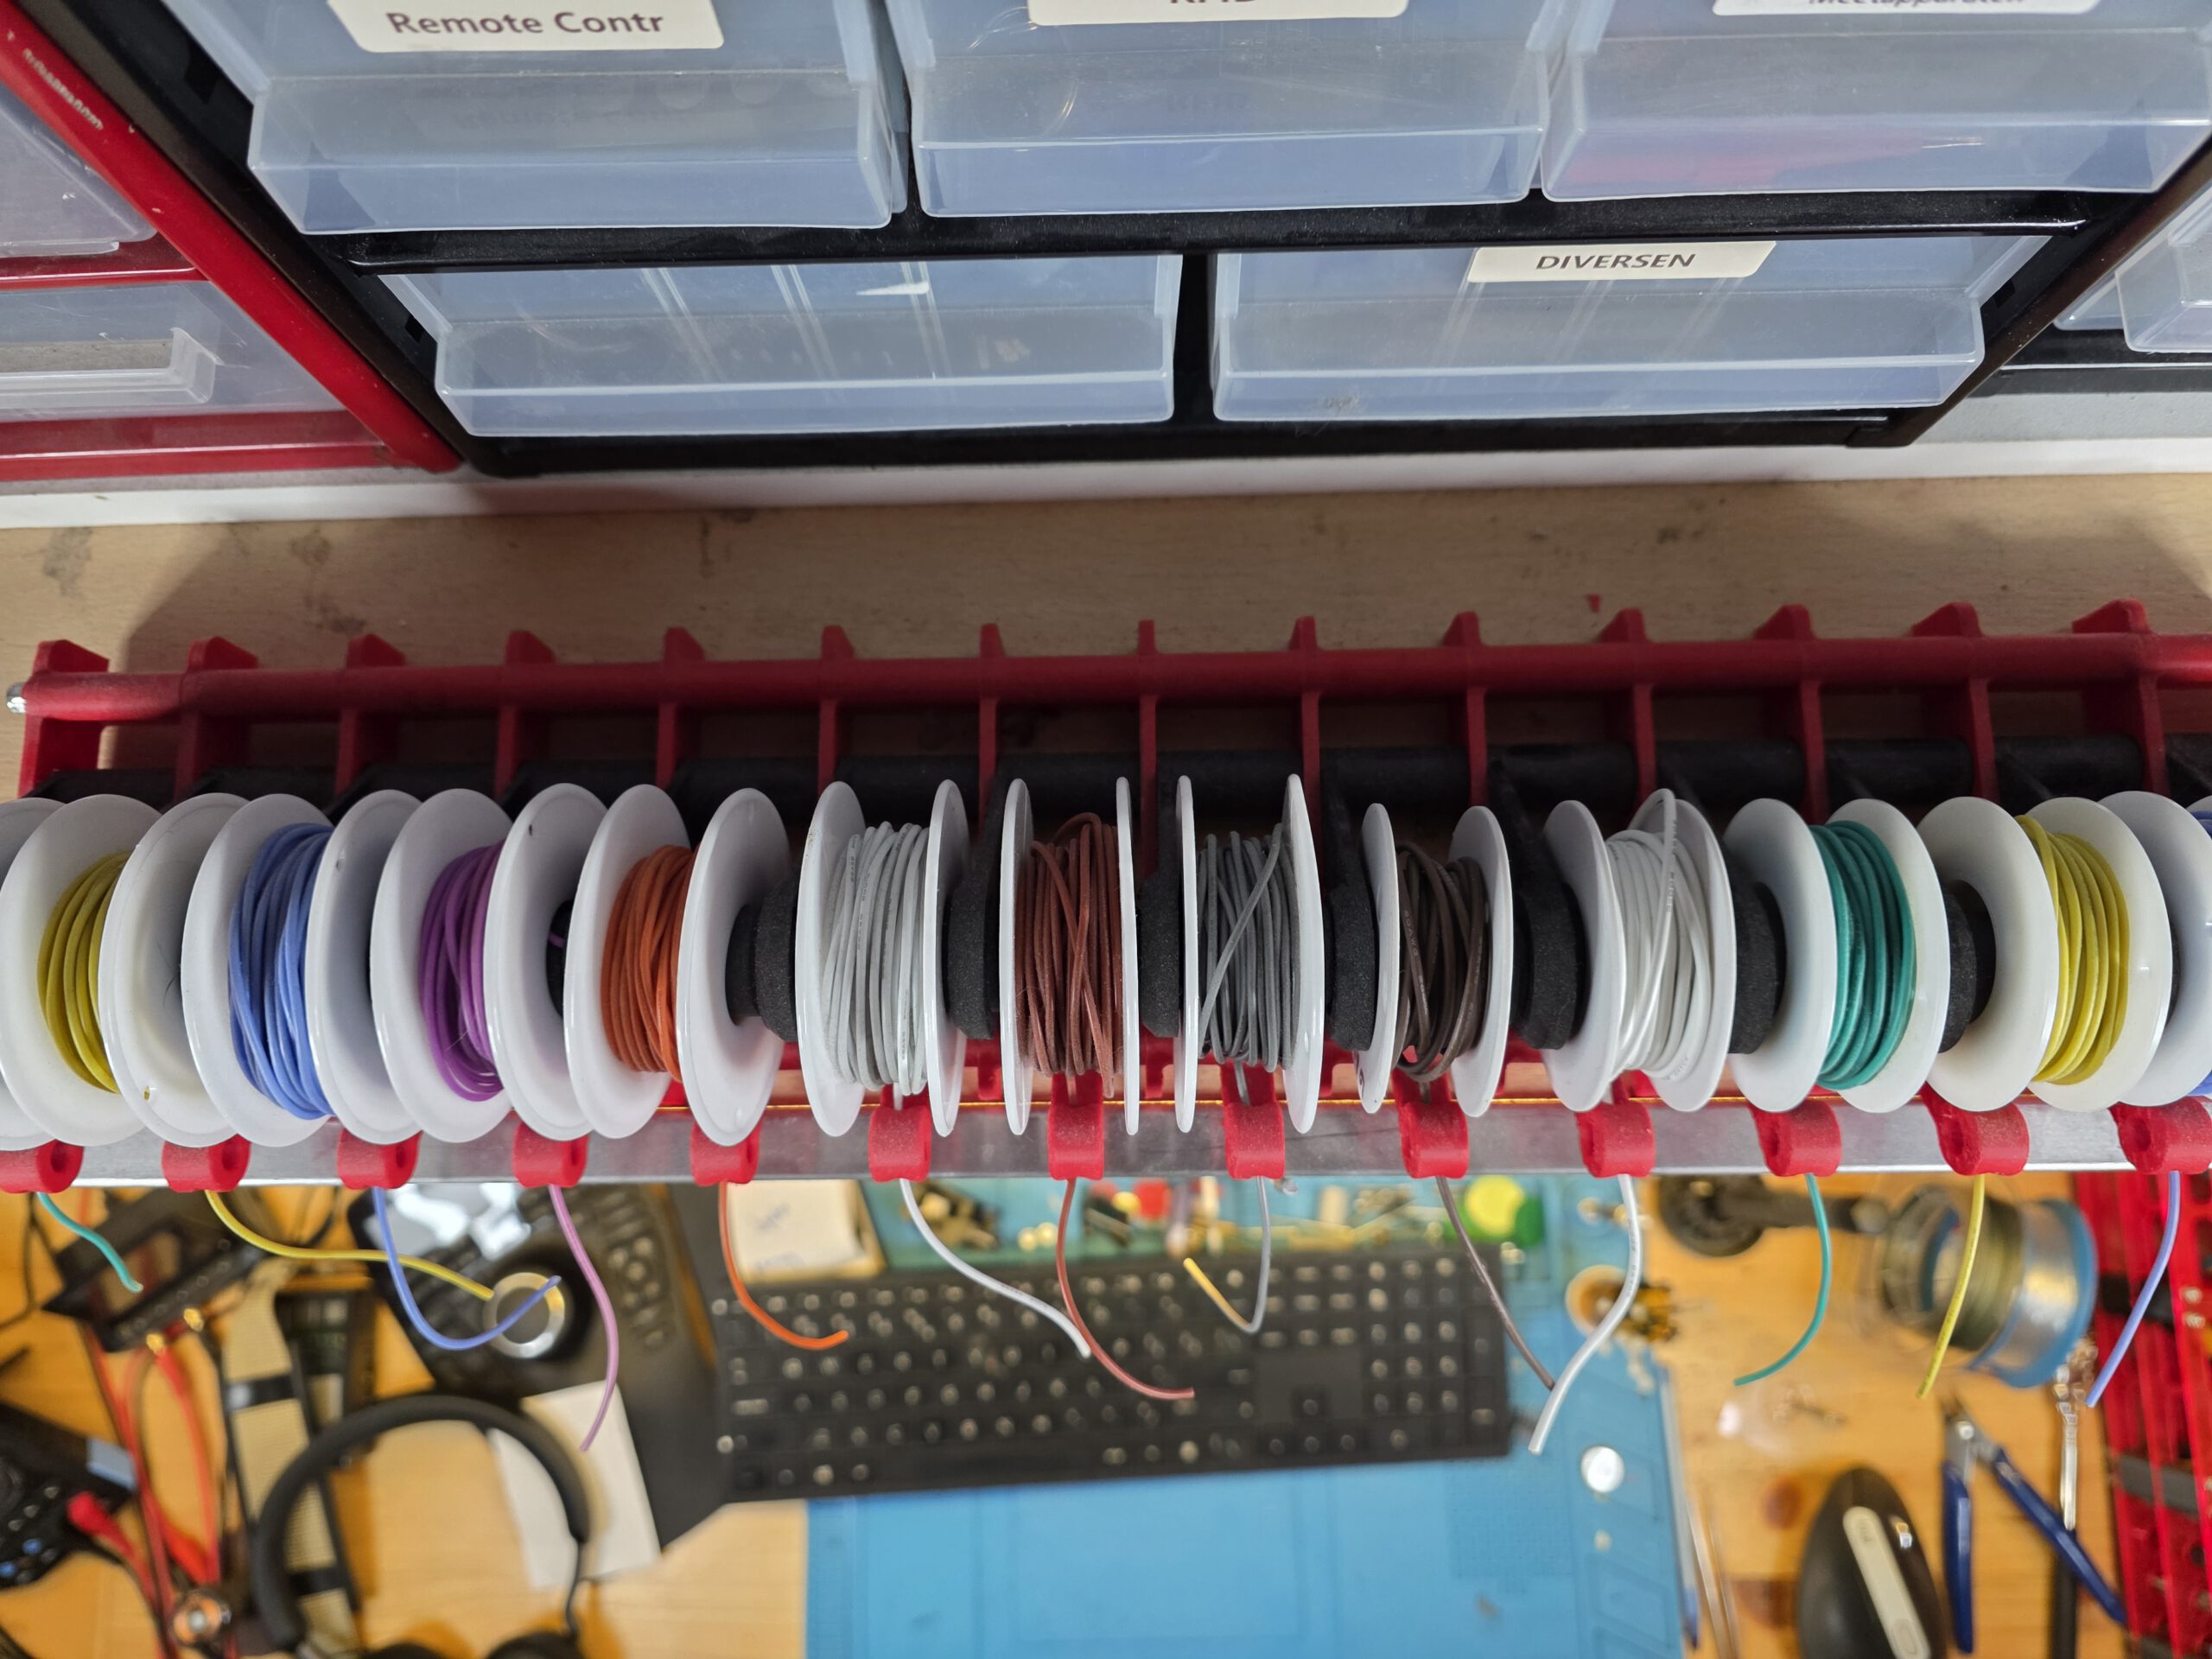
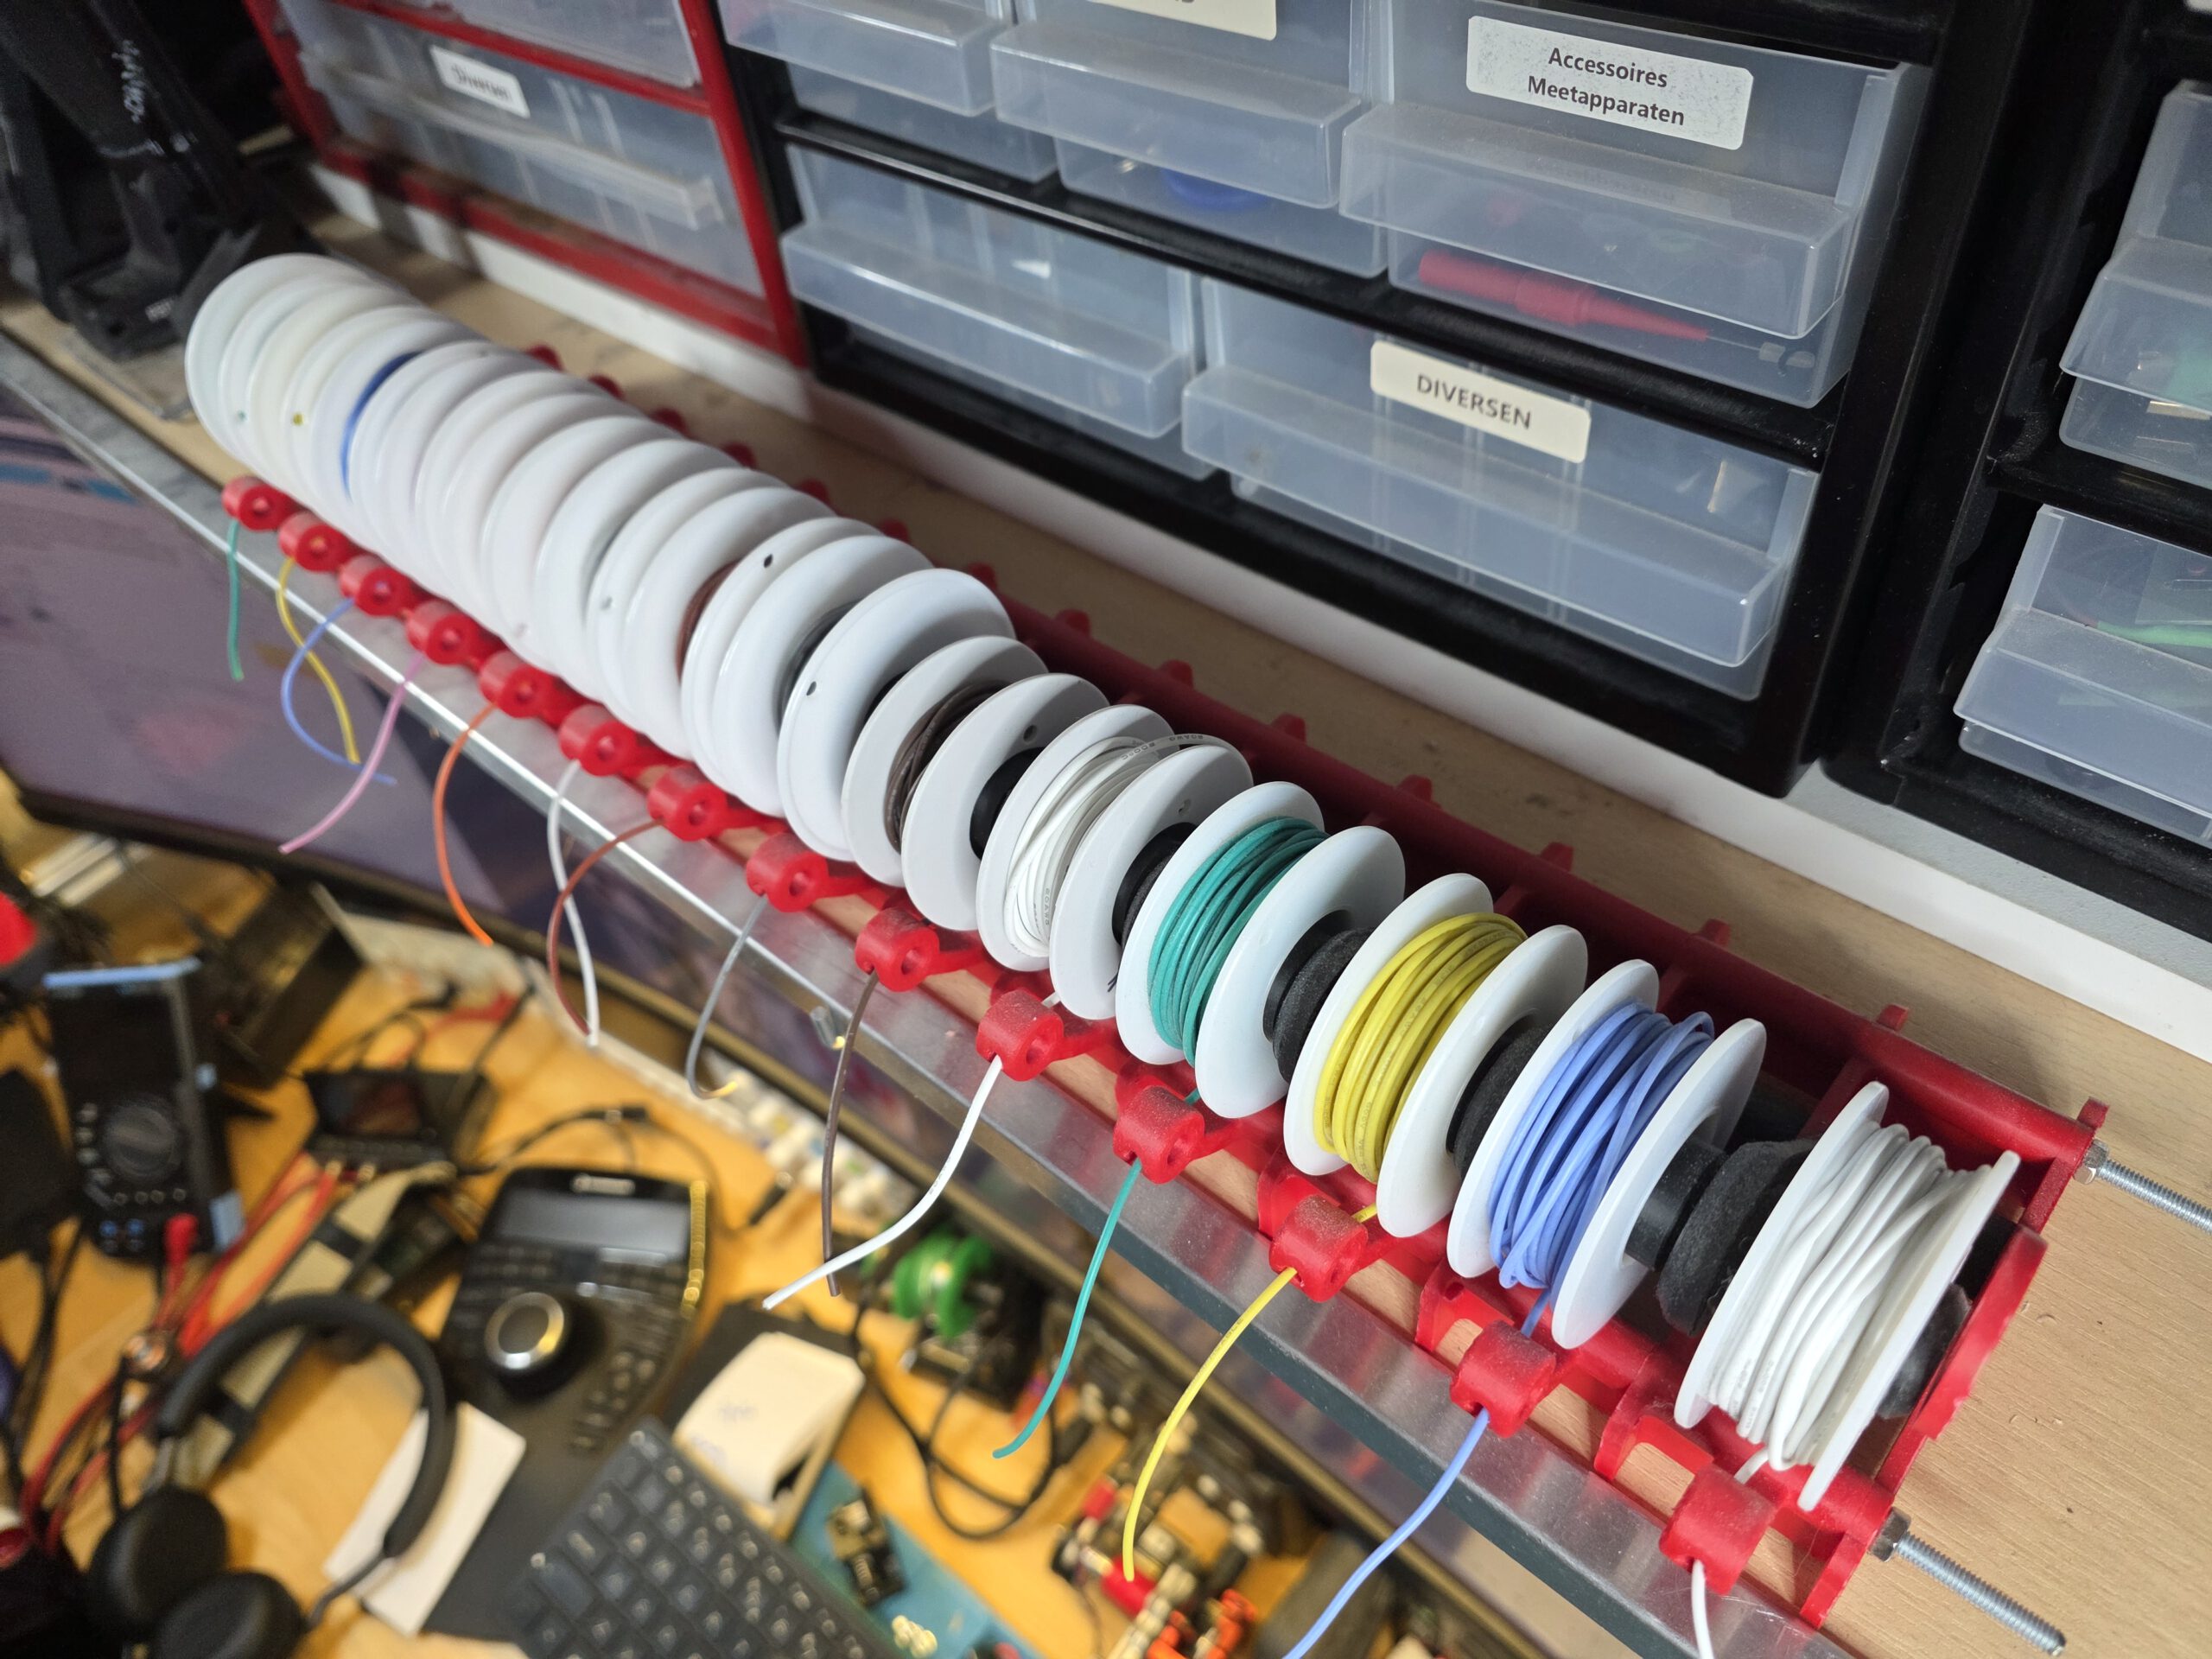
A custom-built, largely 3D-printed dispenser and organizer for small spools of hookup wire. The spools are mounted on a single horizontal axle, with an individual guide in front of each spool for feeding the wire through.

This keeps every wire end easy to find and allows the required length to be pulled directly from the spool. A simple idea, but exactly the kind of thing that prevents fifteen spools of wire from spontaneously deciding to become a single organism.

2. Tool Organizer

A large, multi-level tool rack designed to store a substantial number of hand tools vertically while keeping everything immediately accessible. It holds screwdrivers, pliers, tweezers, scissors, drill bits, files, calipers, measuring tools and many other workshop essentials.

The rack uses custom-designed plates, spacers and dedicated holders and openings for different types of tools. Rather than being an off-the-shelf organizer, it was designed specifically to maximize storage capacity within a very limited amount of workshop space.

The “For 3D print” file also has the *.STEP file included, so you can adapt it to your nees.

One Project

Both are essentially solutions to the same problem: making maximum use of very limited workshop space.

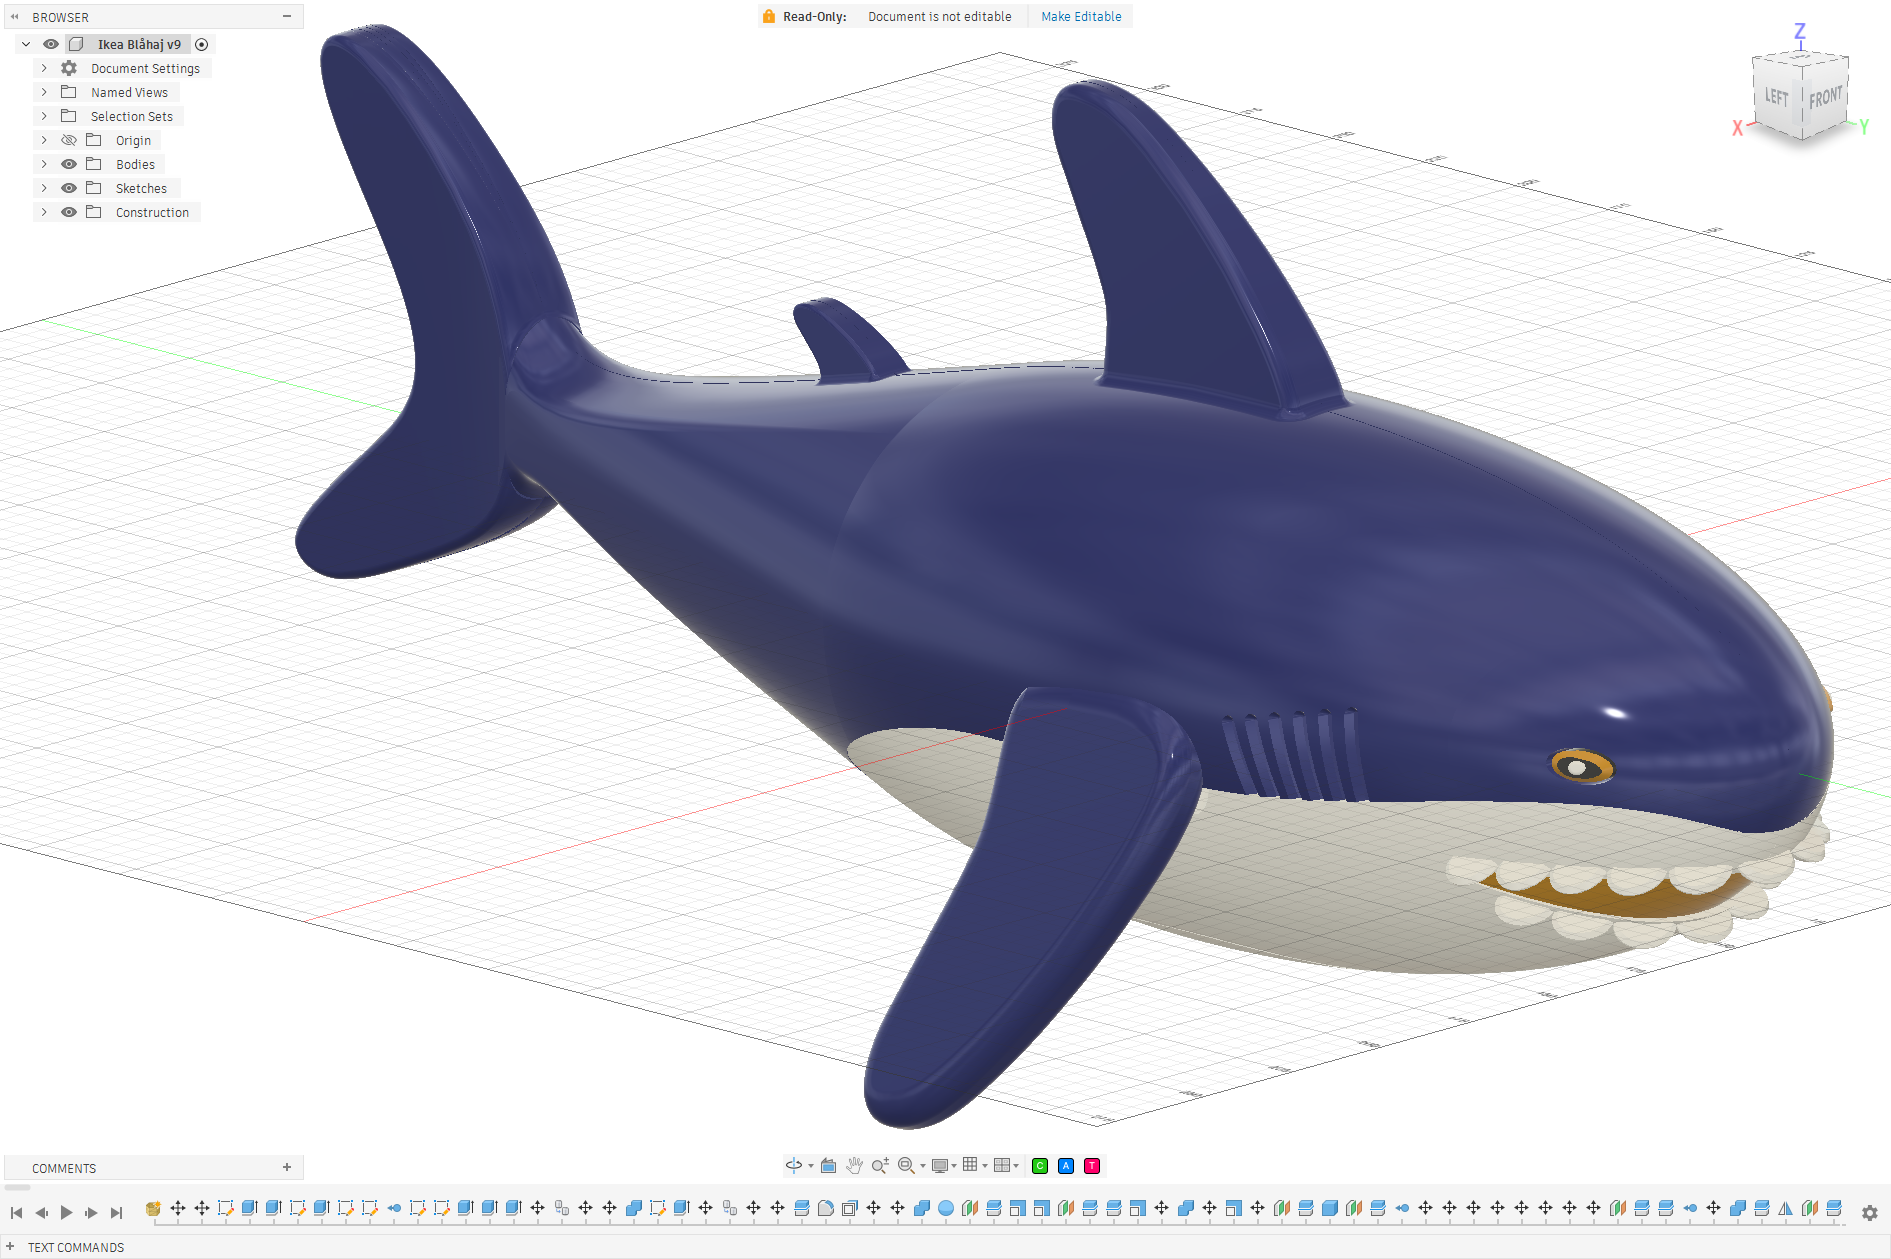
IKEA’s Blåhaj

This project started as a surprise for a colleague who used IKEA’s famous Blåhaj as his avatar — and who, naturally, already owned the real thing.

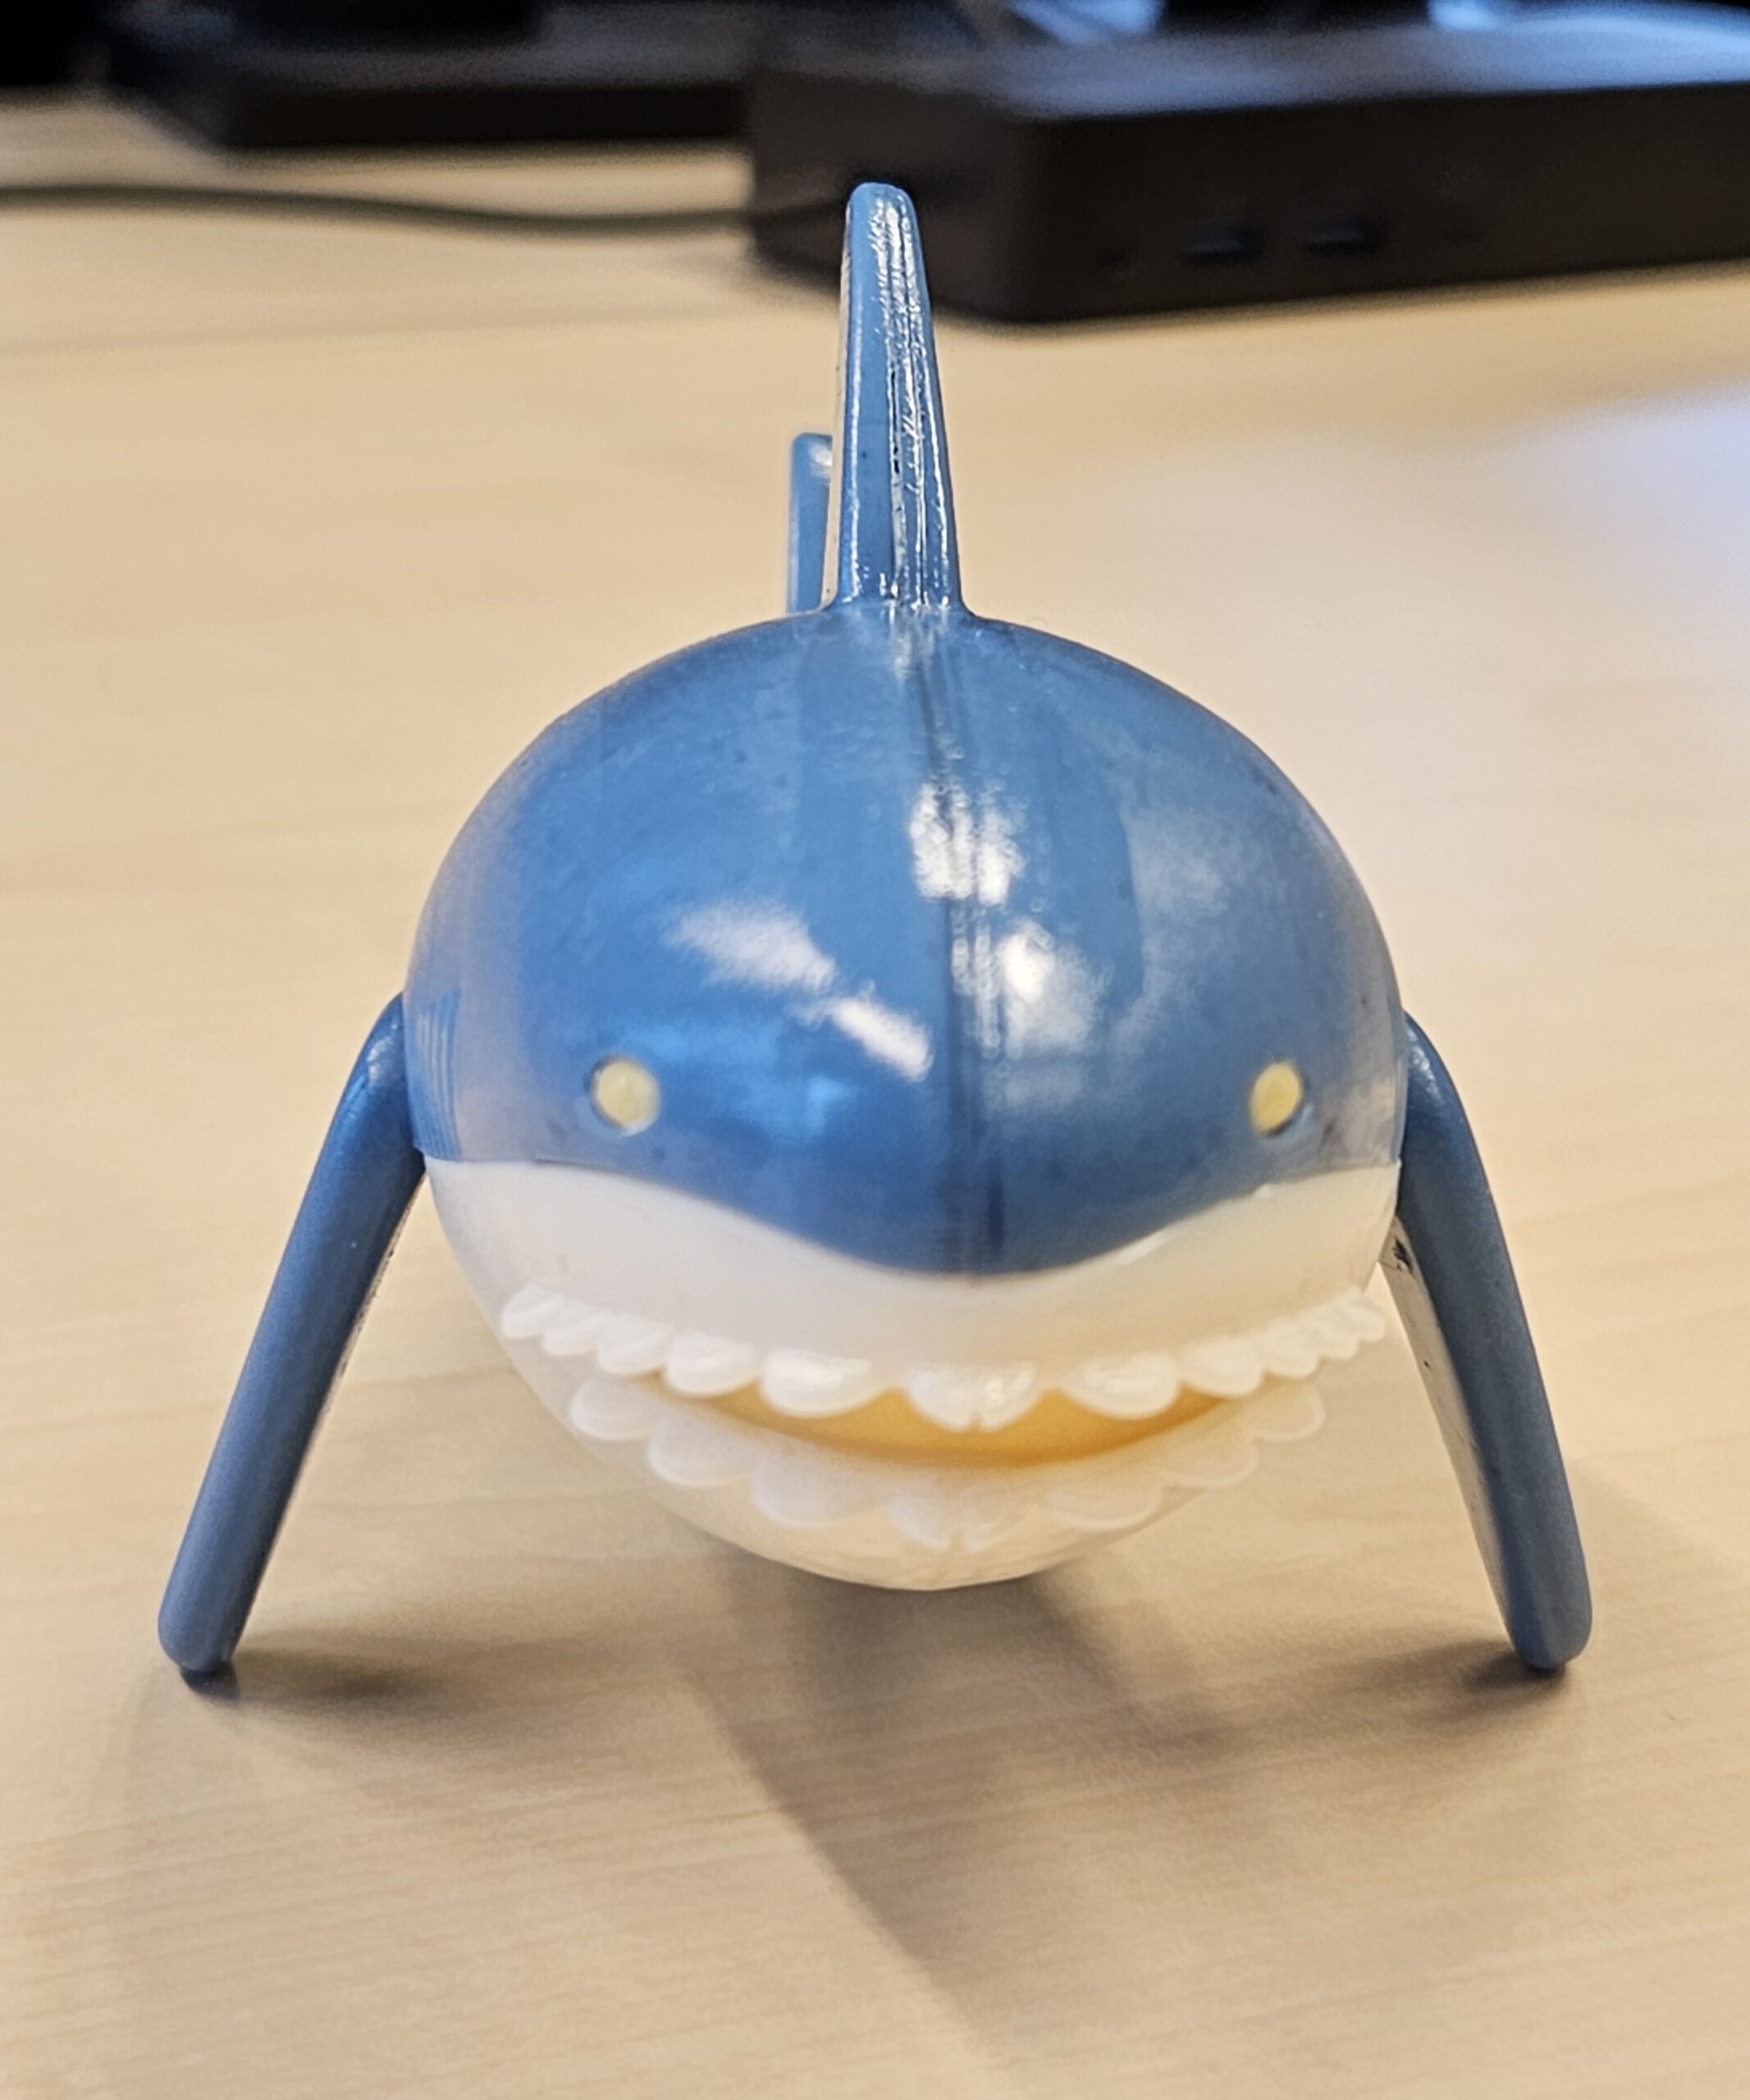
So rather than giving him another stuffed shark, I decided to create my own 3D-printable version from scratch in Fusion 360.

And because one Blåhaj apparently wasn’t enough, I also printed a much smaller version that he could use as a keychain.

Designed for 3D printing

The model was designed not only to resemble the wonderfully goofy original, but also to be practical to print and assemble.

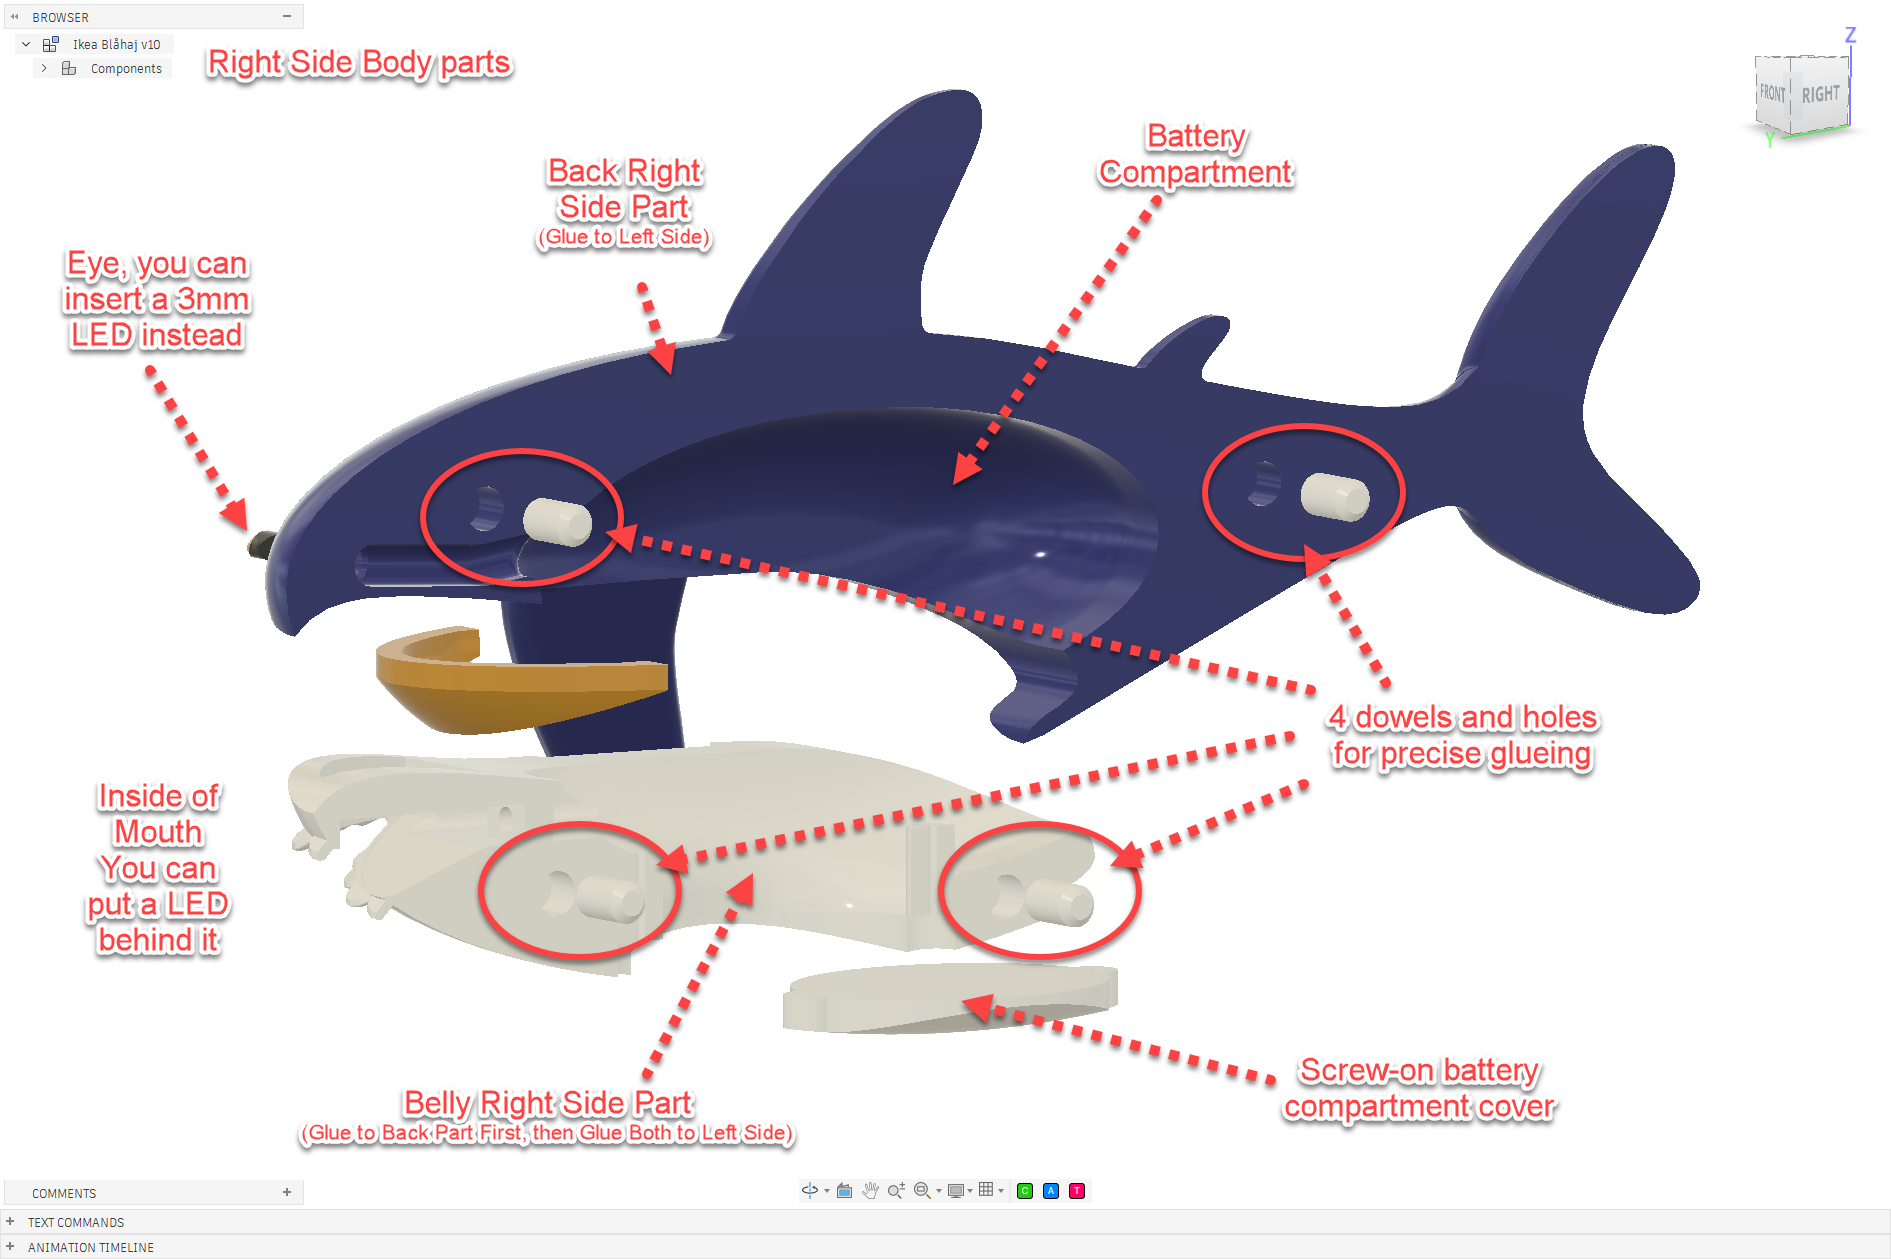
The shark consists of separate left and right body sections and a belly. By placing the two body halves with their flat surfaces on the print bed, almost the entire model can be printed without supports. Only the two large side fins should require support material.

The belly fits precisely into the body with 0.2 mm clearance. Because the mating surfaces locate it automatically, no alignment pins are required.

The two body halves are aligned using four dowels and matching holes, making it much easier to position them accurately while gluing.

There is one important detail in the assembly sequence: glue the belly into one body half first, then join the two body halves together. Doing it in the opposite order would turn installing the belly into a rather interesting puzzle.

Optional LED lighting

The shark can be printed simply as a display model, but I also designed it with optional internal lighting.

The eyes have provisions for 3 mm LEDs, and LEDs can also be installed behind the mouth to illuminate it from inside.

There is a hollow battery compartment inside the body, accessible through a screw-on battery compartment cover underneath. This keeps the batteries replaceable even after the model has been permanently glued together.

The electronics are entirely optional, so you can build anything from a simple desktop Blåhaj to a slightly ridiculous glowing desktop Blåhaj.

And a pocket-sized Blåhaj

For the same colleague I also printed a miniature version small enough to use as a keychain.

So he ended up with the original IKEA Blåhaj, a 3D-printed desktop version, and a tiny one he could take with him.

Which is probably sufficient Blåhaj.

Probably.

STL files download

| © 2026 | 9M² Creatory | Where imagination crystallizes |